


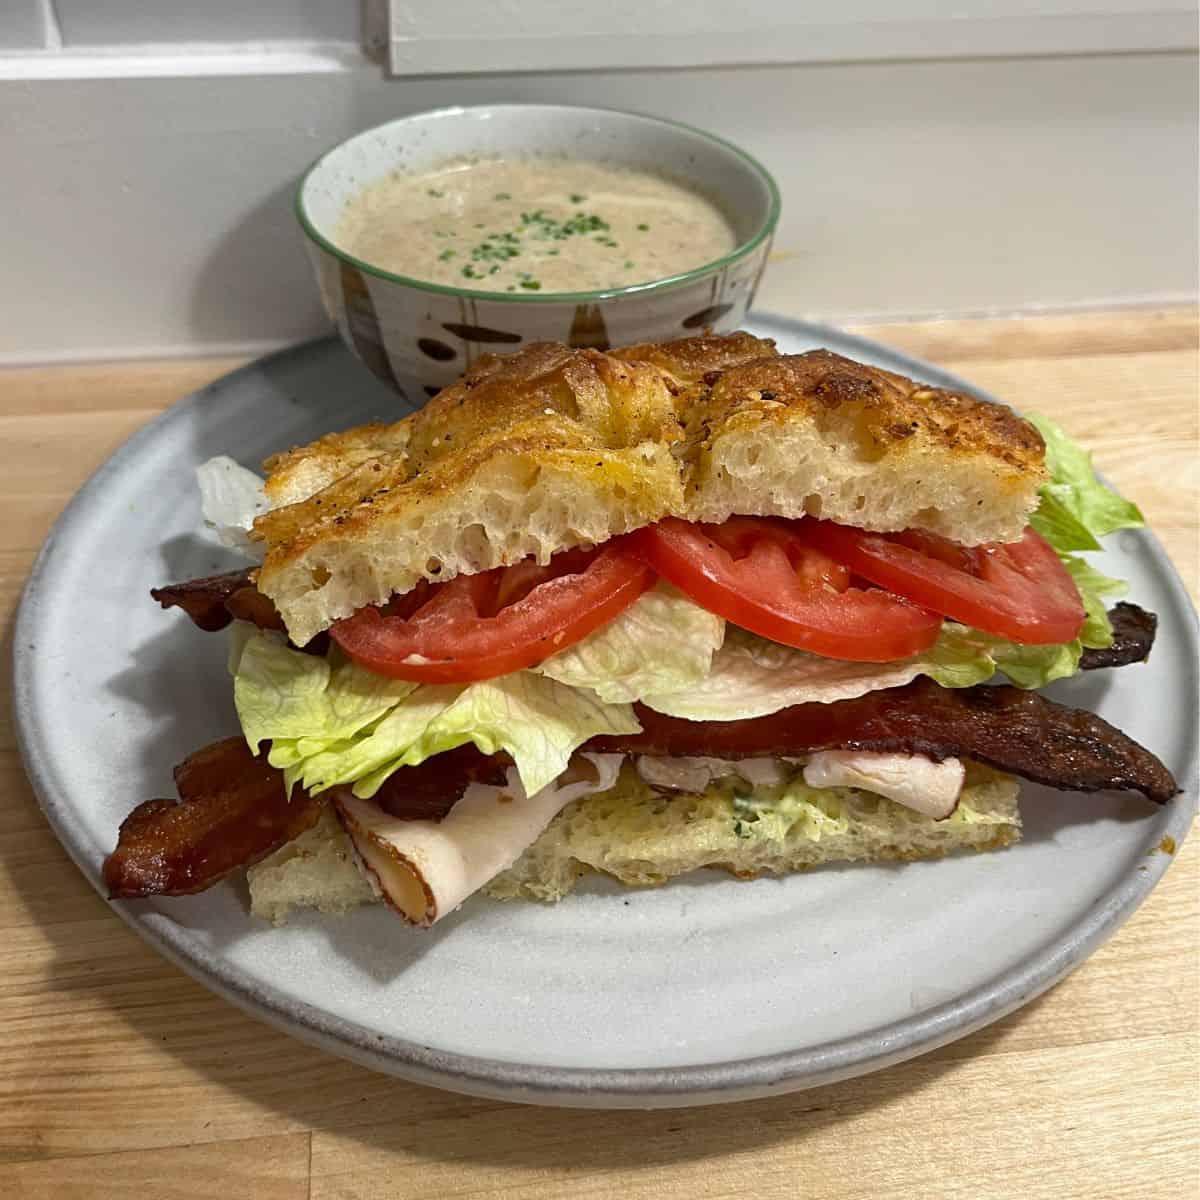
Have you seen the Instagram reels where an Italian man slices into warm focaccia, adds a generous swipe of pistachio spread, and finishes with a topping of fresh burrata and thin slices of mortadella? That’s the inspiration behind this sandwich focaccia recipe.

Jump to:
Recipe overview
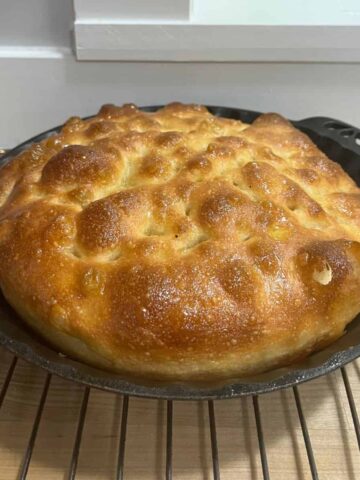
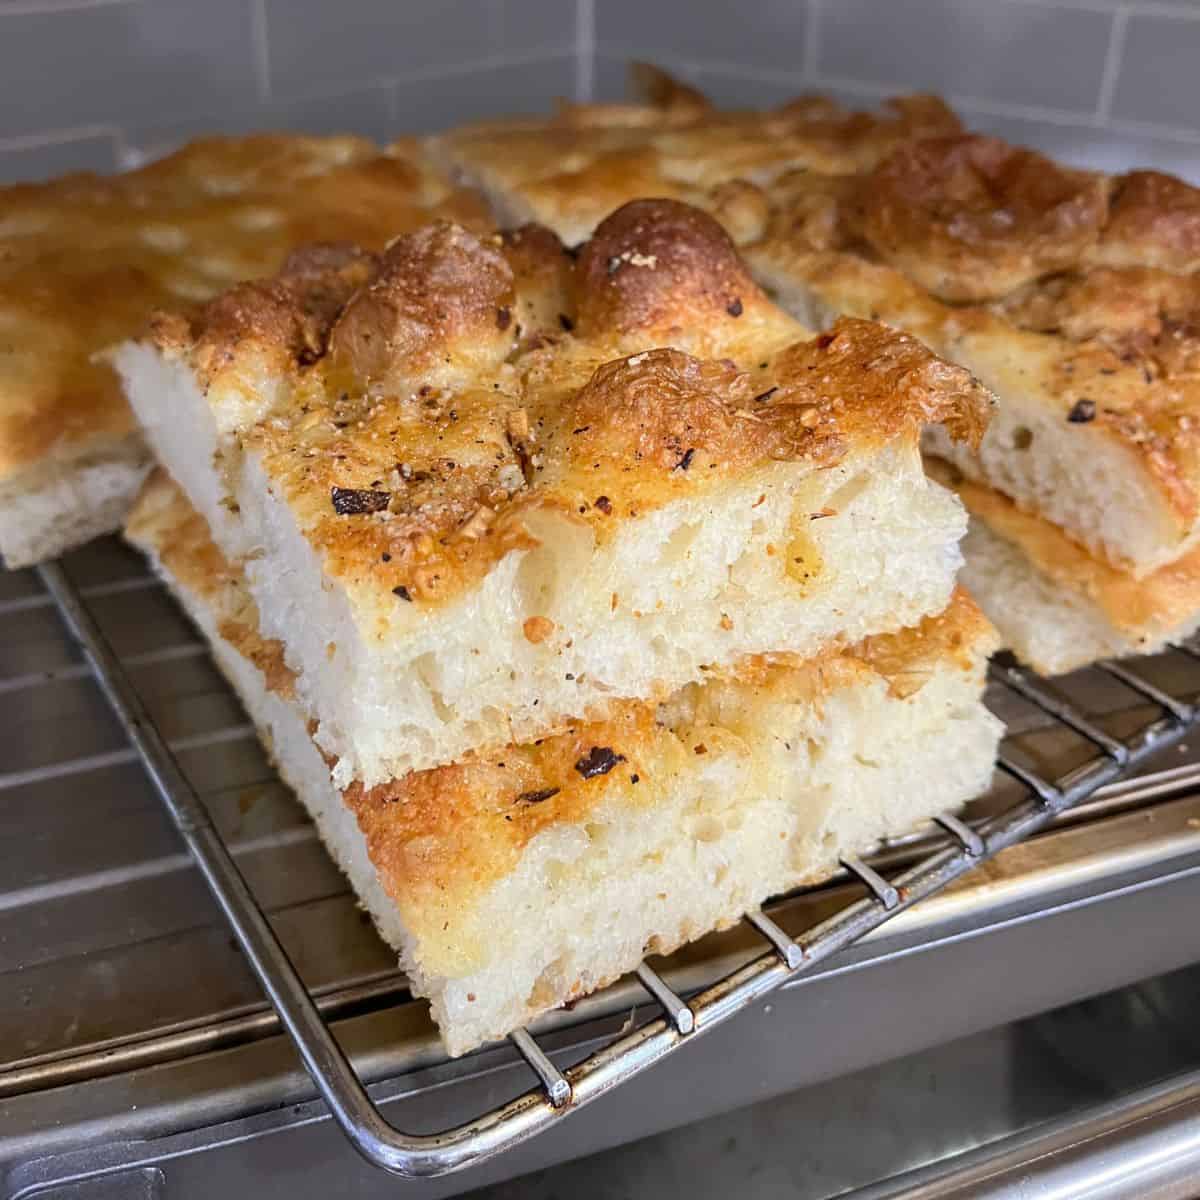
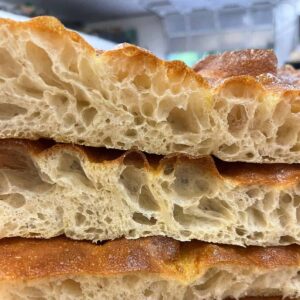
This focaccia is soft yet sturdy, with a bubbly texture full of nooks and air pockets that are perfect for holding aioli, pesto, or olive oil—ideal for making sandwiches. Not only that, it’s versatile enough for Sicilian-style pizza, as table bread, or topped with a variety of sweet or savory ingredients. The dough can be refrigerated for up to three days, and the baked focaccia can be stored in the freezer for future use in panini.
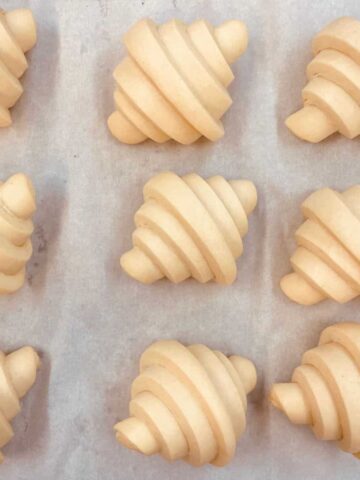
- This is a 2 day recipe. The overnight fermentation builds flavor, creates a more open crumb and yields a slightly chewier texture which is ideal for sandwiches.
- For this sandwich focaccia, I’m using a 4.5-quart KitchenAid stand mixer with a dough hook attachment. (I’m also working on a recipe that can be made by hand—stay tuned for that version!)
- For this recipe, we use a technique called bassinage (don't worry, it's not complicated!), so be sure to read the "Pay Careful Attention" section for details.
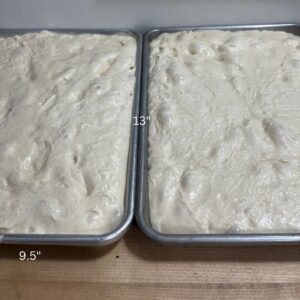
- For a 1x batch of dough, a 9.5” x 13” quarter sheet pan yields the perfect thickness for sandwiches. If you prefer your focaccia thicker or thinner, simply adjust the size of the pan.
- A 4.5-quart KitchenAid bowl is large enough to handle a 2x batch of the recipe.
- For a large sheet of focaccia, a 2x batch of dough fits perfectly in an 18” x 13” half sheet pan.
- When made in the recommended pan sizes, a 1x batch will yield approximately 6 sandwiches, while a 2x batch will yield about 12 sandwiches.
Baker's Assistant: Dive Deeper
For more in-depth information about topics covered on this page, follow the links
Mise en place
Have ready in advance:
- KitchenAid mixer w/hook attachment
- 9.5" x 13" sheet pan (for 1x recipe)
- Parchment paper
- Bench scraper
- Cold water from fridge
Ingredient Properties & Substitutions
Substituting ingredients in a recipe—especially when baking—will almost certainly affect the flavor and texture of the final product. Additionally, not using a scale to measure your ingredients can lead to inconsistent results. To ensure accuracy, I strongly recommend weighing your ingredients and following the recipe as written.
Bread Flour – Protein content 12-14%. I like to use a combination of all purpose flour and bread flour so the focaccia is soft yet sturdy. You can substitute all-purpose flour, but the outcome may vary depending on the protein content.
All-Purpose Flour – Protein content 8-11%. You can substitute bread flour for AP flour in this recipe. This will likely result in a focaccia that's less soft and a bit chewier.
Cold Water – It's important that the water is cold from the fridge, or you can chill it by adding ice and then removing the ice before measuring. The dough may not come together properly if the water is too warm.
Oil – Olive oil is recommended for this recipe, but you can use any oil in the dough. I suggest brushing the baked focaccia with extra virgin olive oil for enhanced flavor.
Yeast – I prefer instant yeast because it can be added directly to the flour without needing to be bloomed (or activated) first. Active dry yeast requires blooming in warm water, and since this recipe involves cold dough, I don't recommend it. Instant yeast can be used in place of active dry yeast in any recipe and it's so much easier to work with! To substitute fresh yeast, refer to the notes section of the recipe card.
Sugar – Granulated white sugar. It contributes to the soft texture of the dough and acts as food for the yeast. You can substitute honey or omit it entirely, but I have not tested this substitution.
Salt – Provides flavor and helps control yeast activity.
Technique
Proper mixing, proofing, shaping and baking are all vital for making good bread. For more in-depth information please see: A Guide to Bread Making 12 Steps for the Home Baker.
Pans
You can bake focaccia in just about anything—cake pans, PYREX glass dishes, muffin tins, cast iron (especially great!), but for sandwich focaccia and Sicilian-style pizza, a 9.5" x 13" quarter sheet pan works best for a 1x batch of dough from this recipe.
For a larger sheet of focaccia, make a 2x batch of dough and use an 18" x 13" half-sheet pan.
When baked in the recommended pan sizes, a 1x batch will yield approximately 6 sandwiches, while a 2x batch will yield about 12 sandwiches.
Pay careful attention
Four points to pay attention to for soft, bubbly focaccia.
Baker's Assistant: Make Extra & Freeze
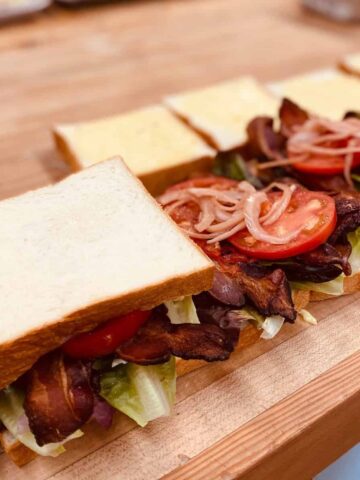
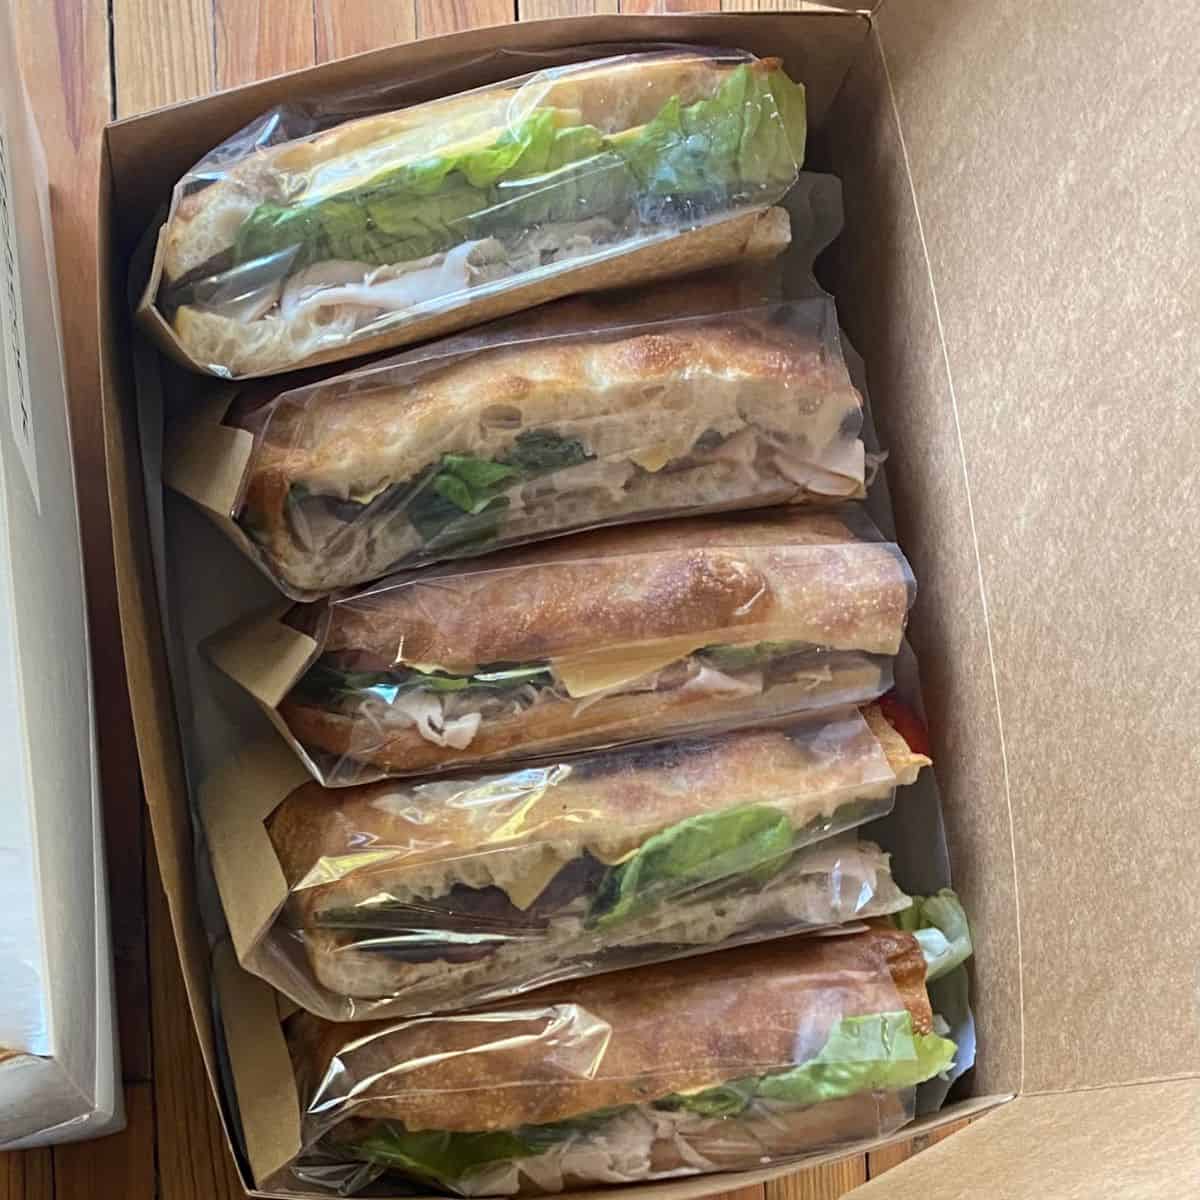
It's incredible how homemade bread can transform your lunch into something truly special. A plate of warm focaccia with extra virgin olive oil and balsamic vinegar for dipping, paired with olives and cheese, makes for a lovely light meal on a sunny afternoon. Or imagine a swipe of aioli, a few slices of salami and provolone, topped with lettuce, tomato, and pickled onions, all nestled between slices of your homemade focaccia. Wrap your sandwich in parchment and head out for a picnic.
Other delicious ideas? Warm prosciutto paninis, fresh caprese sandwiches, pizza toast topped with arugula, soup and a side of focaccia, crostini for your cheese plate, or croutons for your salad.
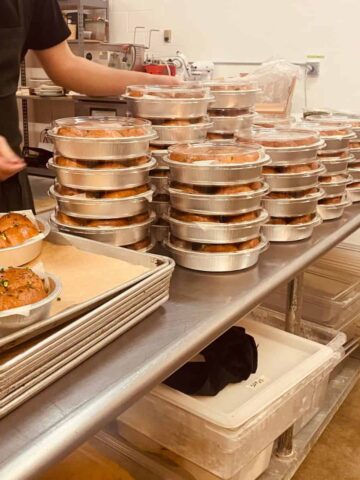
Always Make Extra! No matter how easy a recipe is, good bread still takes time. When mixing a batch of dough, consider making enough for an extra sheet of focaccia—bread freezes incredibly well and comes in handy when you need to throw a meal together.
How to Freeze Baked Focaccia: Don’t just throw the whole sheet in the freezer. Cut it into pieces and slice it in half if you plan to use it for sandwiches. Place it in a ziplock bag or wrap it tightly with plastic wrap. When you're ready to use it, simply thaw on the counter or pop it into the toaster oven—ready in minutes!
Sandwich Focaccia
Equipment
- KitchenAid Mixer w/hook attachment
- Kitchen Scale
- 9x13 pan (see Pans for Focaccia)
- Bench Scraper
- Parchment Paper (see note1)
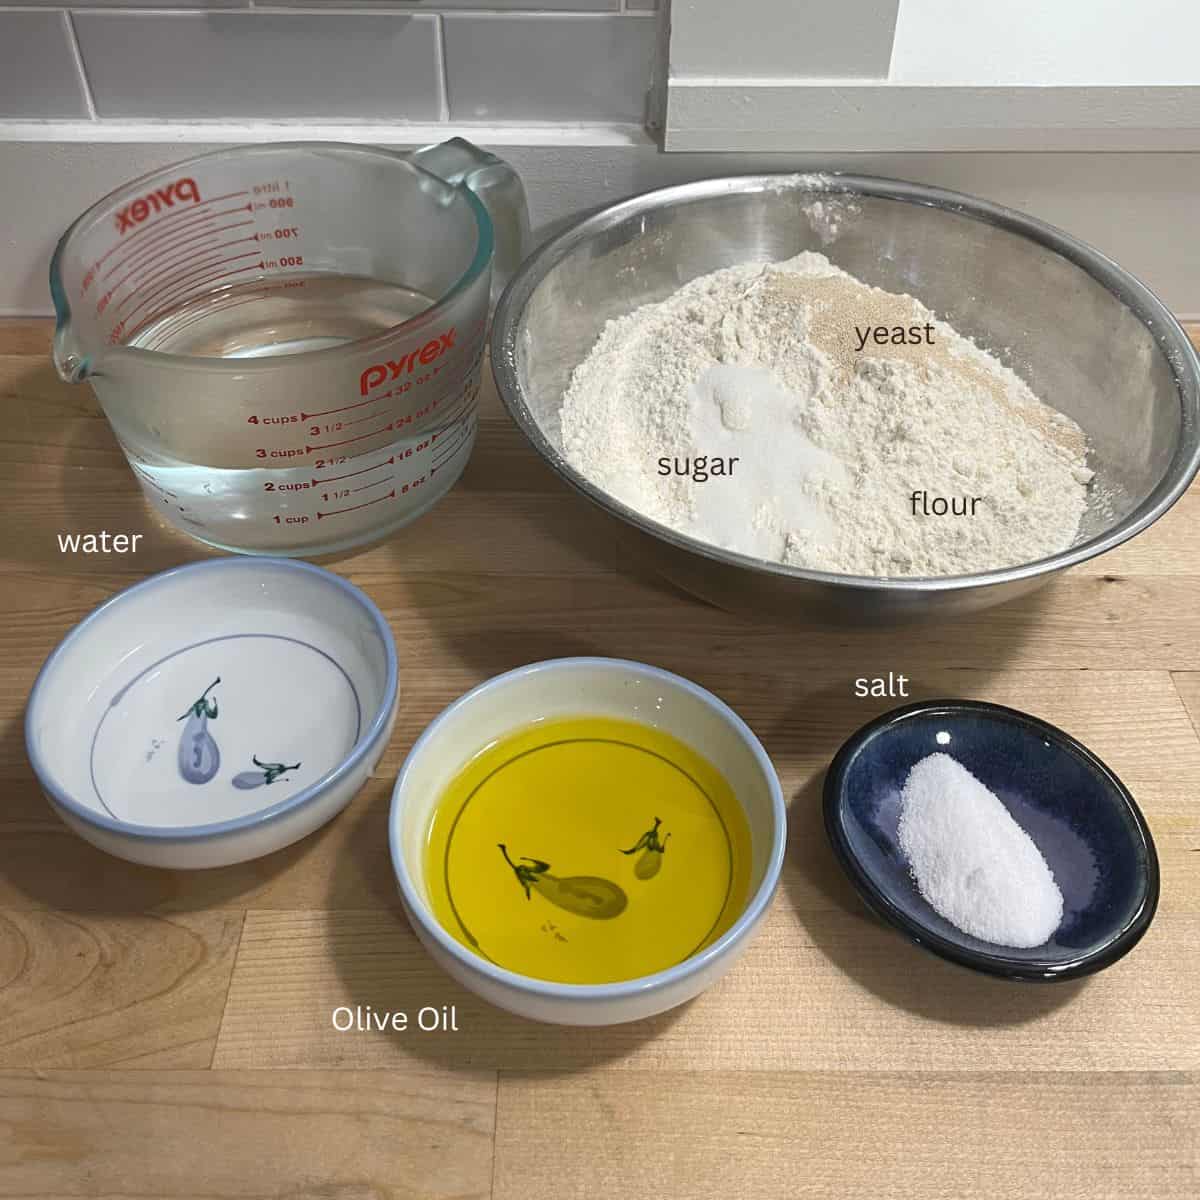
Ingredients
Mix Together
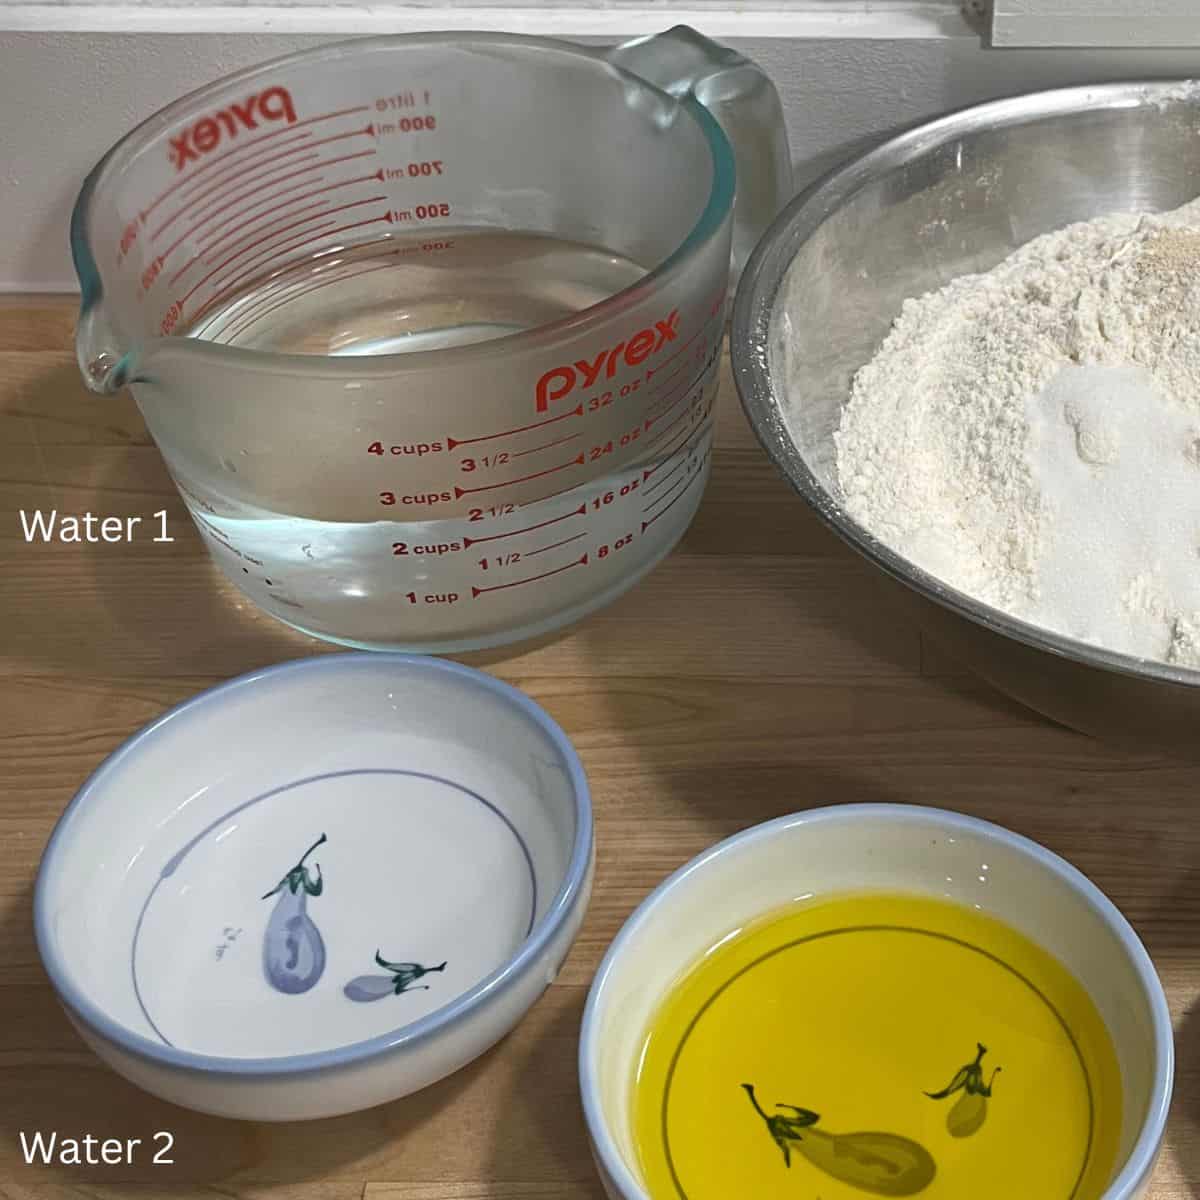
- 254 g Water #1 Cold from fridge
- 170 g Bread Flour
- 170 g All Purpose Flour
- 3 g Instant Yeast See note2
- 3 g Granulated Sugar
2nd Water (Bassinage), Salt & Oil
- 7 g Salt
- 28 g Water #2 Cold from fridge
- 30 g Olive Oil
Brush After Baking
- Extra Virgin Olive OIl as needed
Instructions
DAY 1 - MAKE DOUGH
Combine first five ingredients
- Add the first portion of water to the KitchenAid bowl. In a separate bowl, combine the bread flour, all-purpose flour, yeast, and sugar, then add the dry ingredients to the water.
- Place the KitchenAid bowl on the mixer and mix on low speed using the dough hook attachment. Once the flour is fully hydrated, cover the bowl with plastic wrap and let it rest for 10 minutes
Bassinage
- After the 10-minute rest, remove the plastic wrap and add the salt and the second portion of water to the dough. Mix on low speed for 2 minutes. Cover the bowl with plastic wrap and let it rest for 5 minutes.
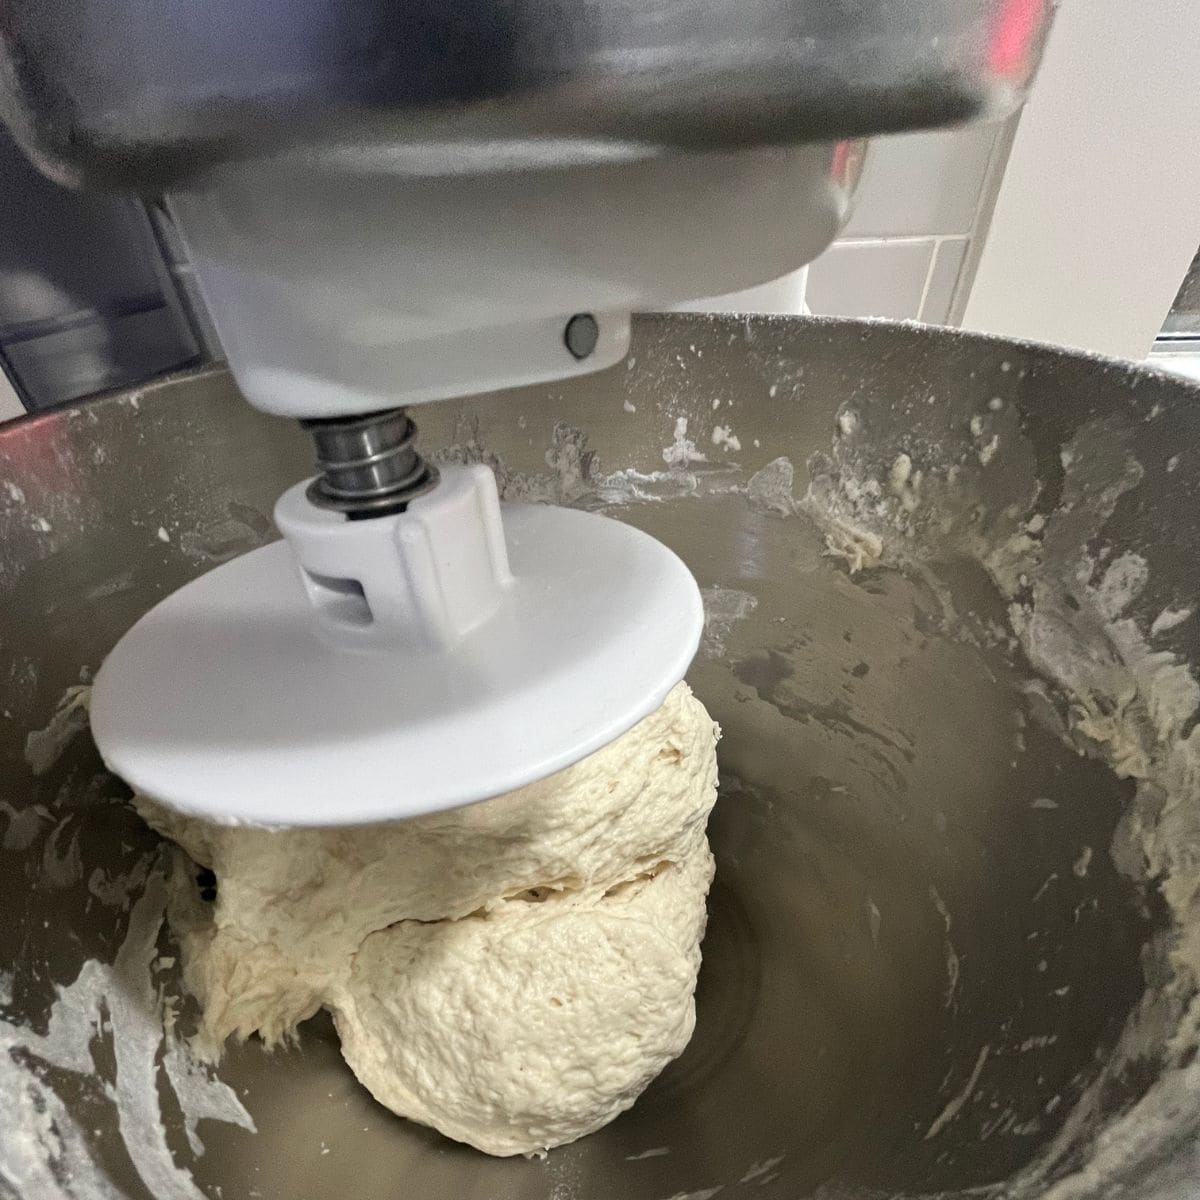
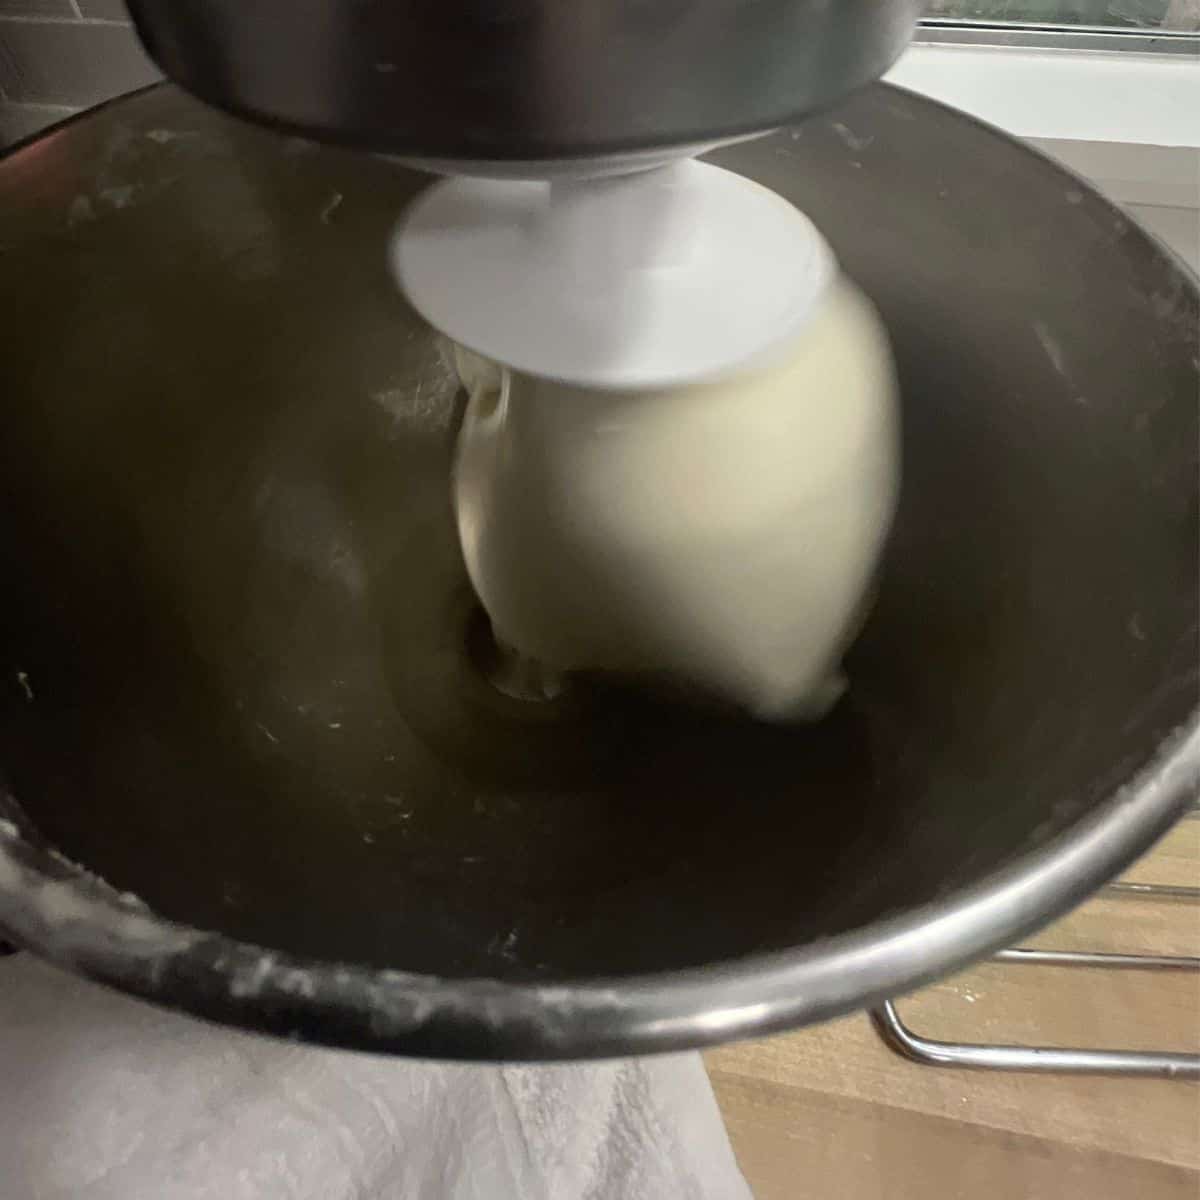
- After 5 minutes, remove plastic, add the 30g of olive oil and mix on medium-high speed (about speed 6) for 4-5 minutes. The dough should be smooth and shiny. Tacky but not sticky. If the dough isn't smooth after mixing for five minutes. See note 3
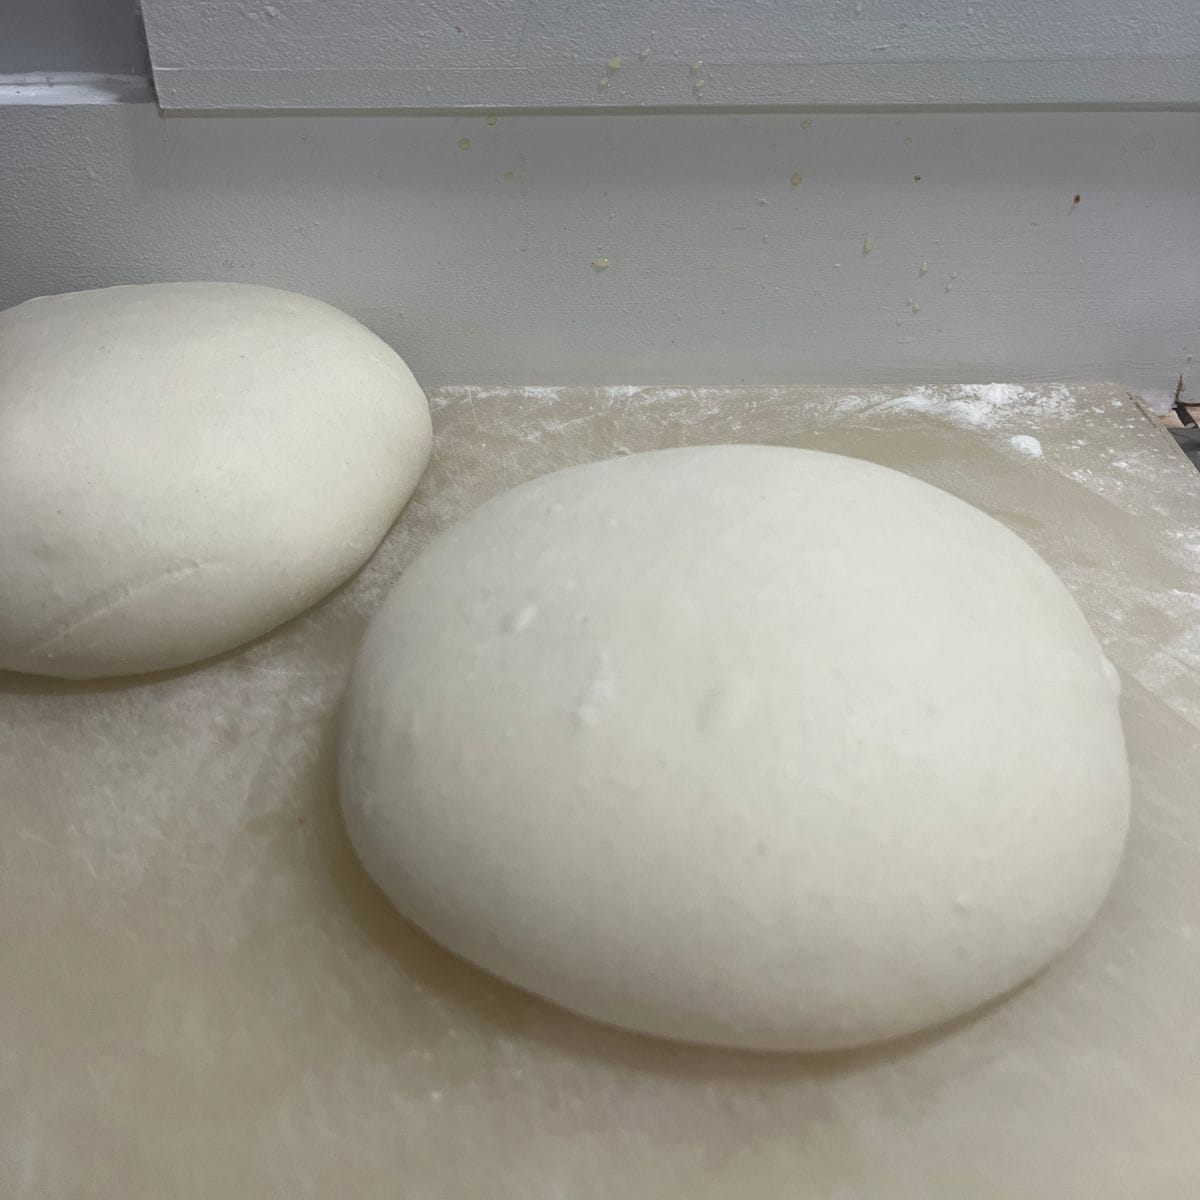
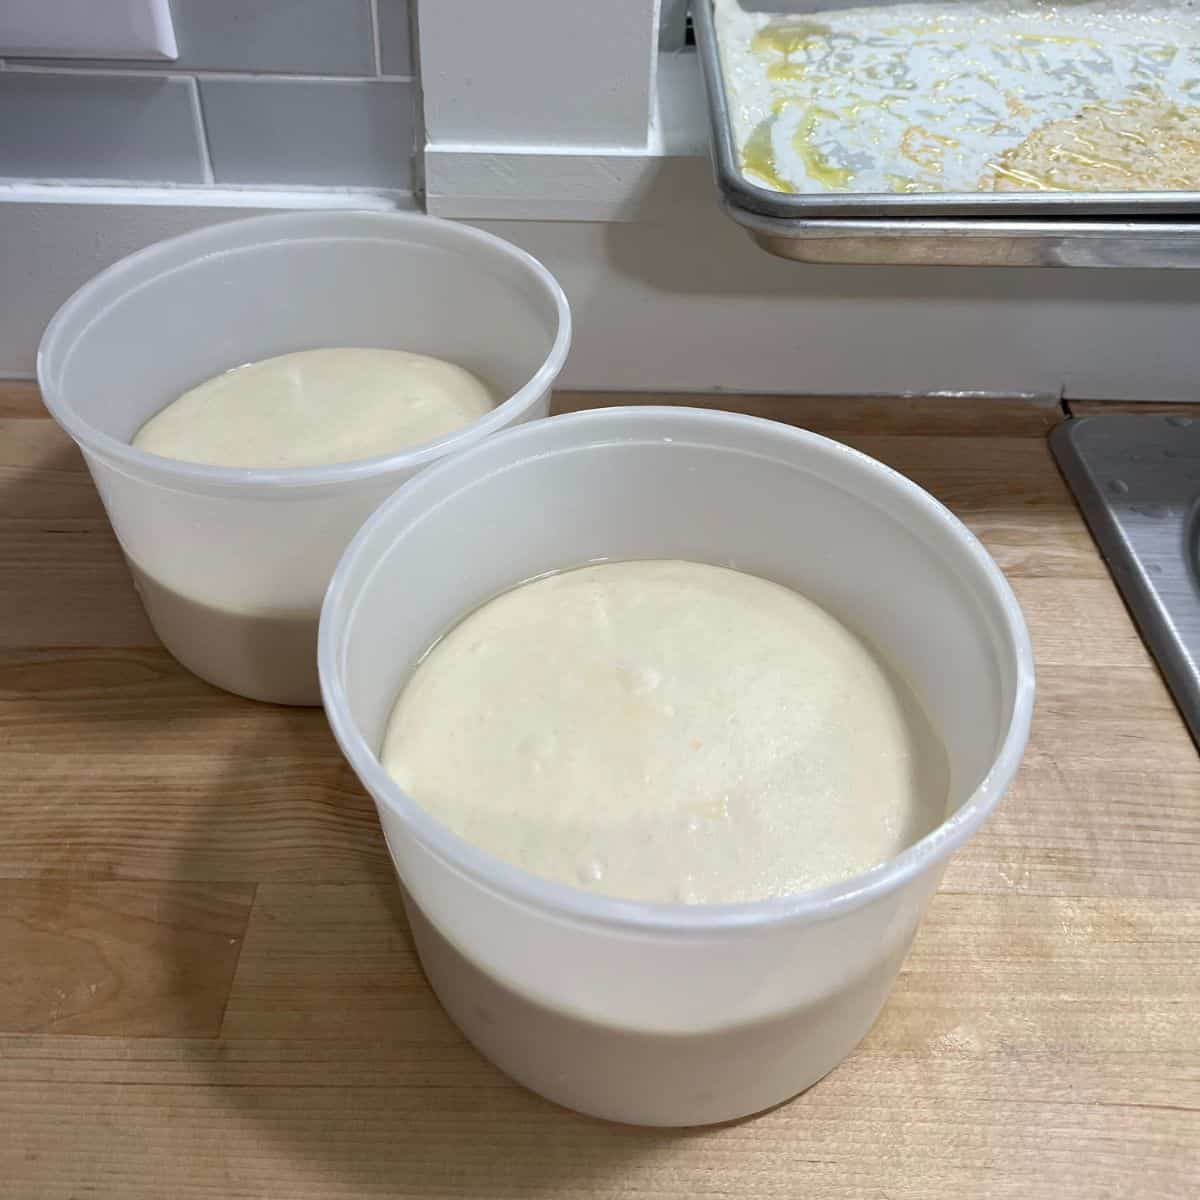
- Remove the dough from the bowl and place onto floured work surface. Shape it into a ball, transfer it to a lightly oiled bowl, and cover with plastic wrap.If making a 2x batch of dough, and are using two pans, divide the dough into two equal pieces (each dough should weigh about 650g). Shape into balls, and place each into its own oiled bowl. Cover with plastic wrap.
DAY 2 - PROOF & BAKE
Proof
- Lightly oil a 9 x 13 sheet pan with a neutral oil (this helps prevent the parchment from sliding around). Place a sheet of parchment paper on top and drizzle with olive oil. Using your hands, spread the olive oil over the parchment, including the edges of the pan. The amount of olive oil you use depends on your taste, but generally, 2-3 tablespoons should be enough.
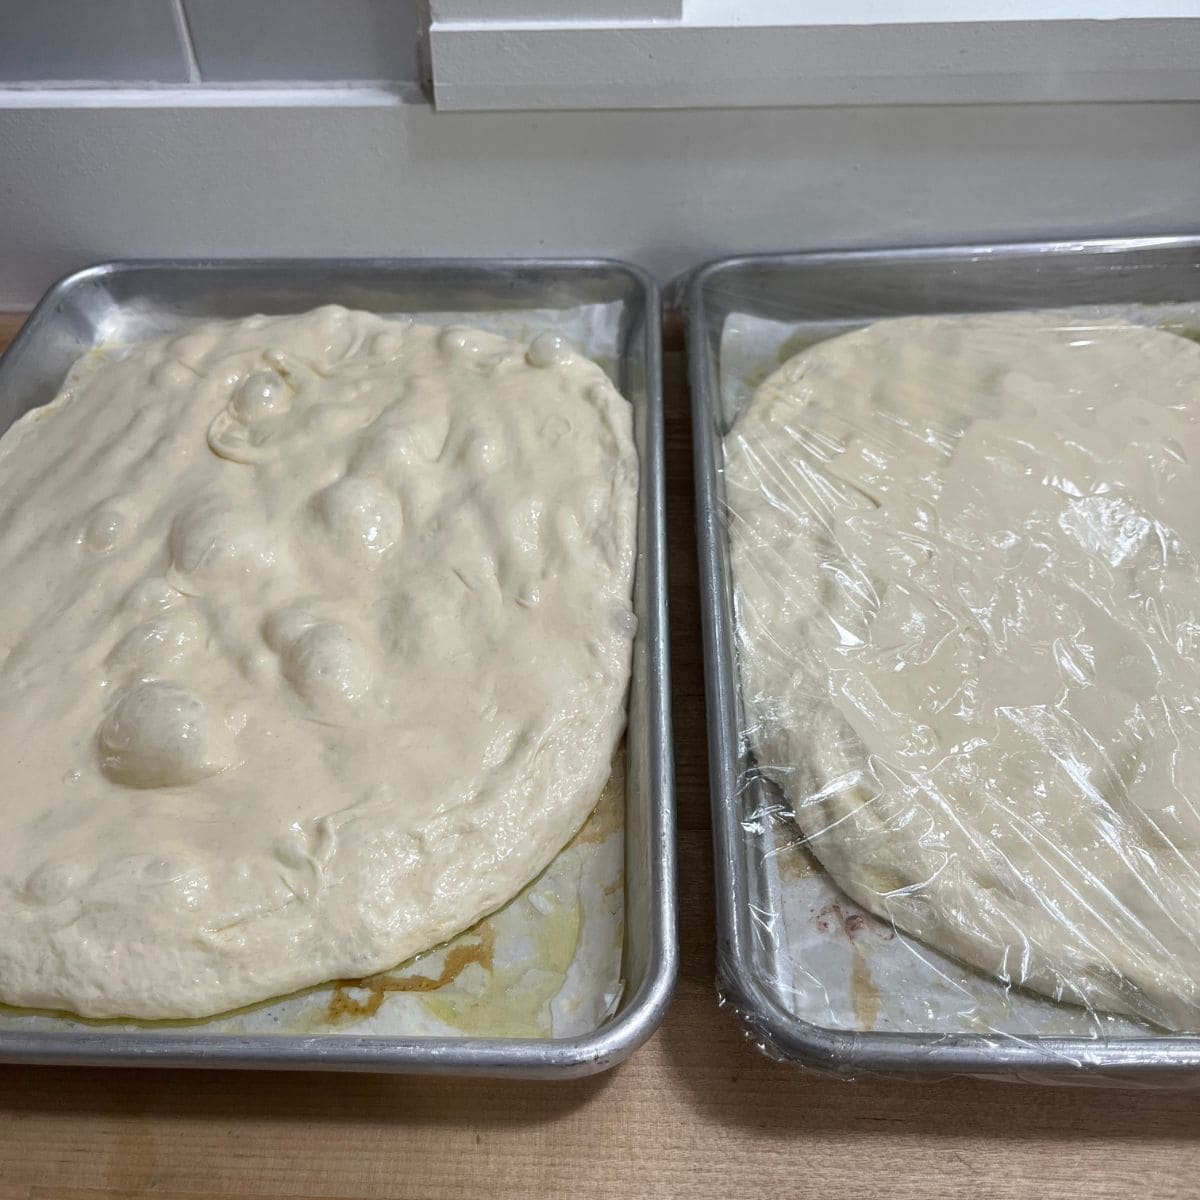
- About 1.5-3 hours before baking, remove the dough from the fridge (proofing time will depend on the temperature of the room). Remove the dough from the bowl and transfer it to the prepared sheet pan, smooth side up. Lightly coat the top with olive oil and gently flatten and stretch the dough as much as it will allow (don’t force it; we’ll continue to stretch it as it relaxes). Cover with plastic wrap and place in a warm spot.
- After about 30 minutes, remove the plastic wrap and stretch the dough toward the edges. You don’t need to be overly gentle, but avoid flattening or forcing it. When it doesn’t stretch further, cover with plastic wrap and return it to the warm spot. Repeat this stretching process until the dough reaches all corners and sides. Cover with plastic wrap and return to the warm spot. Now, we wait for the dough to rise and fill the pan.
Bake
- About 15 minutes before your dough is ready to go into the oven preheat your oven to 500℉. See note 4
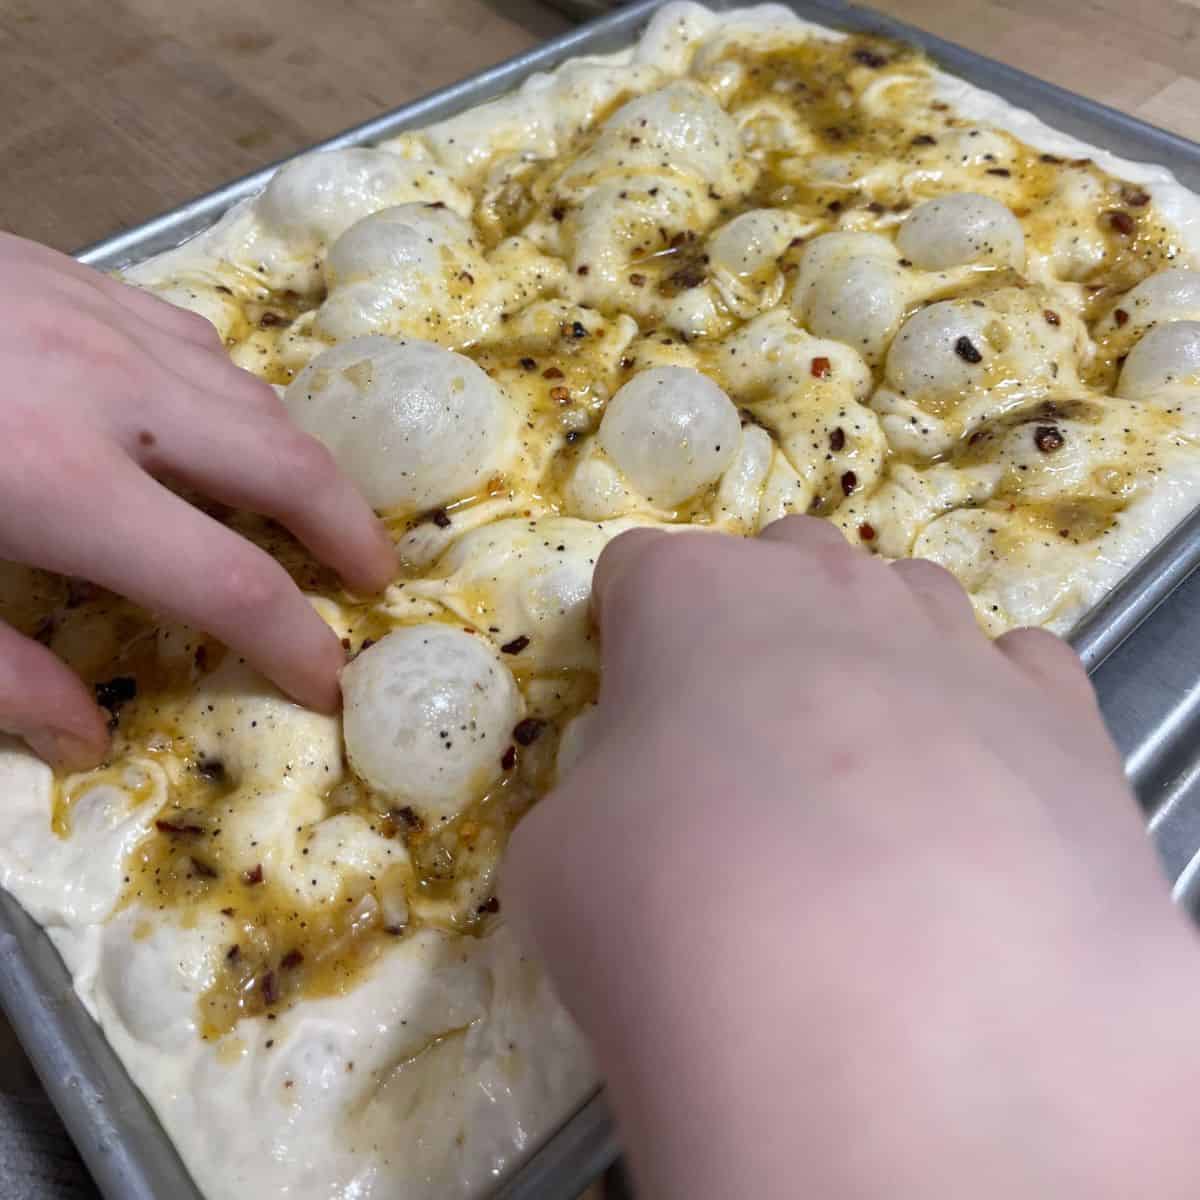
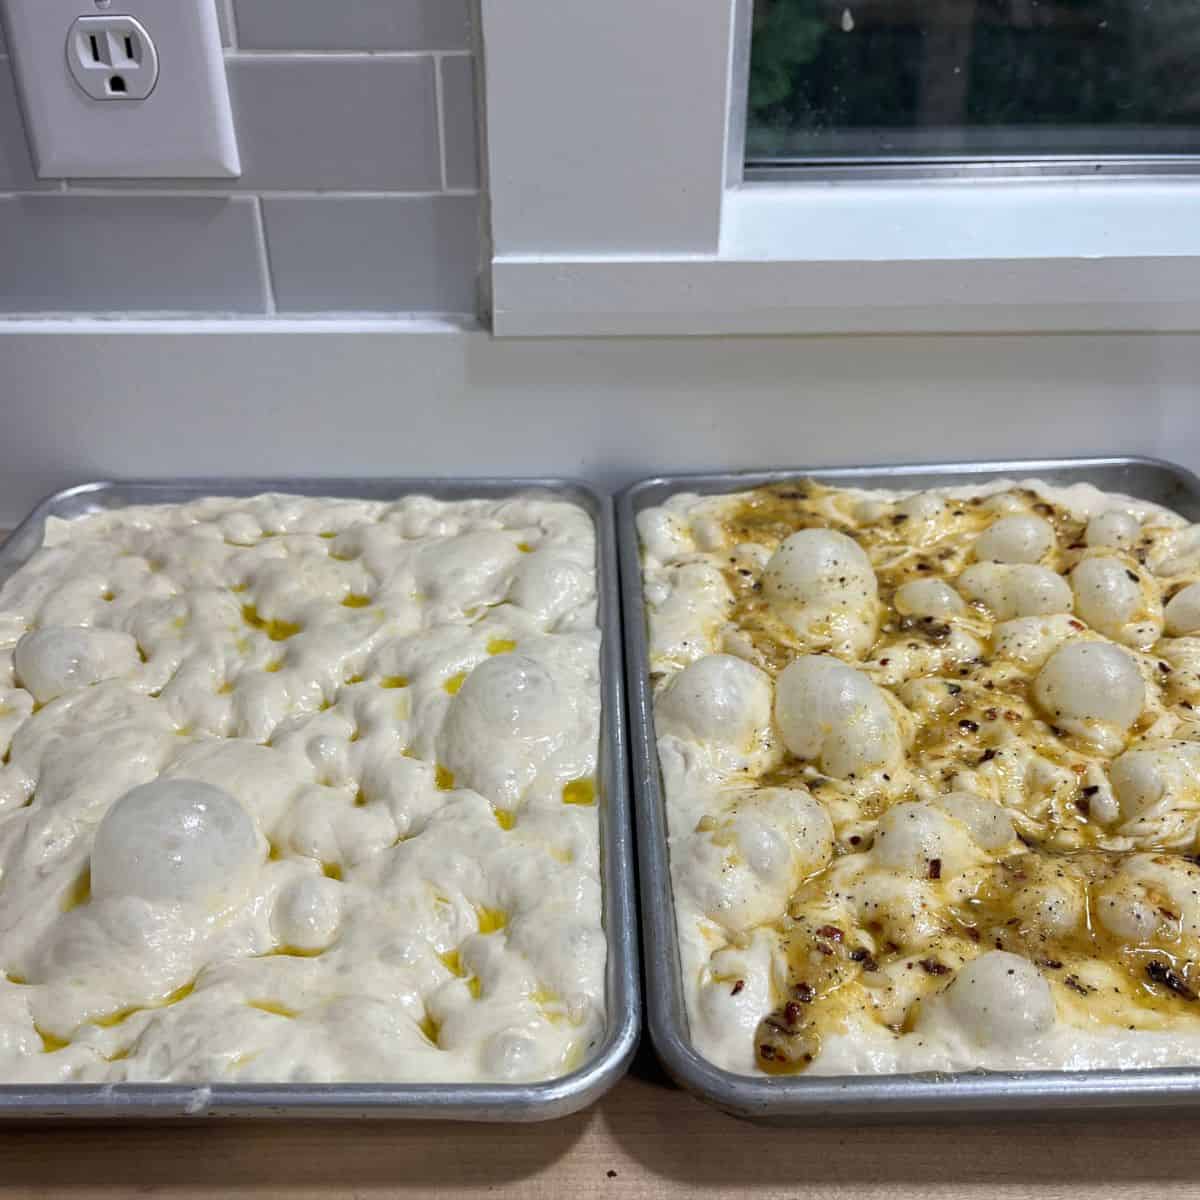
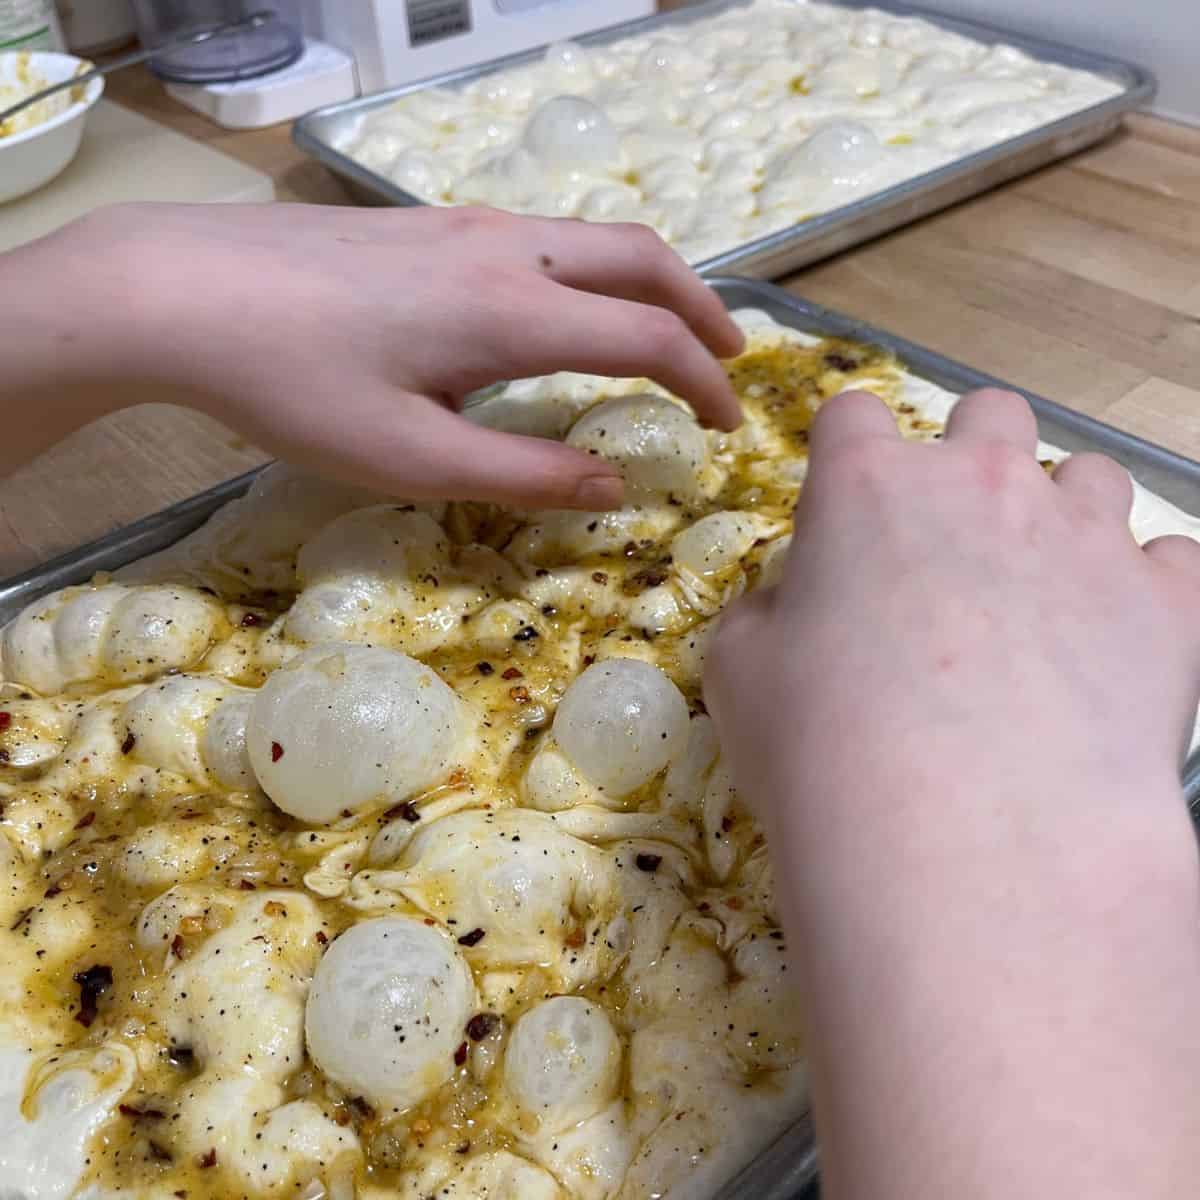
- Carefully remove the plastic wrap from the dough. Drizzle a little oil on top and dimple the dough (for less oil, you can dip your fingers in oil and dimple it). See note5
- Place the pan in the oven and turn the temperature down to 450℉. Bake for approximately 20-25 minutes, rotating the pan halfway through. The top and bottom should be golden when finished. See note6
Finishing & Cooling
- Remove the focaccia from the oven and transfer it to a cooling rack. If the bread is stuck to the edges of the pan, use a bench scraper to release it. Brush with olive oil and allow to cool fully before cutting.
Notes
- Parchment paper is not necessary if you're using non-stick or well-seasoned cast iron pans. You can also purchase 18" x 13" parchment sheets on Amazon.
- If you're using fresh yeast, increase the quantity to 6g. Crumble and add it to the water, then proceed with the recipe as instructed. I do not recommend using active dry yeast for this recipe (see the explanation in the post).
- Dough isn't smooth after mixing? If the dough isn't smooth after mixing for five minutes, place it in a lightly oiled bowl and refrigerate it. After 20 minutes, give the dough a fold, and again after 40 minutes. The dough should then be smooth. Resume at step 3 under "Bassinage."
- When is the dough ready for the oven? If you're using a 9 x 13 sheet pan, a fully proofed dough should rise to the top of the pan and nearly fill it. Here are some additional indicators to watch for: dough is jiggly and bouncy, and produces bubbles when dimpled.
- Dimpling dough for sandwiches: To avoid large holes in the bottom crust of your focaccia, be gentle and avoid pressing all the way down to the sheet pan.
- Oven times and temperatures: Baking times can vary depending on your oven and pan size. Some ovens run hotter (or colder), have hot spots, or behave differently in convection mode. In a commercial convection oven, I baked this focaccia for 12 minutes at 400°F (500°F preheat).
Nutrition
Credit, sources, shout outs (& sometimes ramblings)
Very few recipes are true originals. Here is where I share my inspiration and cite my sources.
There are as many ways to make focaccia as there are ways to eat it—this recipe is just one of many variations. At the end of the day, no matter which focaccia recipe you follow, the ratios of flour, water, sugar, salt, yeast, and oil remain quite similar. This is because each bread variety has its own set of ratios. You can adjust the proportions of each ingredient slightly in either direction, but careful - going too far can result in your bread no longer being focaccia.
If the first part of the bread equation is the ingredients, and their ratios, the second part is the method. How you choose to make your focaccia depends entirely on what's at your disposal and what you’re hoping to achieve. Timing restrictions? Don’t have a mixer? Looking for maximum flavor? A fluffier texture? Adjusting the method, along with minor tweaks to the formula, will help you create a recipe that fits your schedule and is uniquely yours.
Baker's Assistant: Baker's Percentage
Flour 100%
Water 83%
Sugar 1%
Yeast 1%
Salt 2%
Oil 8%
Why should you trust my recipes? You can read about me here.