


How Long Should You Proof Bread?
Recipes often give a time range: 1 hour, maybe 2, sometimes “until doubled.”
But what happens if it’s been two hours and your dough has barely risen?
Or if it’s only been 30 minutes and it’s already doubled?
That’s where things start to feel inconsistent.
Because proofing isn’t simply about following a set amount of time - and it’s not just about watching dough expand to fill a bowl.
Proofing is fermentation.
And fermentation is controlled by time and temperature, working together to produce a predictable result.
Once you understand that, the inconsistency starts to make more sense.
So while this is often asked as a timing question - how long should I proof bread? - what bakers are really trying to understand is something deeper:
How to proof dough properly.
Quick Answer: How Long Should Dough Proof?
Many bread doughs made with commercial yeast will proof in about 1½ to 3 hours under typical conditions, though this can vary significantly depending on:
- dough temperature
- room temperature
- dough type
- yeast activity
But time alone isn’t reliable.
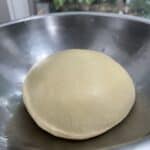
Properly proofed dough should:
- increase to about 1.5-2× its original size
- feel light and aerated
- pass the poke test - slowly springing back while holding a slight indentation
Jump to:
- How Long Should You Proof Bread?
- Quick Answer: How Long Should Dough Proof?
- Professional Baker Insight
- Core Principle: Proofing Is Fermentation
- When Fermentation Occurs
- Temperature and Time
- What This Means in Practice
- How fat and sugar affects fermentation
- How to Know When Proofing Is Complete
- Where and How to Proof Dough
- Simple Steps to Ensure Successful Fermentation
- Common Proofing Questions
- Bread Making: Start Here
- Final Thoughts
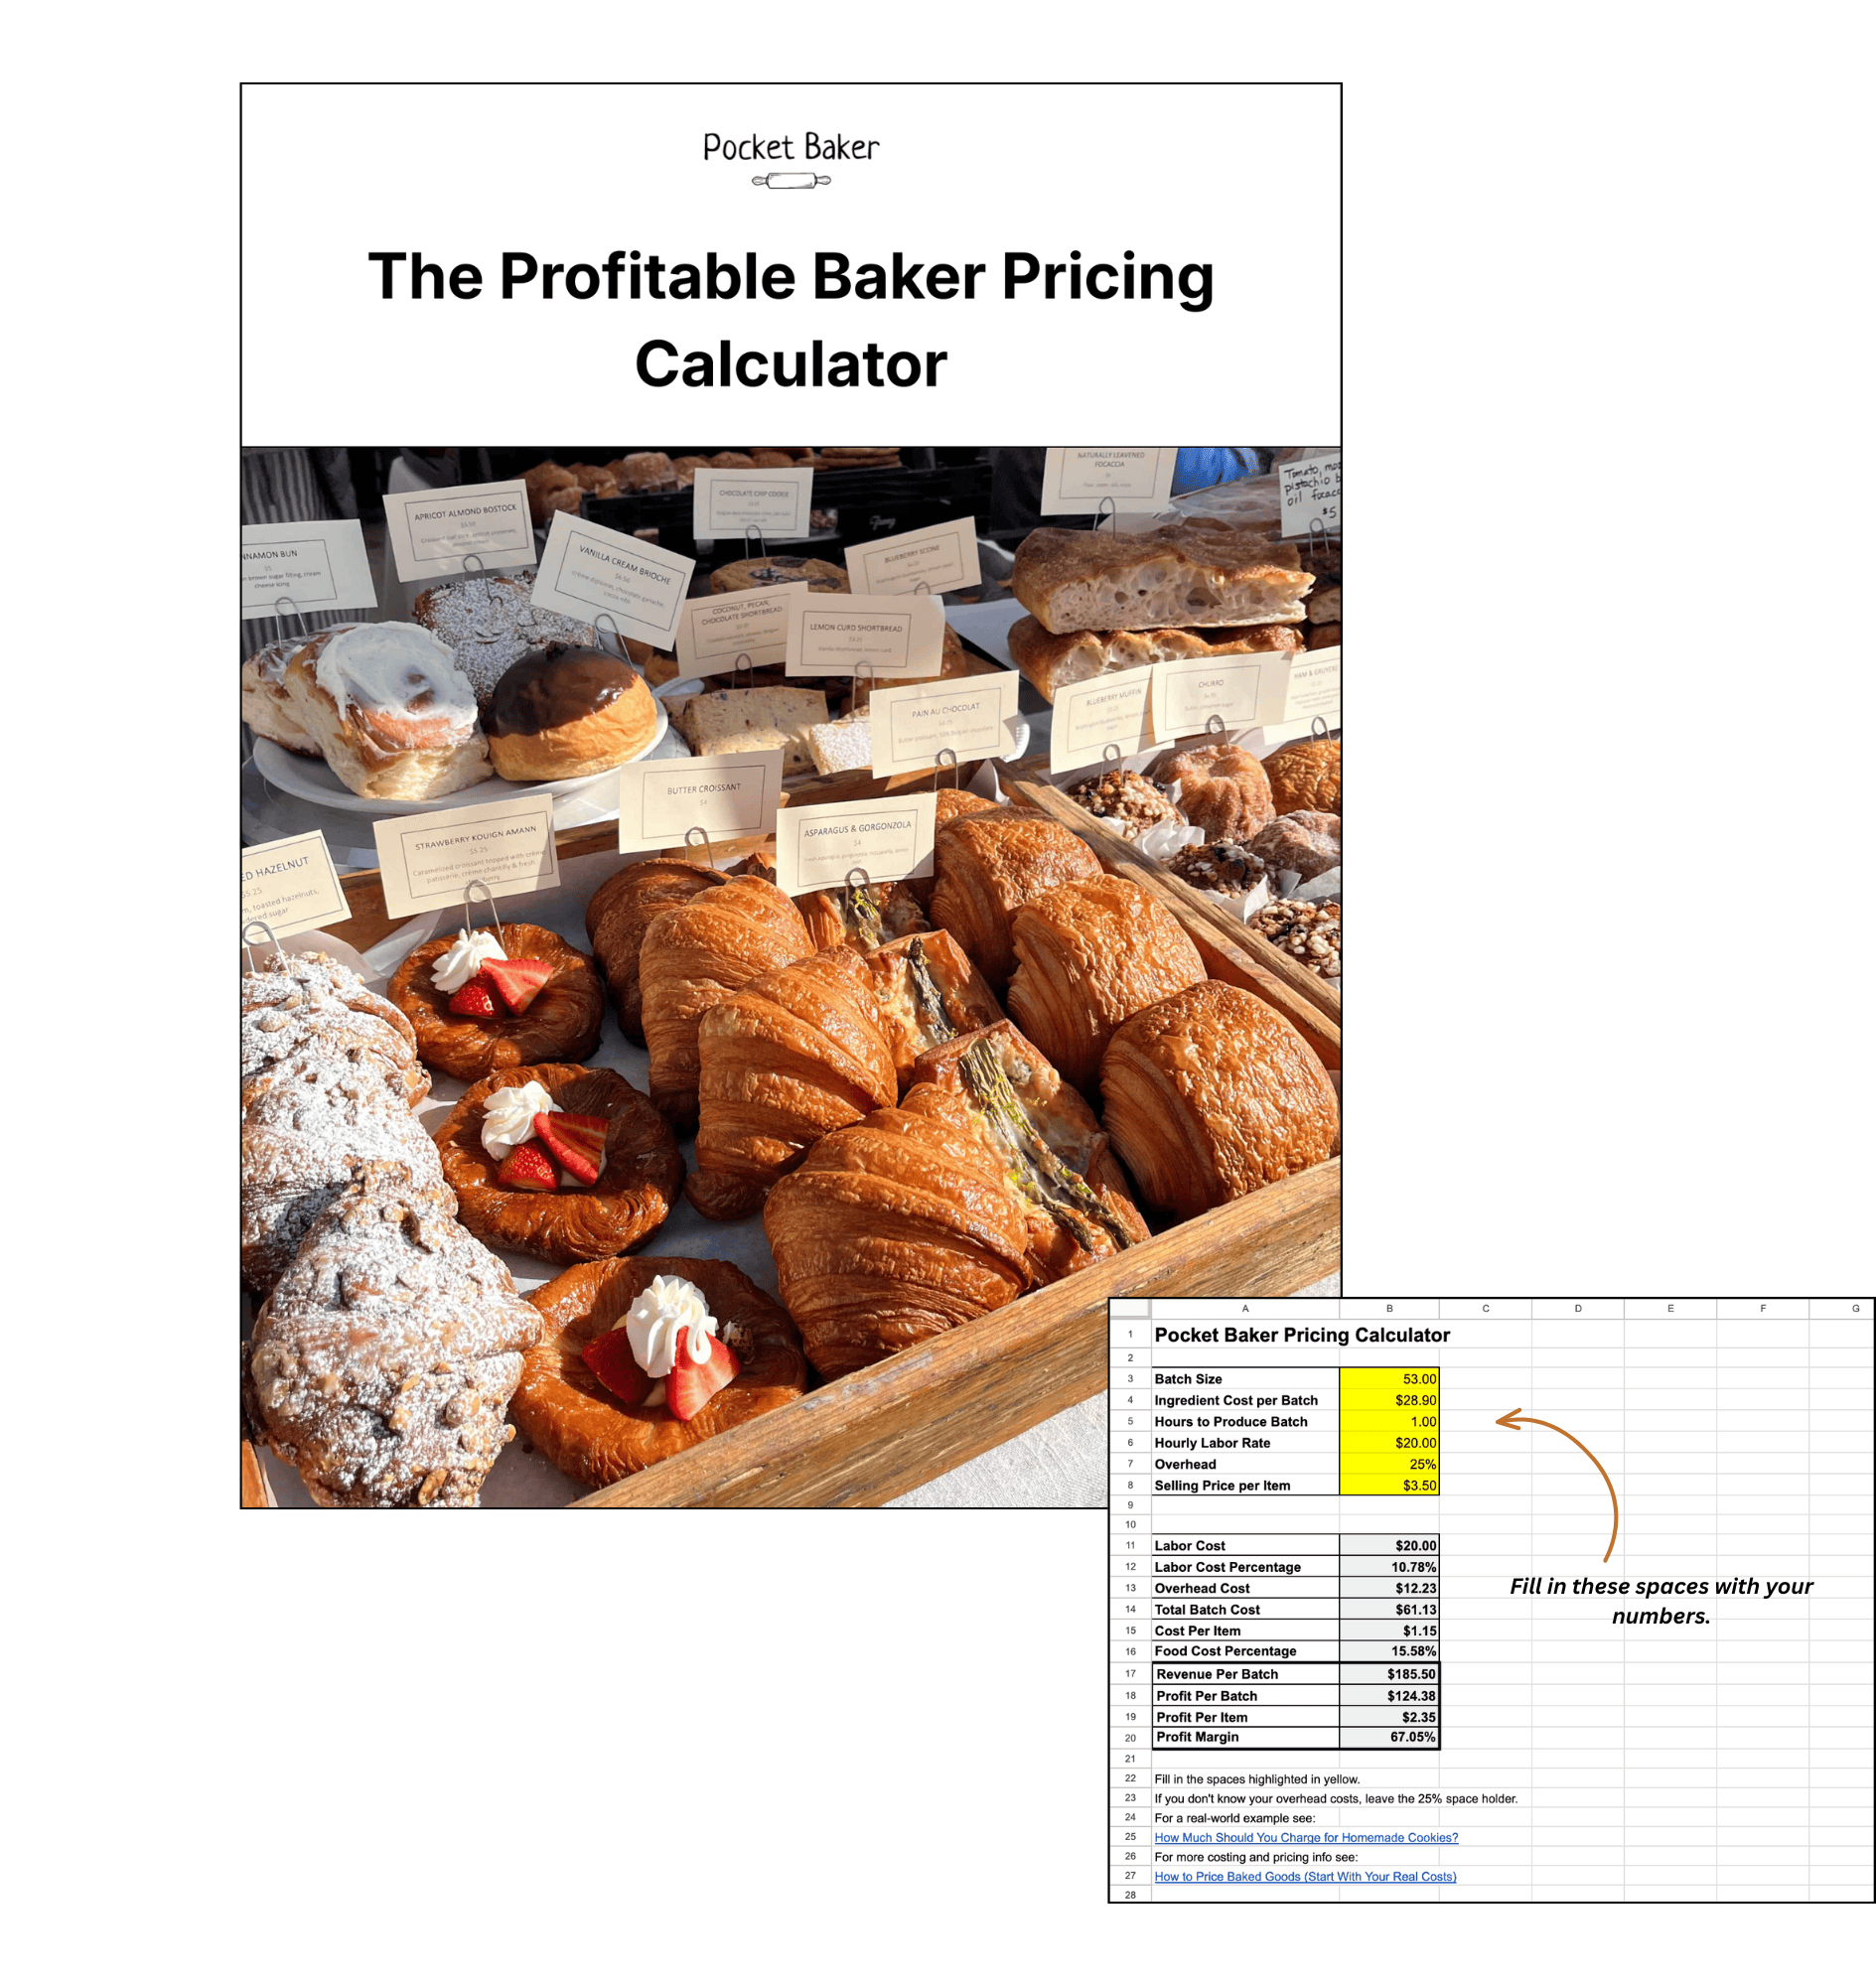
- Pocket Baker Perspective
- Get the FREE Profitable Baker Pricing Calculator
Professional Baker Insight
If the answer is “1½ to 2 hours” and “until doubled,” how is this any different from what you’ll find elsewhere?
Because those guidelines only work under ideal conditions.
For a new baker, time and volume are useful starting points. They help you judge when dough is ready to move forward.
But in practice, conditions are rarely ideal.
Temperature changes. Dough varies. Kitchens are inconsistent.
In a professional bakery, proofing isn’t left to chance.
Bakers manage time and temperature together - adjusting conditions so the dough develops properly, not just quickly.
The goal isn’t to follow a timeline - it’s to manage a process.
Core Principle: Proofing Is Fermentation
“Baking great bread comes down to one skill - learning to manipulate time and temperature to control outcomes.” -Peter Reinhart The Bread Baker’s Apprentice
Proofing is simply fermentation in action.
During this stage:
- gas creates volume
- fermentation builds flavor
- structure develops and is supported by fermentation
But fermentation takes time.
Cut it short, and the dough may lack volume, strength, and flavor.
👉 If your bread often turns out heavy or flat, it could be a sign you cut fermentation short
→ Why Is My Bread Dense? (6 Common Causes and How to Fix Them)
Good bread comes from managing time and temperature together - not relying on one alone.
When Fermentation Occurs
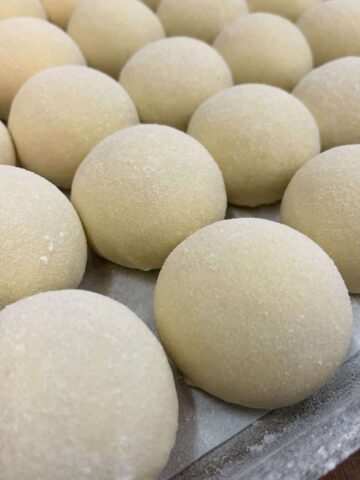
Bulk Fermentation (First Rise)
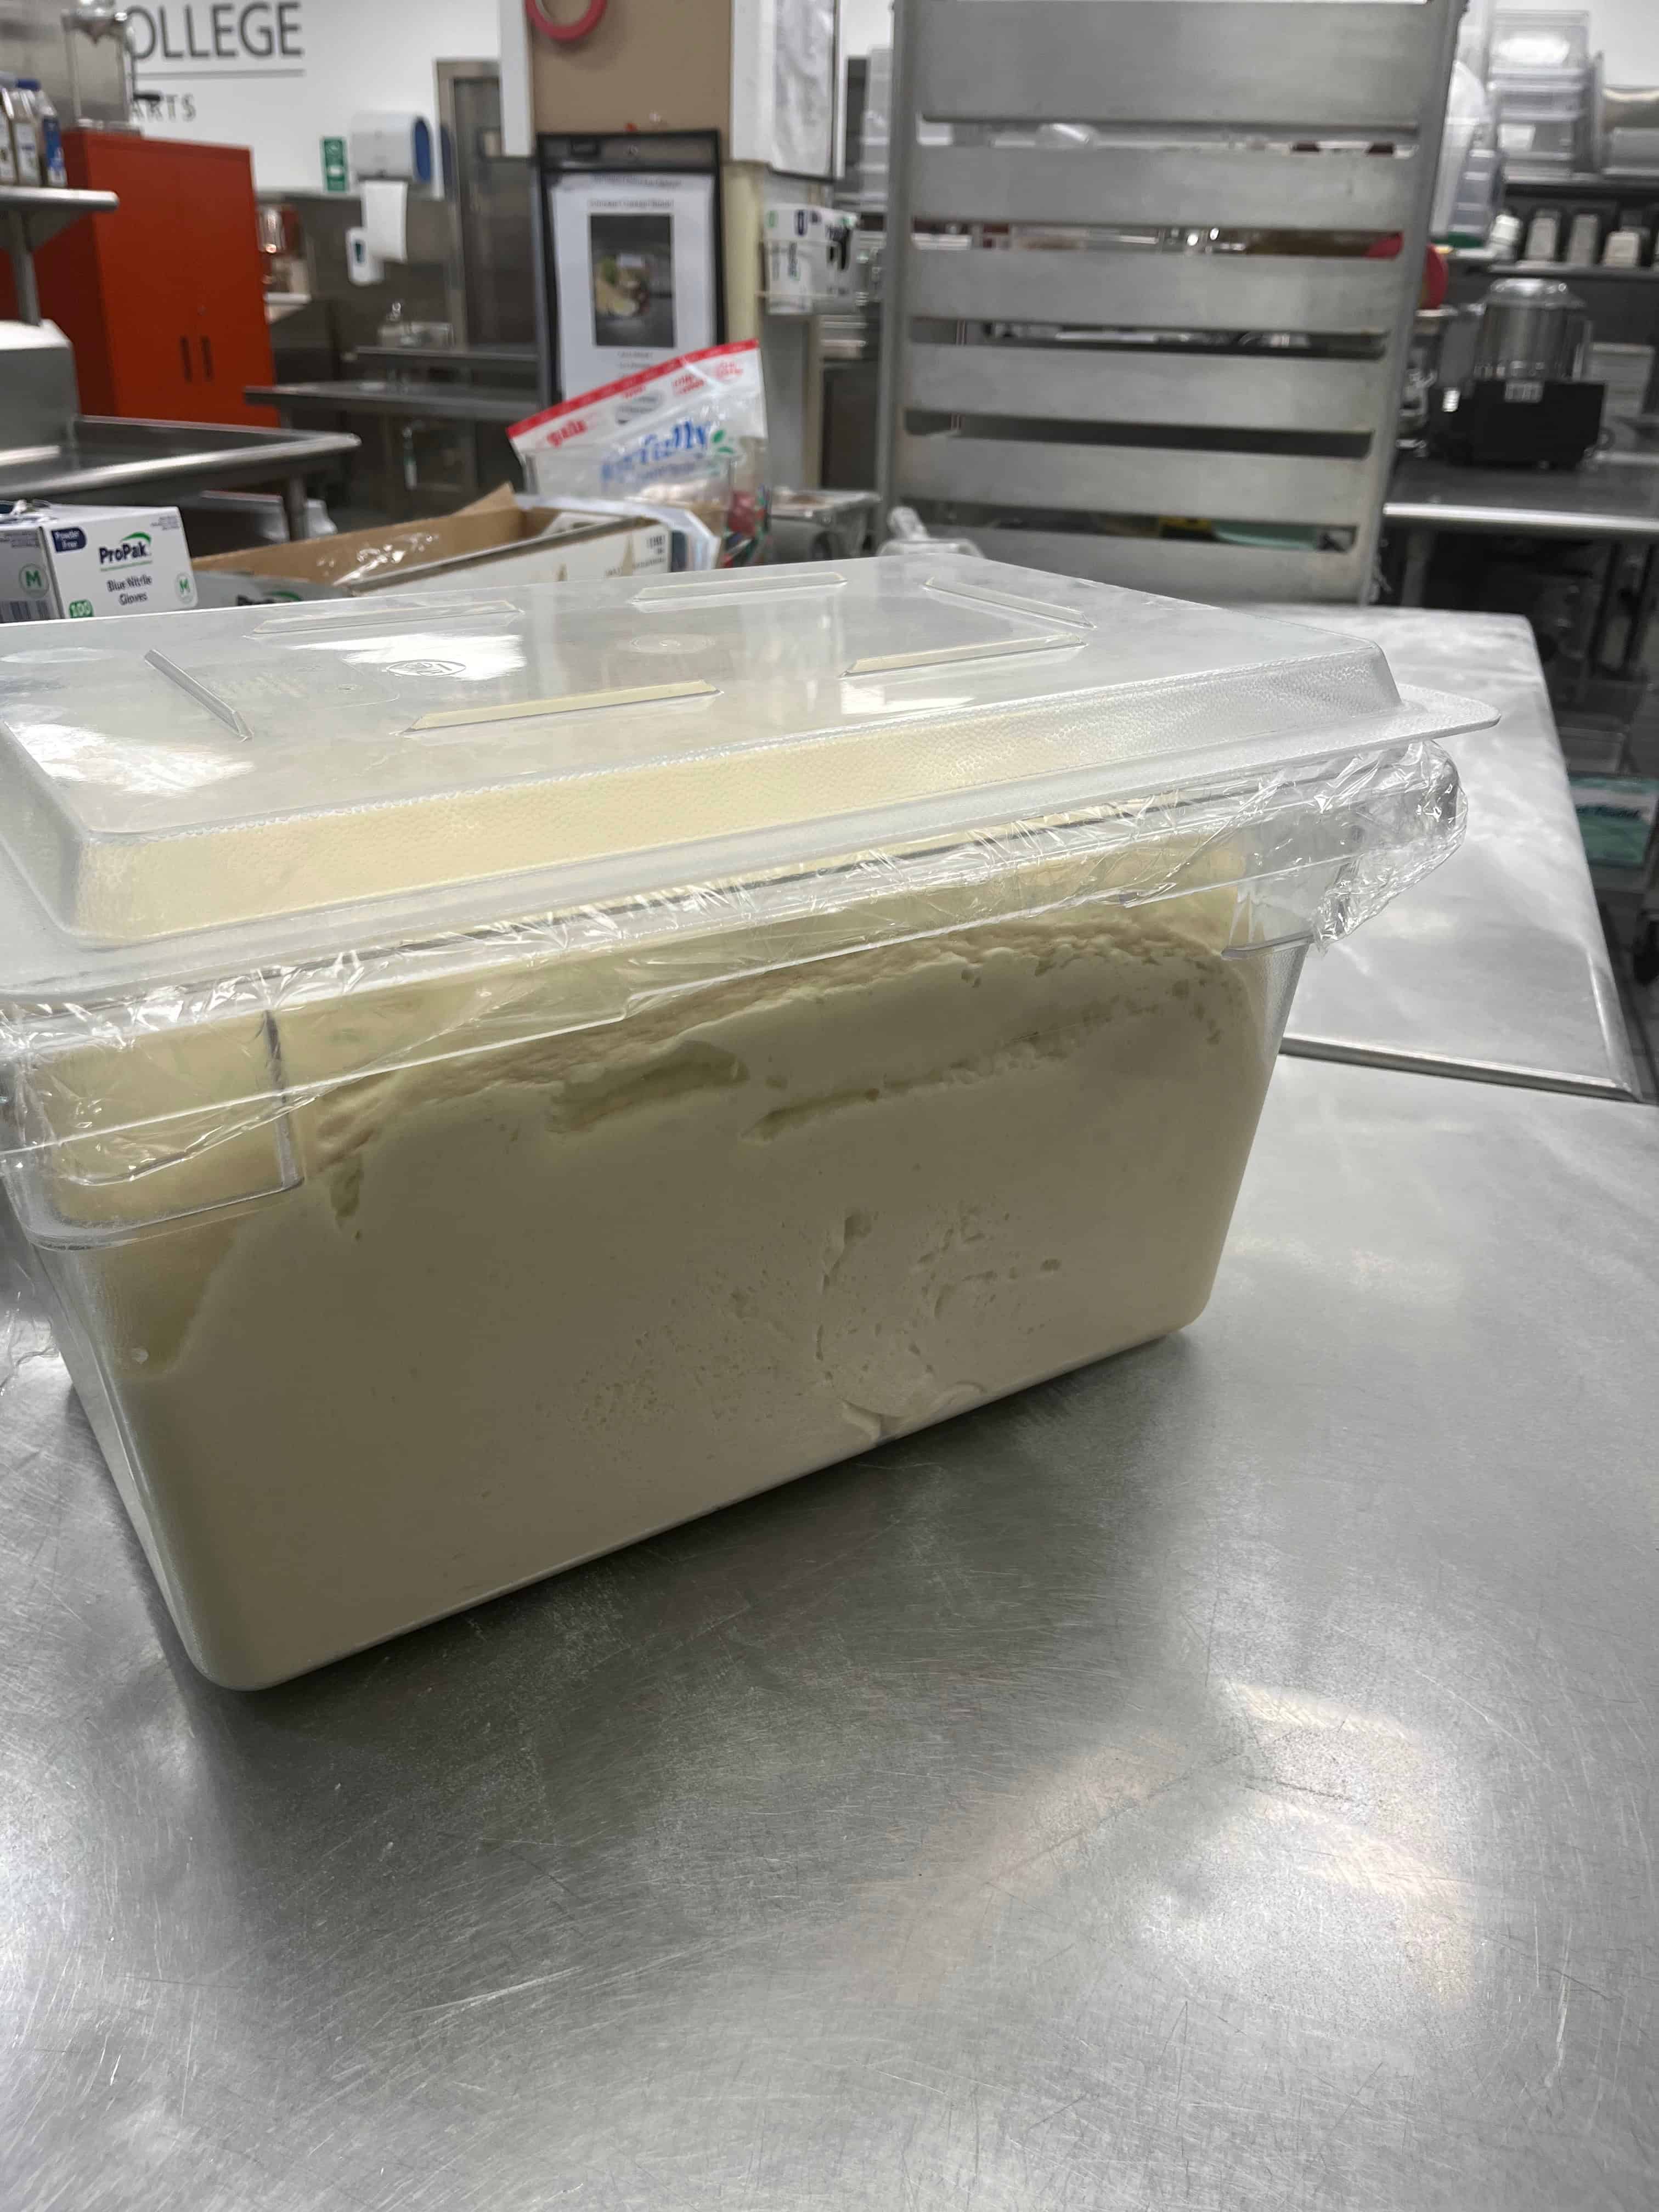
Bulk fermentation begins immediately after mixing.
The dough rests in a covered container while yeast produces gas and the dough begins to expand and strengthen.
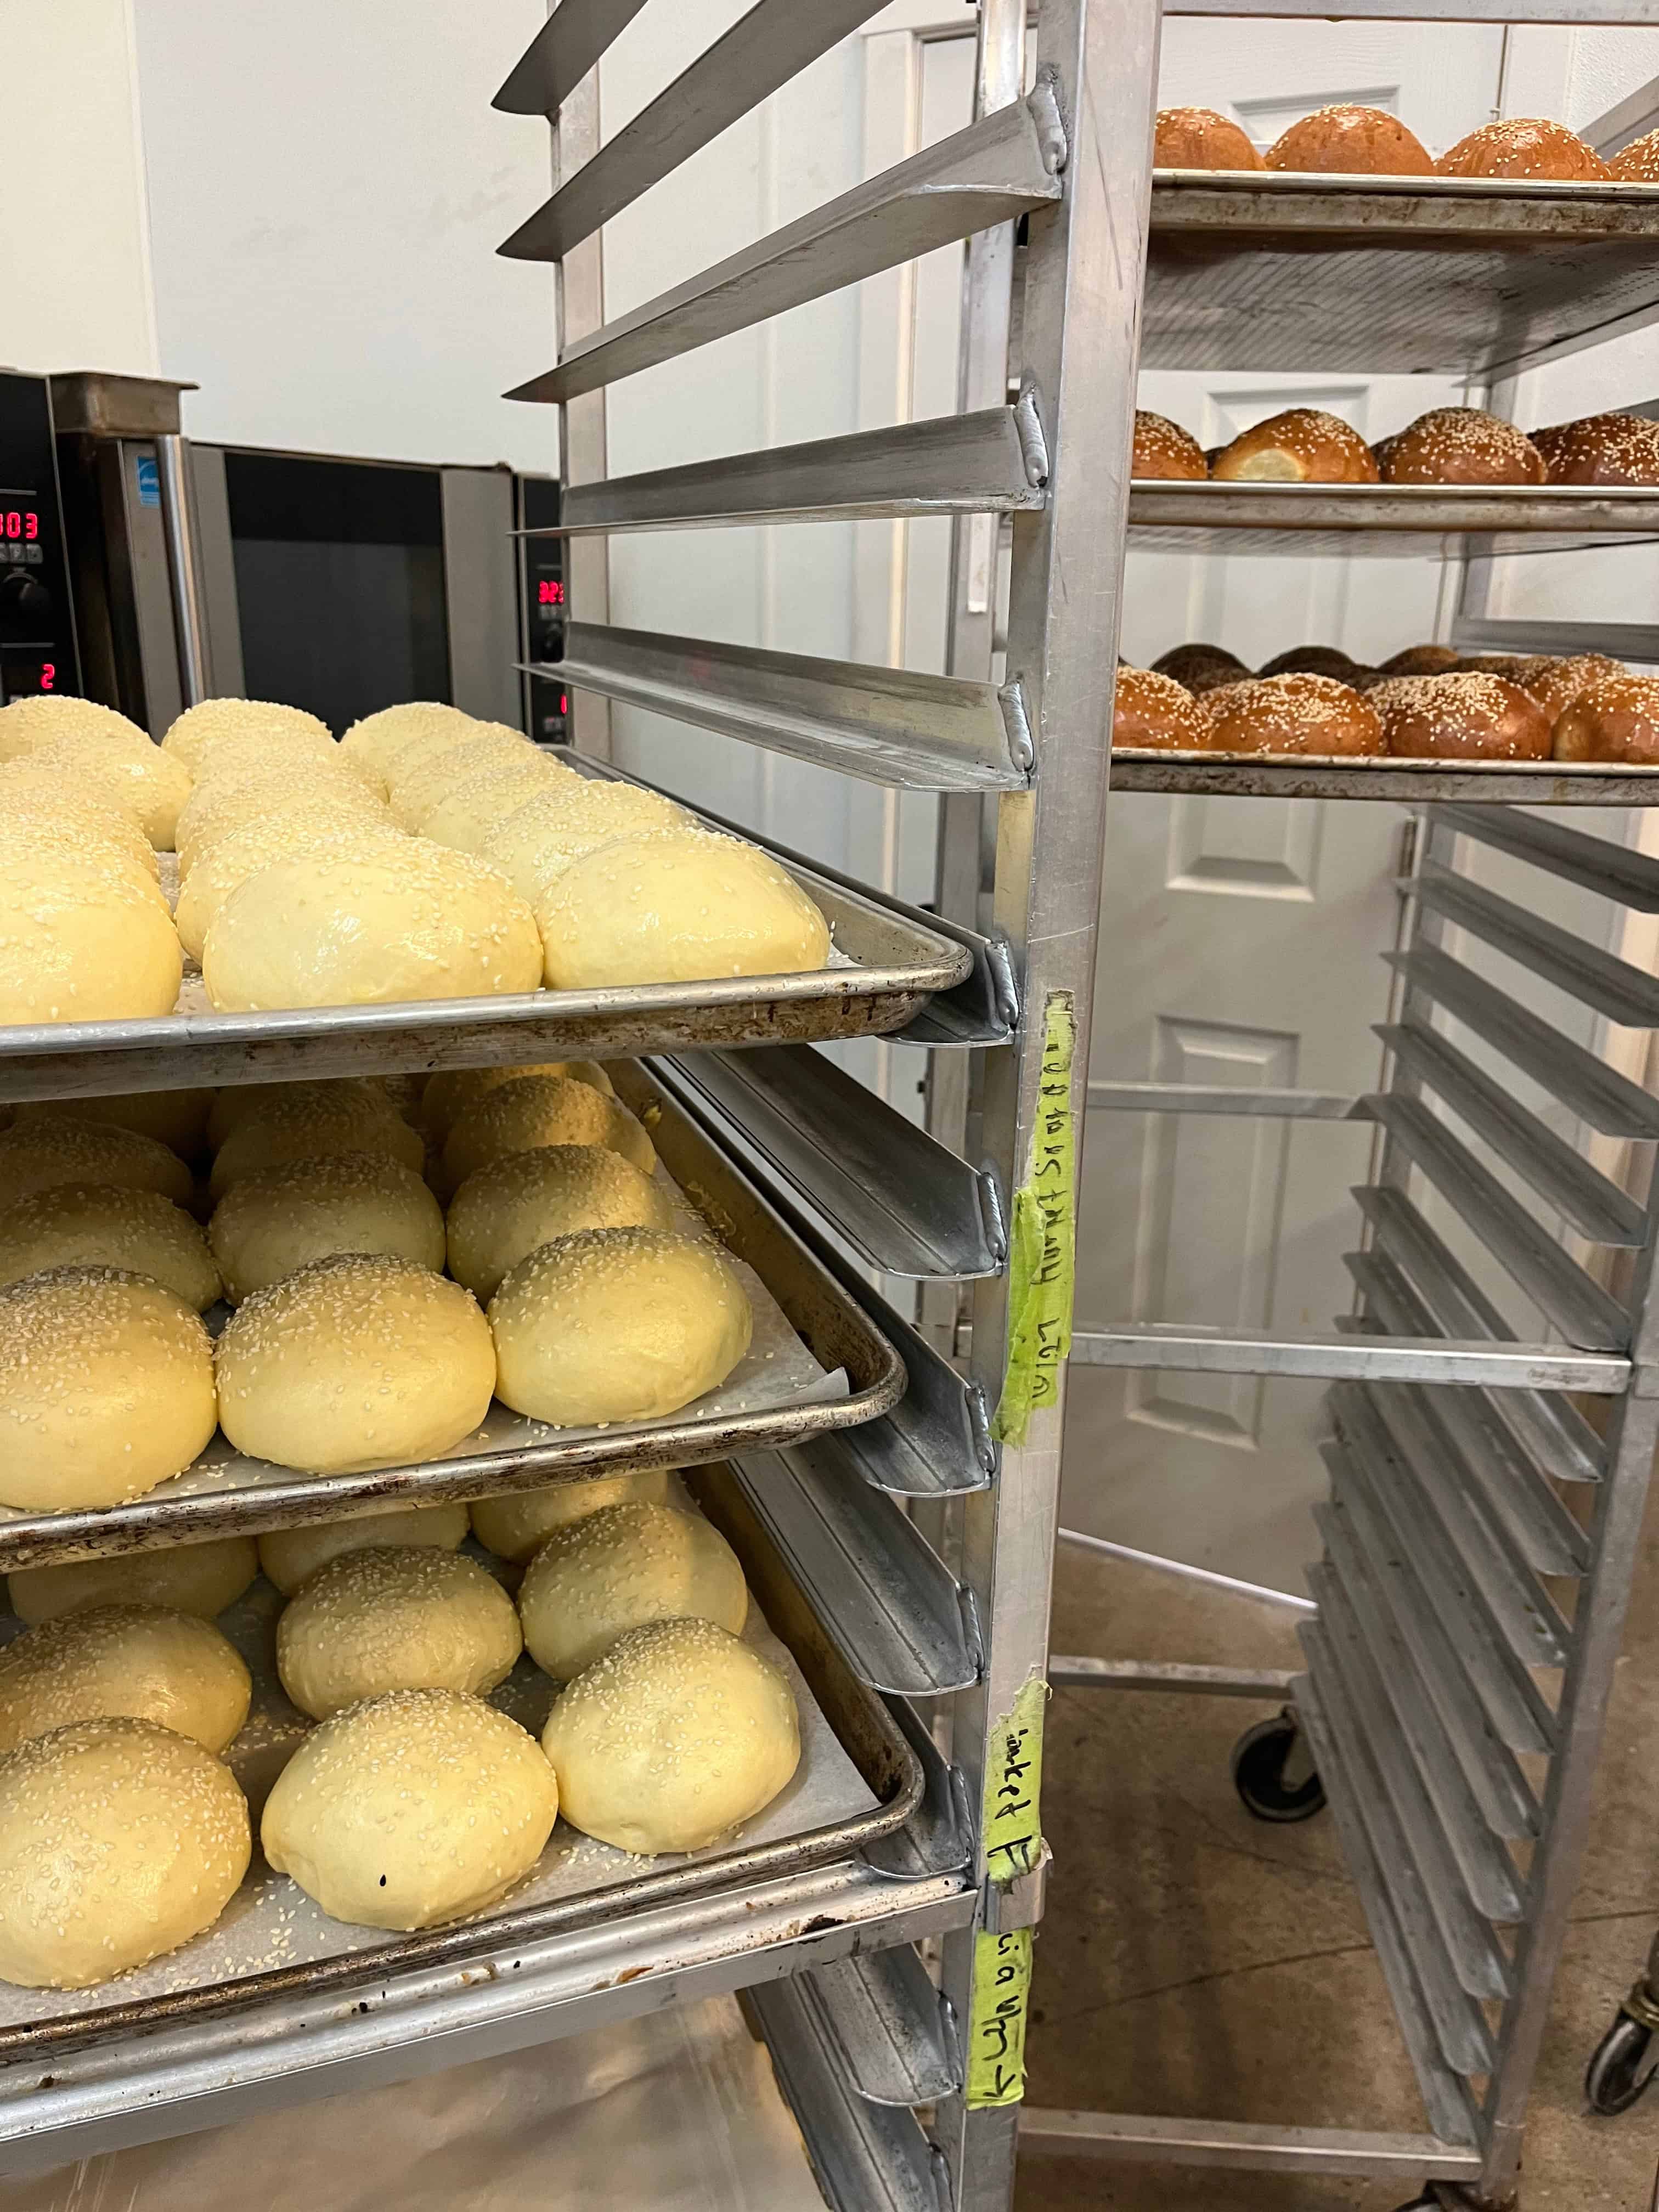
A properly bulk-fermented dough will:
- increase noticeably in volume (often around 1.5× - 2×, depending on the dough)
- show visible gas bubbles
- slowly spring back when poked
For many doughs, this stage takes 1 to 3 hours, depending on conditions. Sourdough typically takes longer, depending on the amount of starter used.
At this stage, you’re not just waiting - you’re allowing structure and flavor to develop.
👉 Bulk fermentation is part of a larger process - if you want to see how it fits into the full workflow:
→ A Guide to Bread Making - 12 Steps for the Home Baker
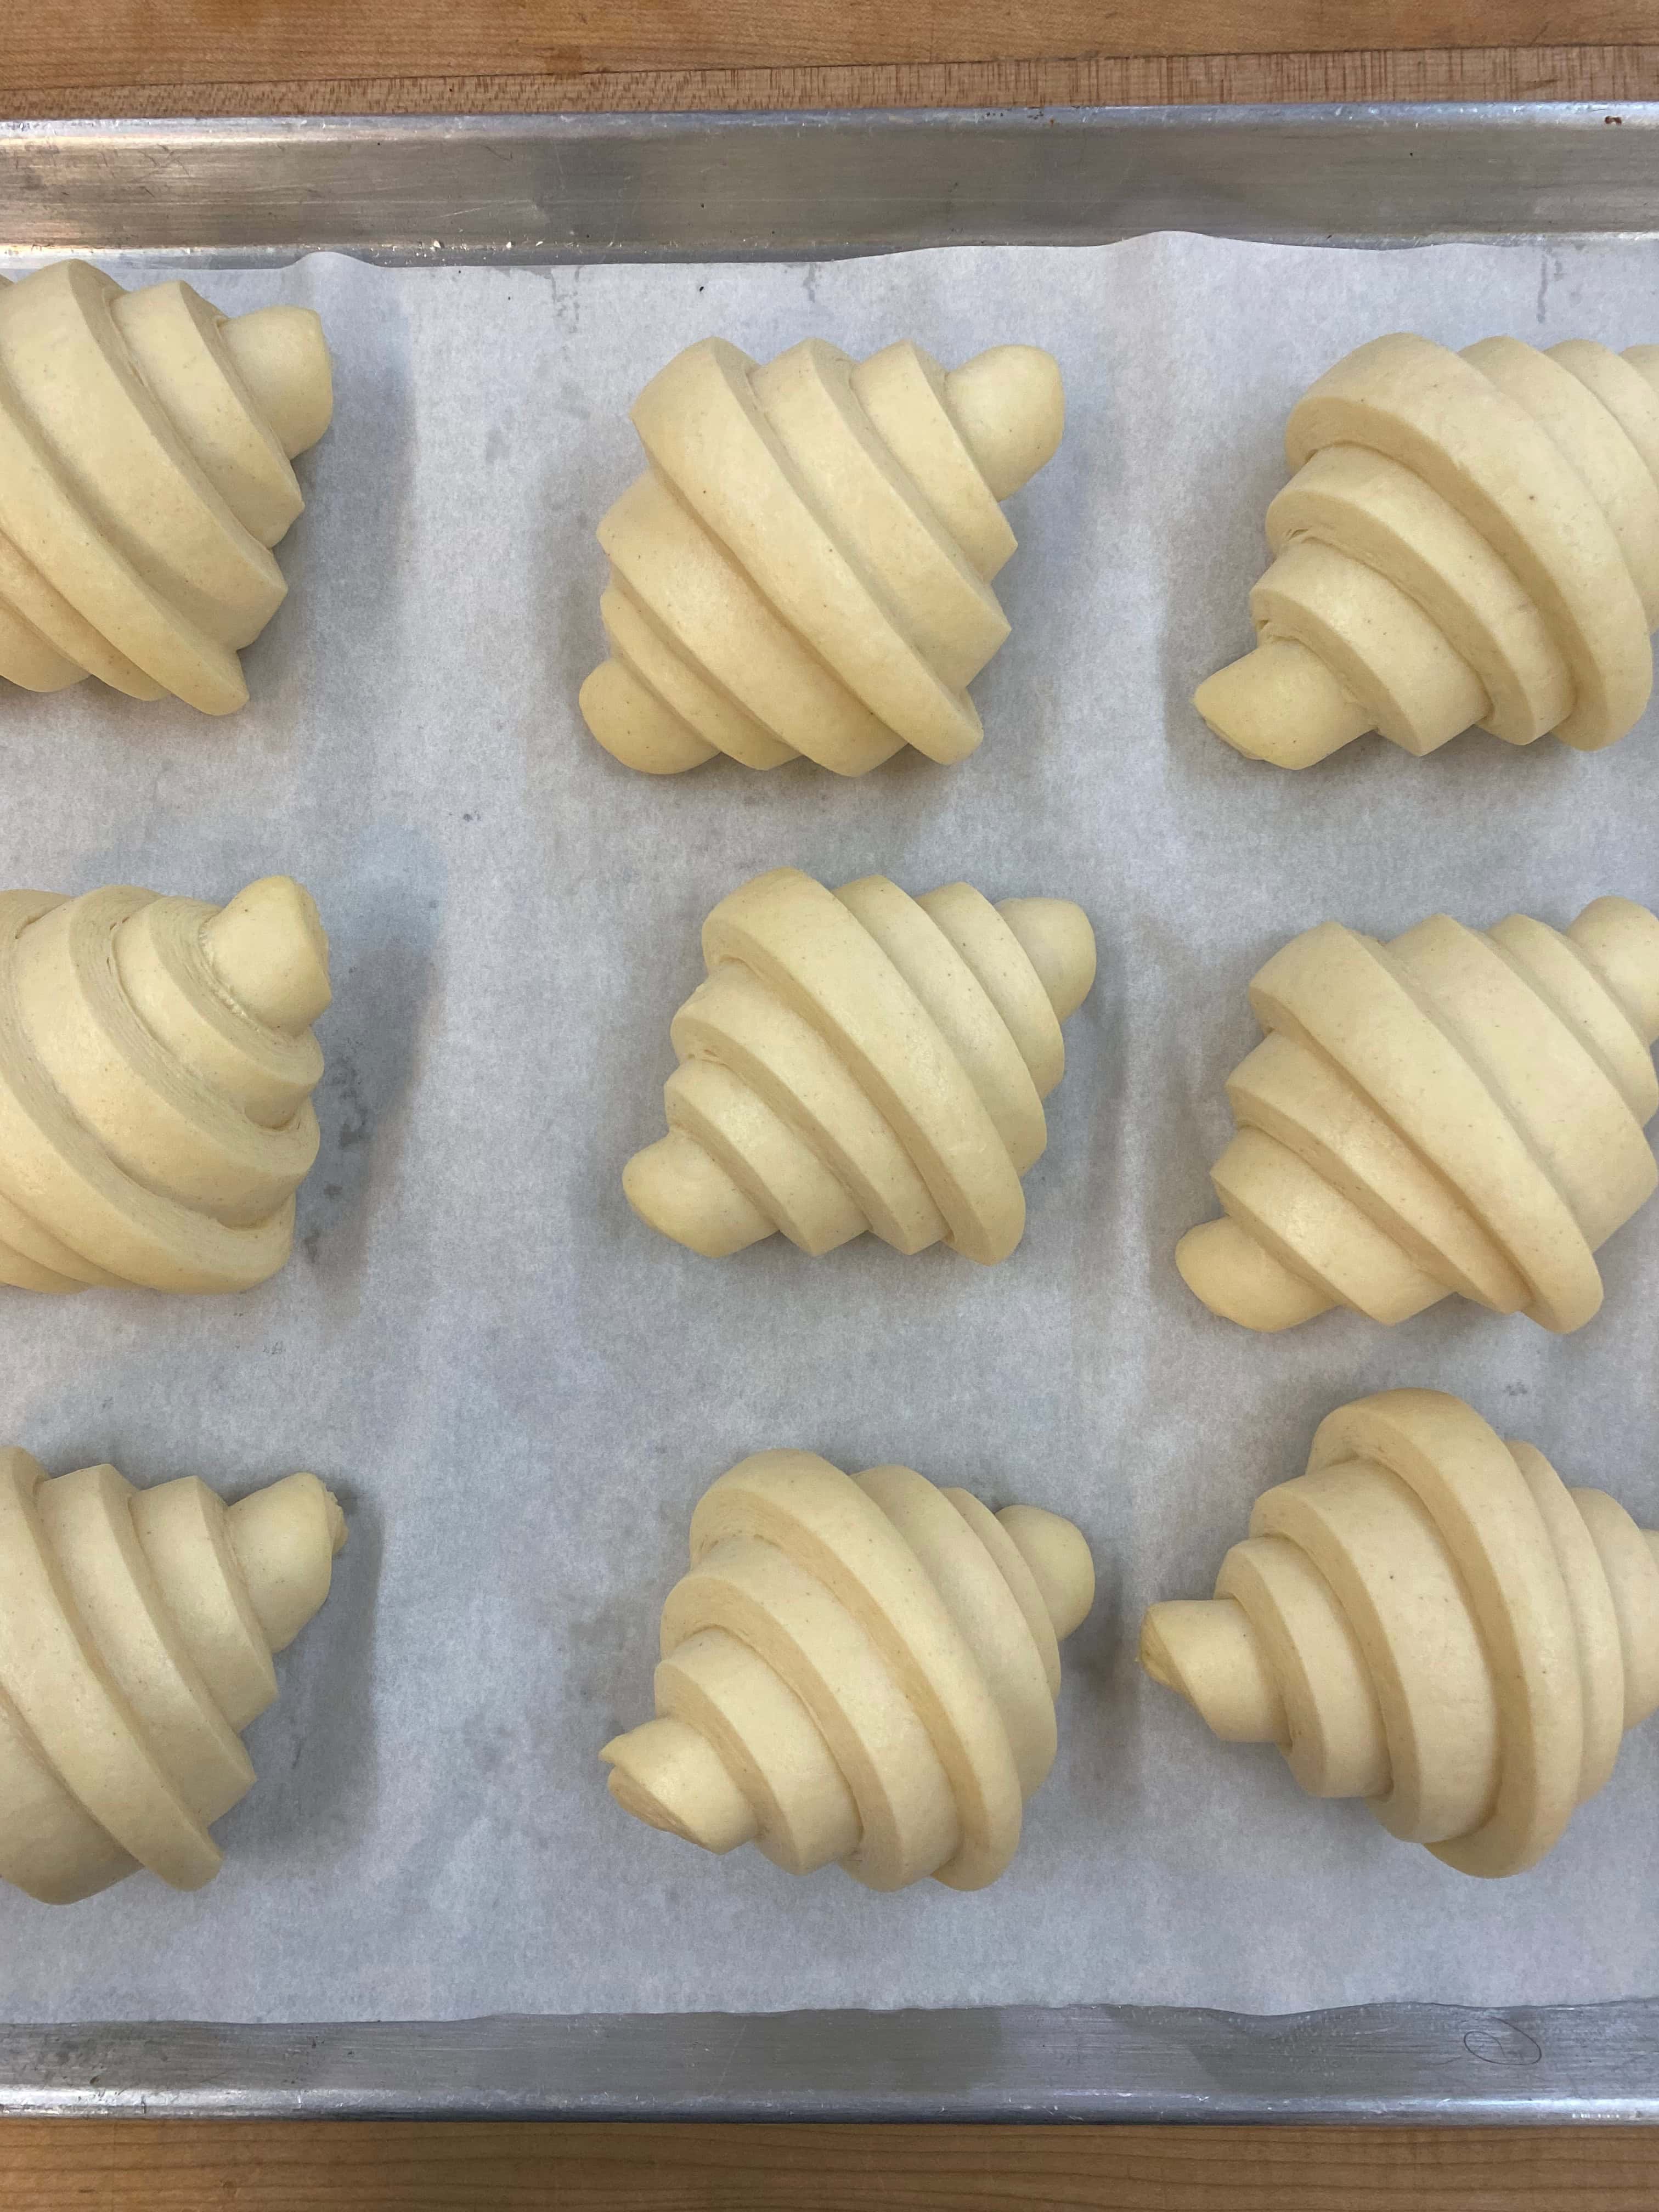
Final Fermentation (Final Proof)

After shaping, the dough goes through its final rise before baking.
This stage determines much of the bread’s final volume and texture.
Typical ranges:
- 1 to 3 hours (commercial yeast)
Properly proofed dough should look:
- noticeably puffy
- inflated
- delicate but structural integrity maintained
This is the dough’s final opportunity to build gas before baking.
Retarding Dough (Cold Fermentation)
Retarding slows fermentation by placing dough in the refrigerator.
This allows you to:
- improve flavor
- improve texture
- control timing
- make dough easier to handle
Dough can be retarded:
- after bulk fermentation
- after shaping
Cold dough may require additional time to finish proofing once removed from the refrigerator.
In many ways, retarding gives you flexibility - extending time while improving the flavor and texture in many breads.
Temperature and Time
1. Dough Temperature
Final dough temperature is one of the most important variables in fermentation.
If ingredient temperature, room conditions, and mixing friction aren’t considered, dough can end up warmer than intended.
A general guideline:
👉 75 - 80°F final dough temperature for most doughs
Warmer dough ferments faster - but faster doesn’t always mean better.
Too warm:
- fermentation accelerates
- structure weakens
Too cool:
- fermentation slows
👉 Dough temperature is one of the most common reasons results feel inconsistent
→ Why Your Cinnamon Rolls Fail (and How to Fix Them)
2. Room Temperature
Ambient temperature directly affects proofing speed:
- warm room → faster
- cool room → slower
Aim for a stable environment around 70 - 85°F for most doughs made with commercial yeast (sourdough tends to favor temperatures on the cooler side).
3. How Time Depends on Temperature
Fermentation doesn’t follow a fixed schedule.
Instead:
- higher temperatures → shorter proofing time
- lower temperatures → longer proofing time
Dough temperature + room temperature together determine fermentation speed.
What This Means in Practice
If your dough is warmer, it will proof faster.
If it’s cooler, it will take longer.
That’s it.
Time is flexible. Temperature is the driver.
How fat and sugar affects fermentation
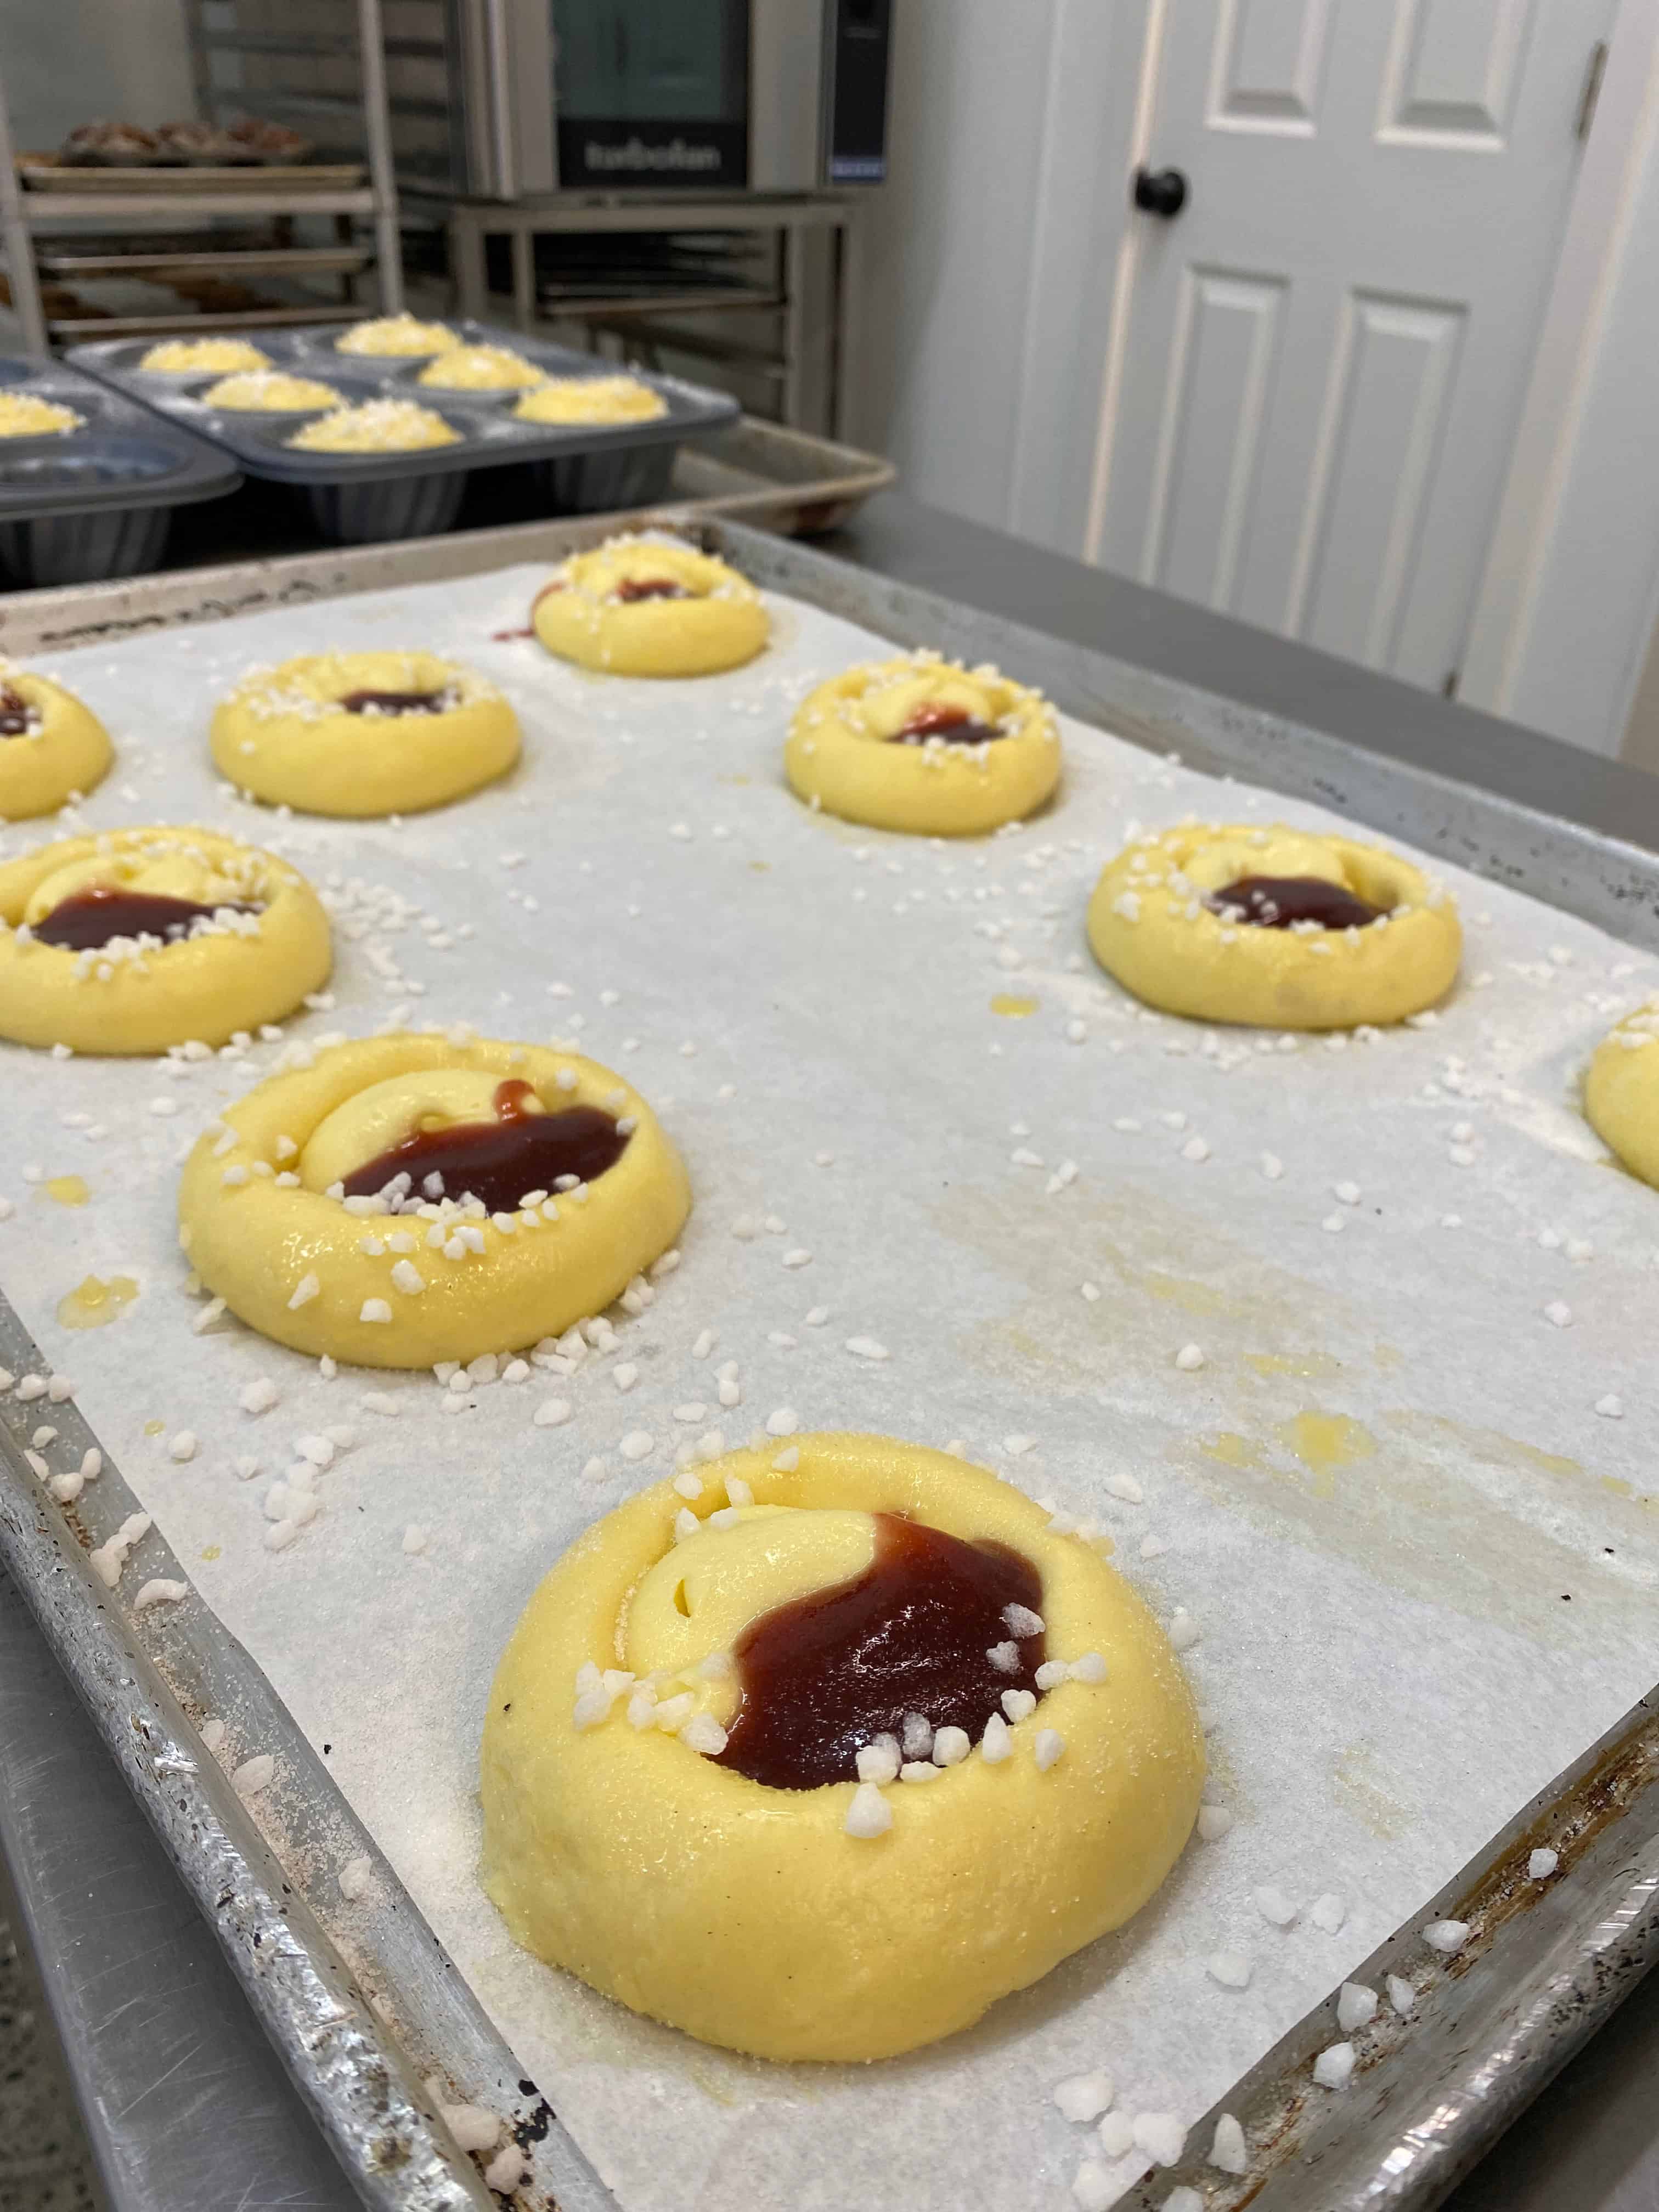
Enriched doughs (like brioche or croissants):
- ferment more slowly
- require longer proofing
Lean doughs:
- ferment more quickly
- often benefit from longer fermentation or colder conditions
Different doughs behave differently - but the underlying system remains the same.
How to Know When Proofing Is Complete
The Poke Test
Lightly flour your finger and press into the dough:
- dough resists, springs back quickly → under-proofed
- dough slowly springs back, leaves a small indentation → properly proofed
- doesn’t spring back and leaves a deep indentation, feels structurally weak or collapses → over-proofed
A properly proofed dough should feel like a soft, inflated balloon - light and airy, but structured.
Where and How to Proof Dough
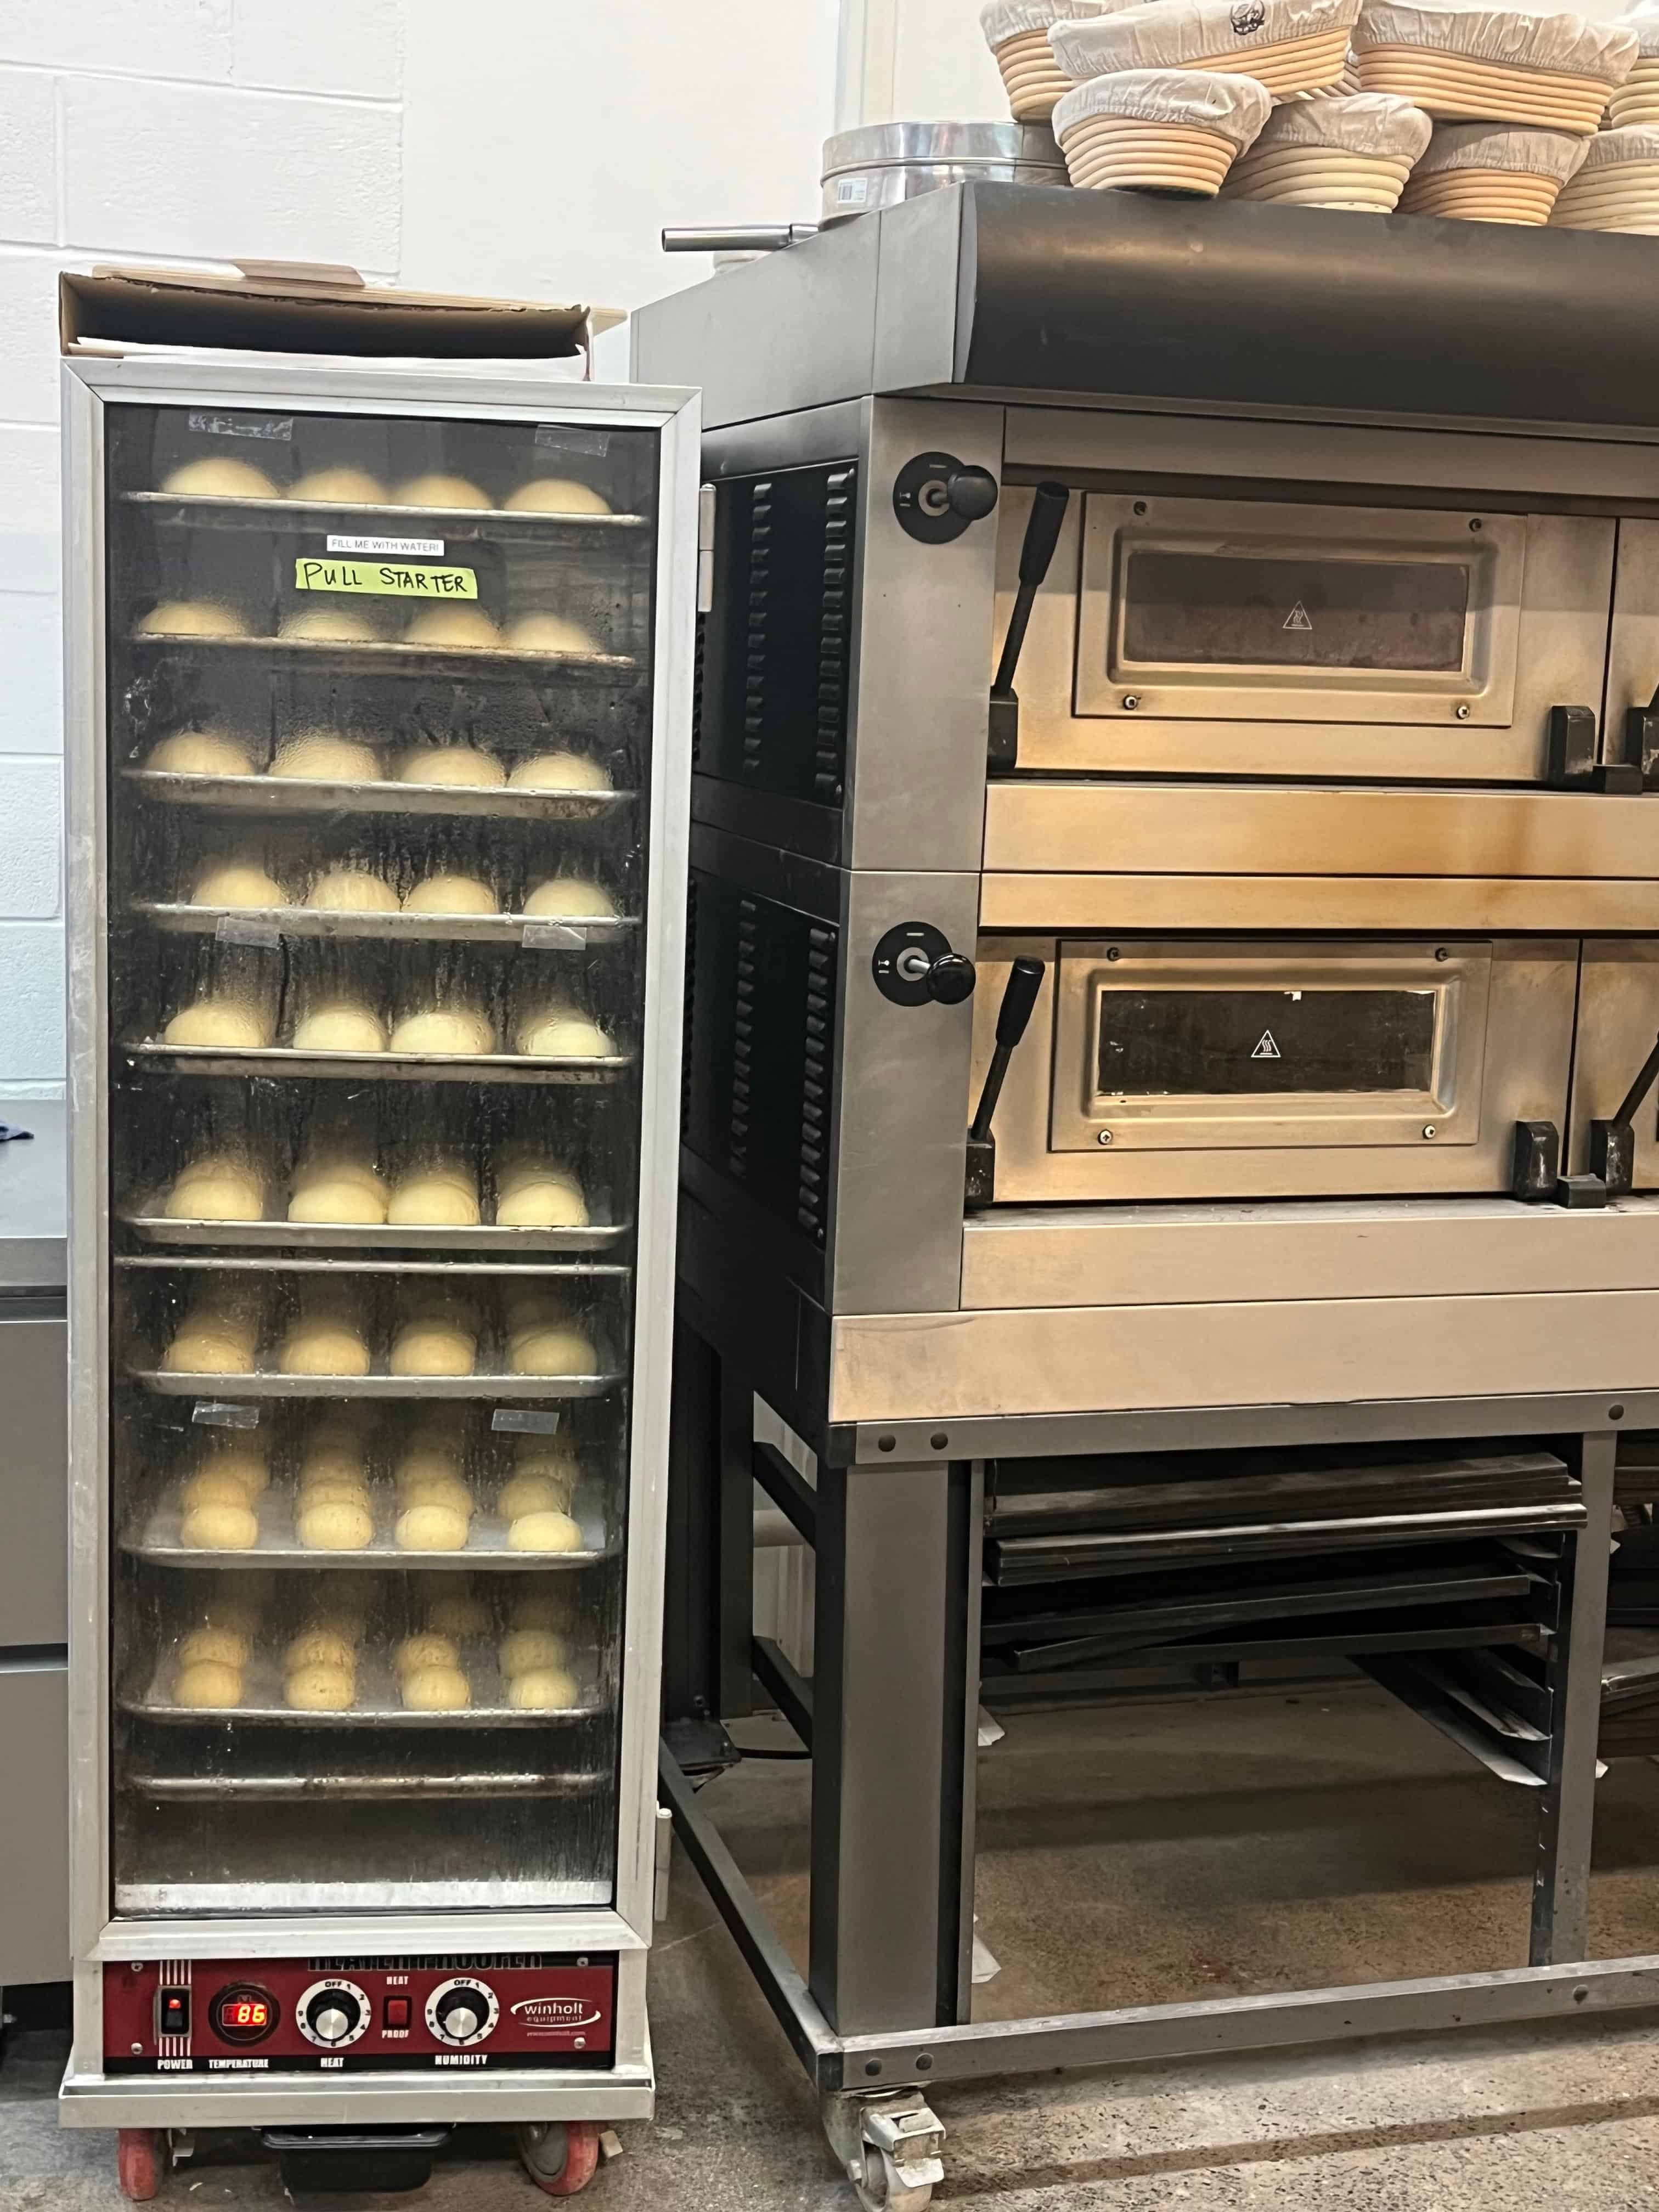
Fermentation will occur in most environments, though the speed varies significantly depending on temperature.
You can proof dough:
- at room temperature
- in an oven (turned off) using steam for heat
- in a proof box
Aim for a stable environment around 70 - 85°F when possible.
👉 How to Proof Bread in the Oven (Without Overproofing It)
Simple Steps to Ensure Successful Fermentation
- keep final dough temperature within a reasonable range (75 - 80°F )
- keep ambient temperature within a reasonable range (70 - 85°F)
- cover dough to prevent drying or proof in a humid environment
- expect shorter times in warm conditions, longer in cool ones
- look for volume increase (about 1.5 - 2×)
- use the poke test
If you follow these steps, most proofing issues resolve themselves.
Common Proofing Questions
How long should bread proof at room temperature?
Typically 1.5 - 3 hours, depending on dough temperature, ambient temperature, and dough type.
Why is my dough proofing so fast?
Usually due to:
- high dough temperature
- warm environment
- excess yeast
Fast fermentation often leads to weaker structure.
Can you proof dough too long?
Yes. Overproofed dough loses strength, may collapse, and produces poor oven spring.
Can you proof dough too fast?
Yes. Rapid fermentation can compromise structure, flavor, and color.
Should dough double in size?
Not always. A 1.5 - 2× increase is a reliable guideline, but be sure to also use other visual and tactile cues.
Bread Making: Start Here
If you're trying to become a more confident bread baker, it's helpful to understand how each stage of the process builds on the next.
Step 1: Understand the Bread-Making Process
Start by learning how bread comes together from beginning to end.
👉 Bread Making Explained: The 12 Steps That Matter
Step 2: Build Strong Dough
A well-developed dough is the foundation of good bread.
👉 Why Is My Dough Sticky? (And How to Fix It)
👉 Why Is My Dough Not Smooth or Elastic? (And How to Fix It)
👉 How to Knead Dough Properly (And How to Know When It's Ready)
Step 3: Master Fermentation & Proofing
Learn how yeast, time, and temperature affect your dough.
👉 Do You Really Need to Proof Yeast? (Instant vs Active Dry Explained)
👉 How to Proof Bread in the Oven (Without Overproofing It)
👉 How Long Should Bread Proof? (And How to Know When It's Ready)
Step 4: Troubleshoot Your Bread
If something doesn't turn out as expected, these guides can help.
👉 Why Is My Bread Dense? (6 Common Causes and How to Fix Them)
Step 5: Apply It to Specific Bakes
See how these same principles apply to enriched doughs and specialty breads.
👉 Troubleshooting Cinnamon Rolls (Fix Dense, Dry or Flat Rolls)
👉 Are All Cinnamon Roll Recipes Basically the Same? (Here's What Actually Matters)
Final Thoughts
Proofing feels unpredictable when you rely on time alone.
But once you start watching the dough - how it looks, how it feels, how it responds - the process becomes far more consistent.
Because the dough is always giving you information.
And once you learn to read it, proofing becomes just another step in a predictable process.
Pocket Baker Perspective
In a professional kitchen, proofing isn’t measured in minutes - it’s measured in condition.
Time is a reference. Temperature is a variable. But the dough tells you what’s happening.
At its core, proofing is fermentation - a process shaped by time, temperature, and environment.
Professional bakers manage conditions, observe the dough, and let fermentation develop.
At home, the same approach applies.
When you focus on how the dough behaves, everything becomes more predictable.
Because proofing isn’t about waiting.
It’s about understanding the process - and letting it work.