


Introduction
Bread baking can feel complicated at first.
There are a lot of steps, a lot of variables, and a lot of moments where things don’t go as expected.
But at its core, bread making is simpler than it seems.
Bread making is the process of developing structure in a dough - made from flour and water - then transforming it through baking into a finished product.
In most breads, yeast (or natural leaven) plays a central role. As the dough rests, fermentation produces gas that becomes trapped within the dough’s structure, allowing it to expand and develop both texture and flavor.
Because of this, bread baking isn’t just about following a recipe.
It’s about understanding what your dough is doing at each stage - and how each step builds on the last.
In professional kitchens, this isn’t treated as a series of isolated techniques.
It’s treated as a system.
A sequence of steps that takes you from measuring ingredients to baking and cooling a finished loaf - and while the details may vary, the underlying process applies to most breads.
Once you understand how these steps connect, baking becomes more predictable - and much easier to troubleshoot.
Jump to:
Quick Answer: What Are the Steps of Bread Making?
Most bread follows a general sequence:
- Scaling
- Mixing
- Bulk Fermentation
- Folding
- Dividing
- Preshaping
- Bench Rest
- Shaping
- Final Fermentation
- Scoring
- Baking
- Cooling
When bread doesn’t turn out as expected, the issue usually traces back to one of these steps.
Why Bakers Get Confused
Many bread recipes focus on instructions:
Mix.
Wait.
Shape.
Bake.
But they don’t explain:
what’s actually happening
what to look for
how each step affects the next
That’s why problems like dense bread, poor rise, or inconsistent results are so common.
👉 If you’ve experienced that, you’re not alone:
Why Is My Bread Dense? (6 Common Causes and How to Fix Them)
The Professional Perspective
In a professional kitchen, the goal isn’t simply to follow steps.
It’s to understand the purpose of each step - and how it fits into the process.
Because once you understand that:
- you know how to develop gluten and structure
- you can manage fermentation through time and temperature
- you can recognize when your loaves are ready for the oven
And when those pieces start working together, the entire process becomes more consistent - and much easier to troubleshoot.
The 12 Steps of Bread Making
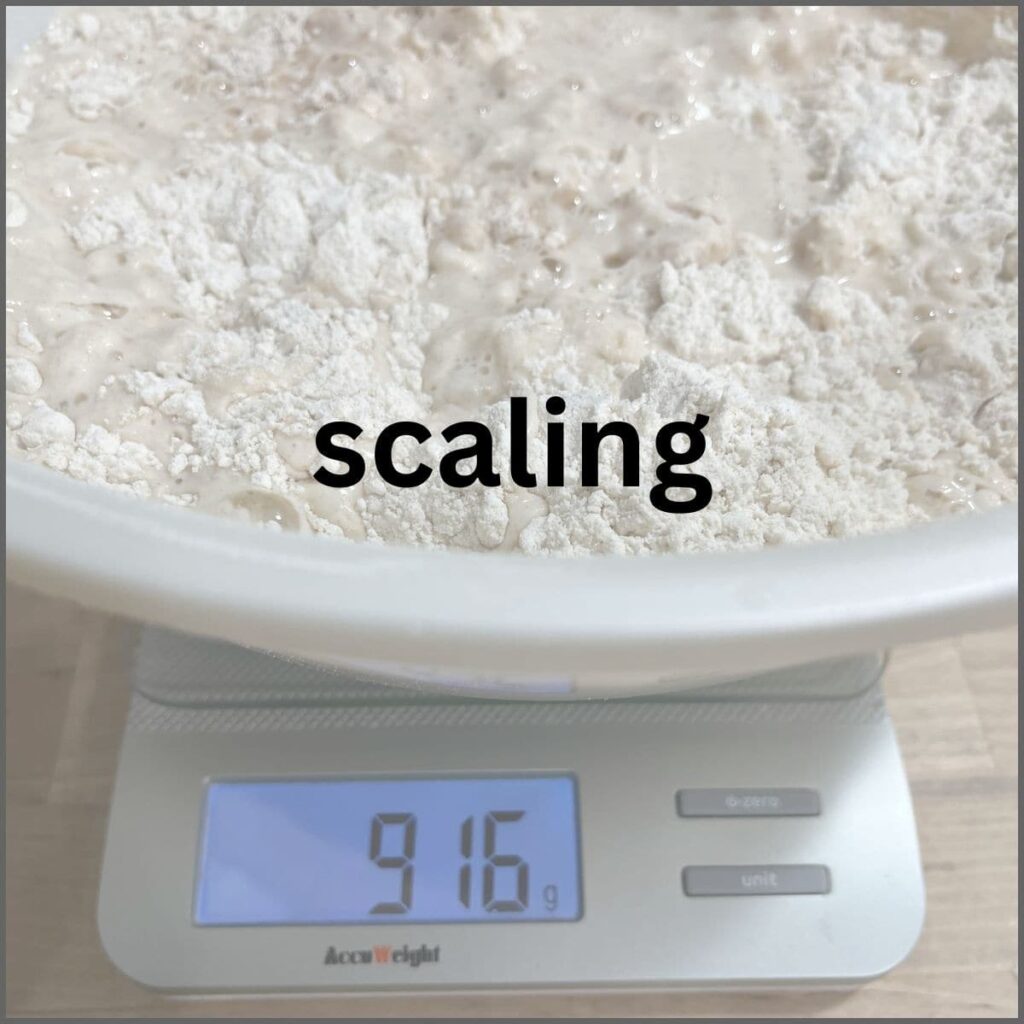
1. Scaling
Bread making starts with accurate measurement.
Weighing ingredients ensures consistency.
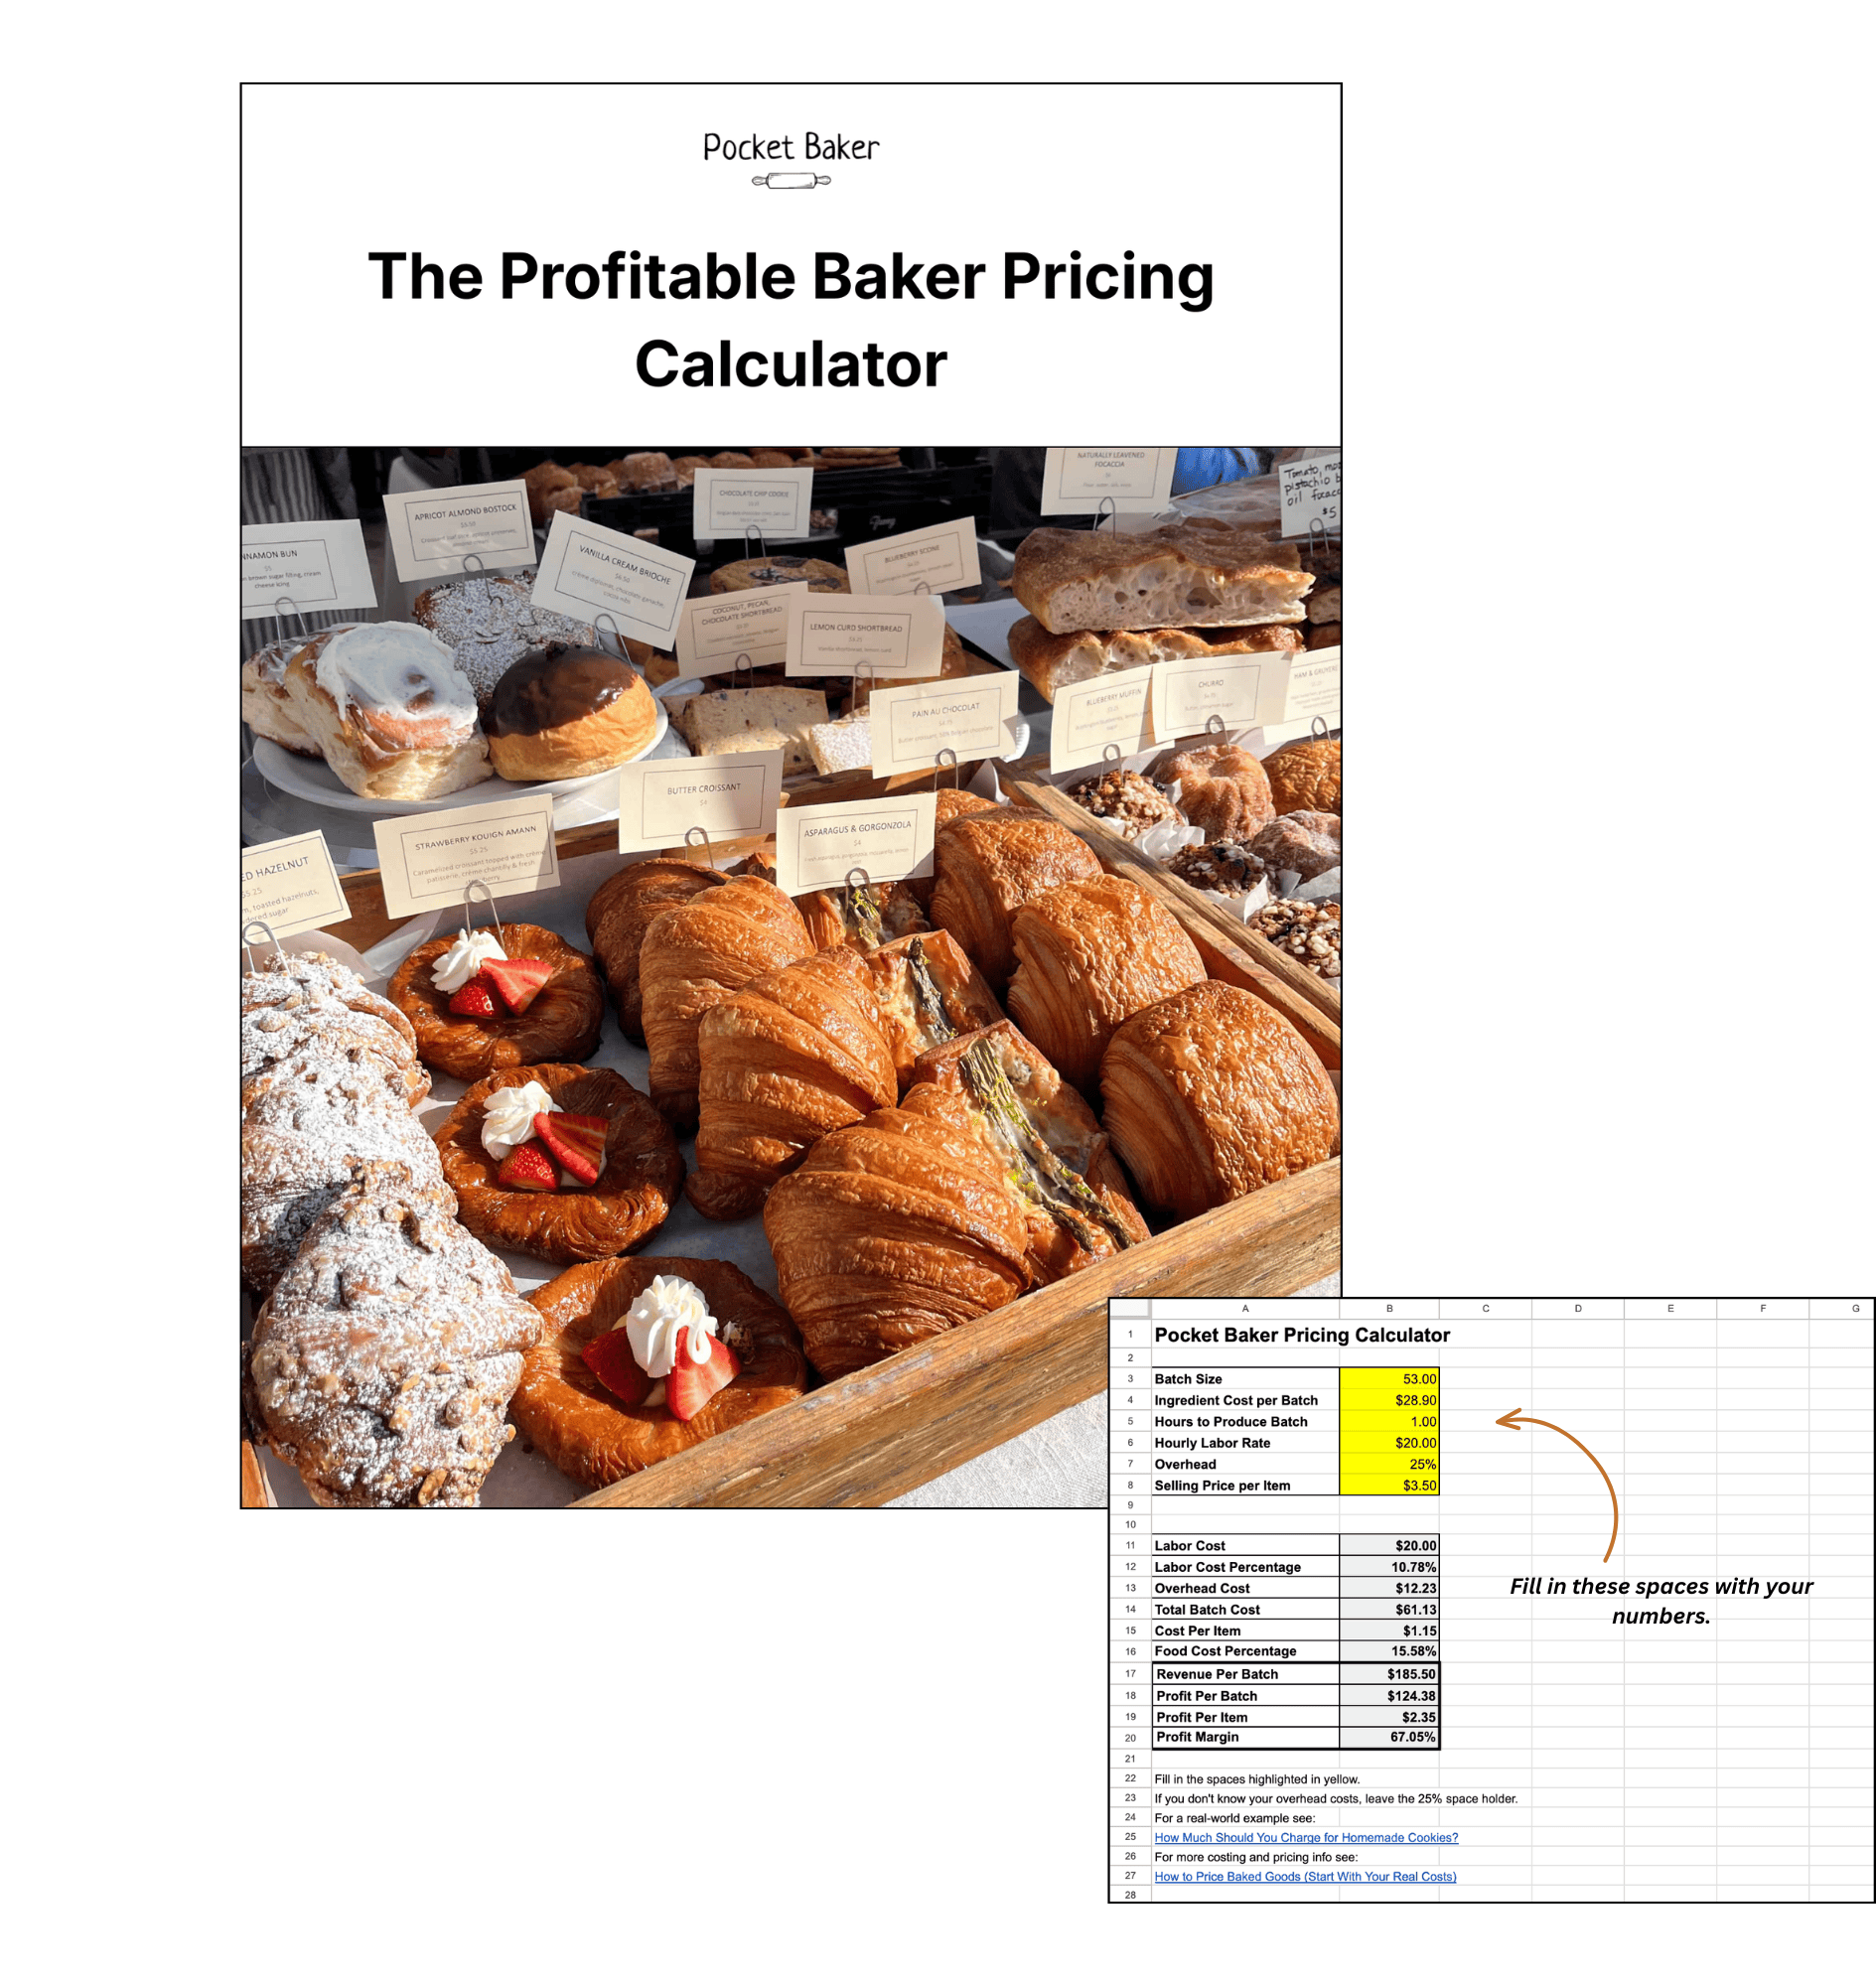
This becomes especially important when you start thinking about repeatability and costing.
👉 Why Using Weight Instead of Volume Is Essential for Accurate Recipe Costing
Baker's Assistant: Quick Instructions on How to Use a Scale
- Turn on scale
- Place bowl on scale
- Push the "Tare" or "Zero" button, the scale should now read "0"
- Put ingredient into bowl
- If adding additional ingredients, press the "Tare" or "Zero" button after each ingredient. The scale should read 0 before each additional ingredient.
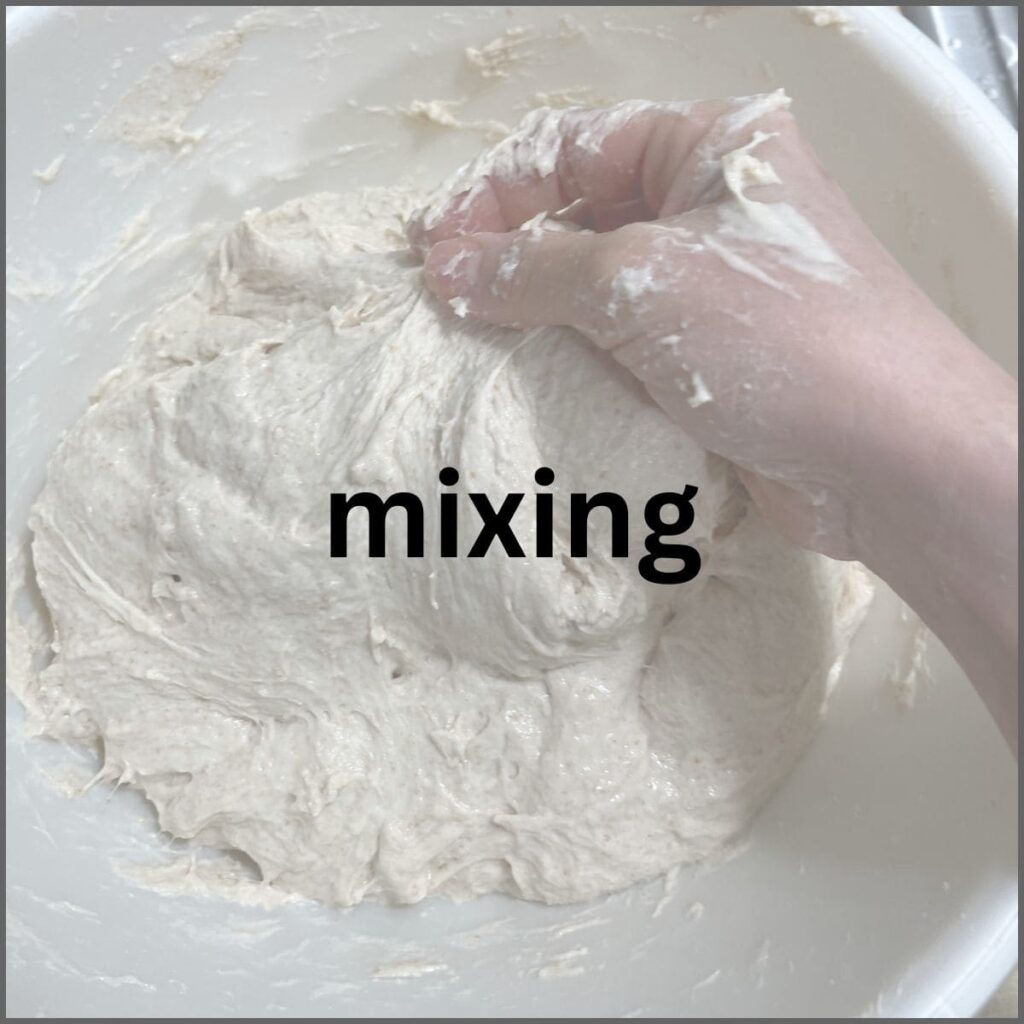
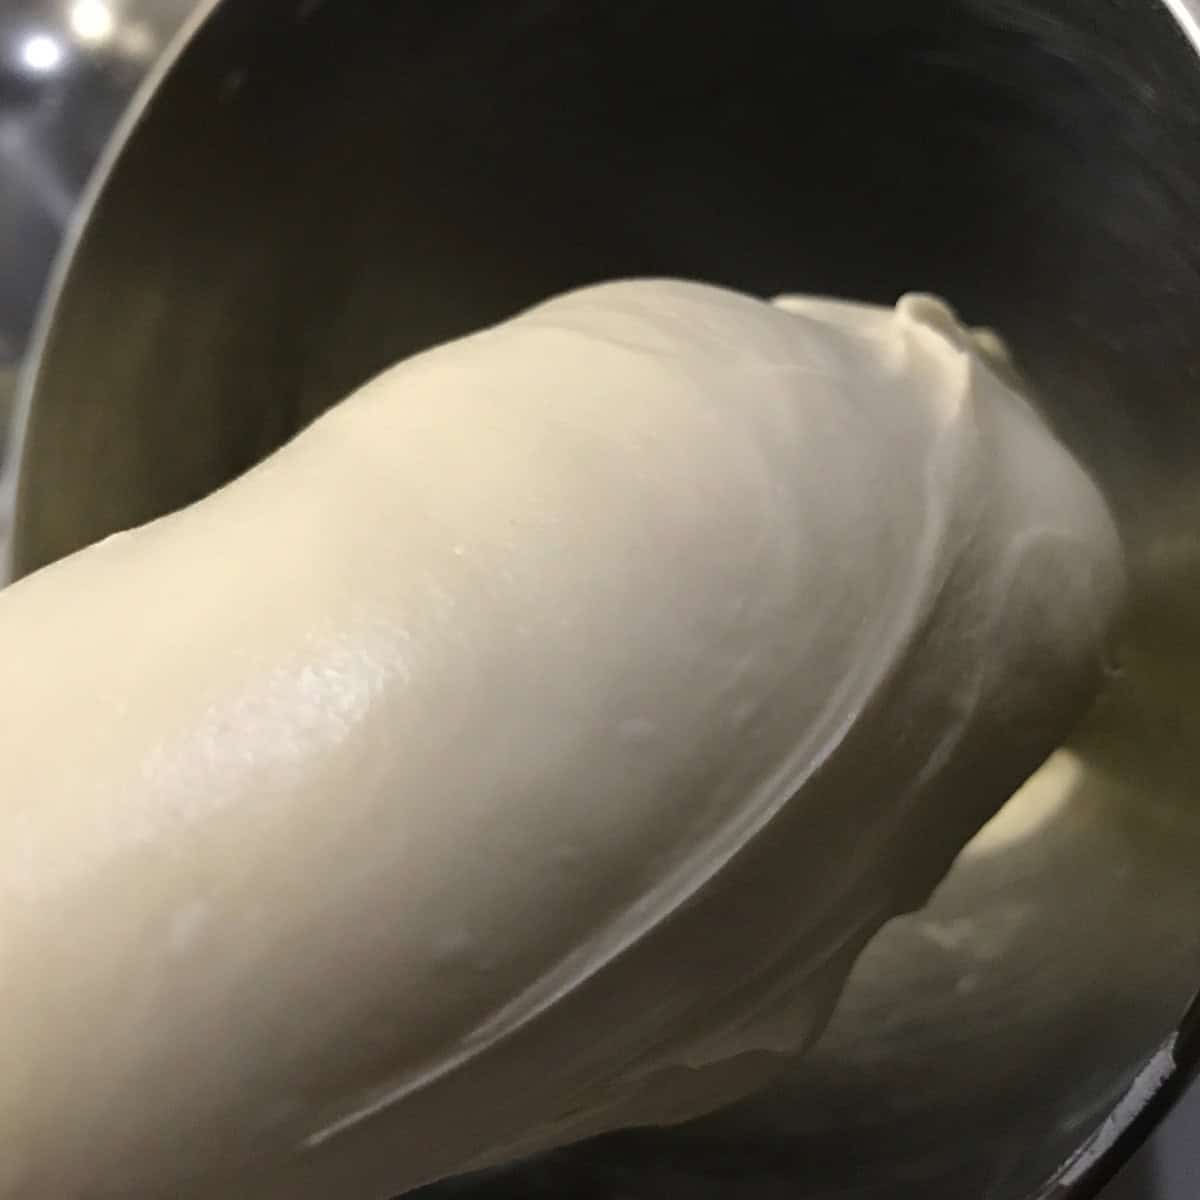
2. Mixing
Mixing begins the process of developing structure.
When flour and water combine, gluten starts to form.
The goal is to build enough structure - through mixing, time, folds, or a combination -to allow the dough to hold gas during fermentation.
Underdeveloped dough often leads to dense bread.
👉 How to Knead Dough Properly (And How to Know When It’s Ready)
👉 Why Is My Dough Sticky? (And How to Fix It)
👉 Troubleshooting Cinnamon Rolls (Fix Dense, Dry or Flat Rolls
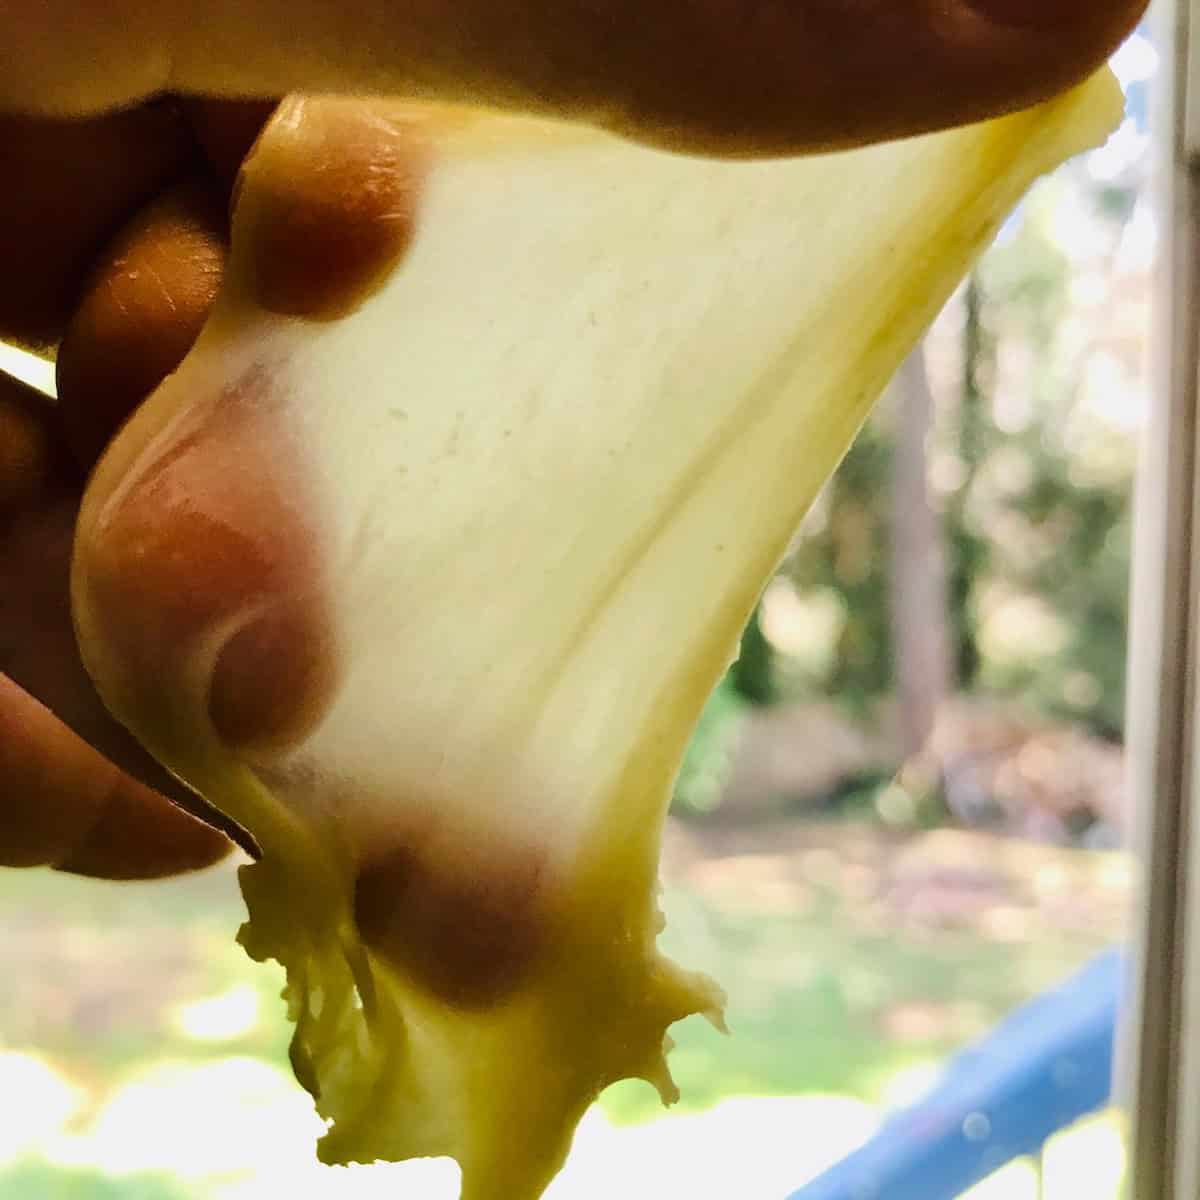
Baker's Assistant: Well Developed Gluten Structure
What to look for: a smooth, supple, and shiny dough. Once you think you're there, break off a piece, and with lightly floured hands, stretch it as thin as possible. If you can stretch it thin enough to almost see through, your dough has passed the windowpane test, and it's time to move on to bulk fermentation.
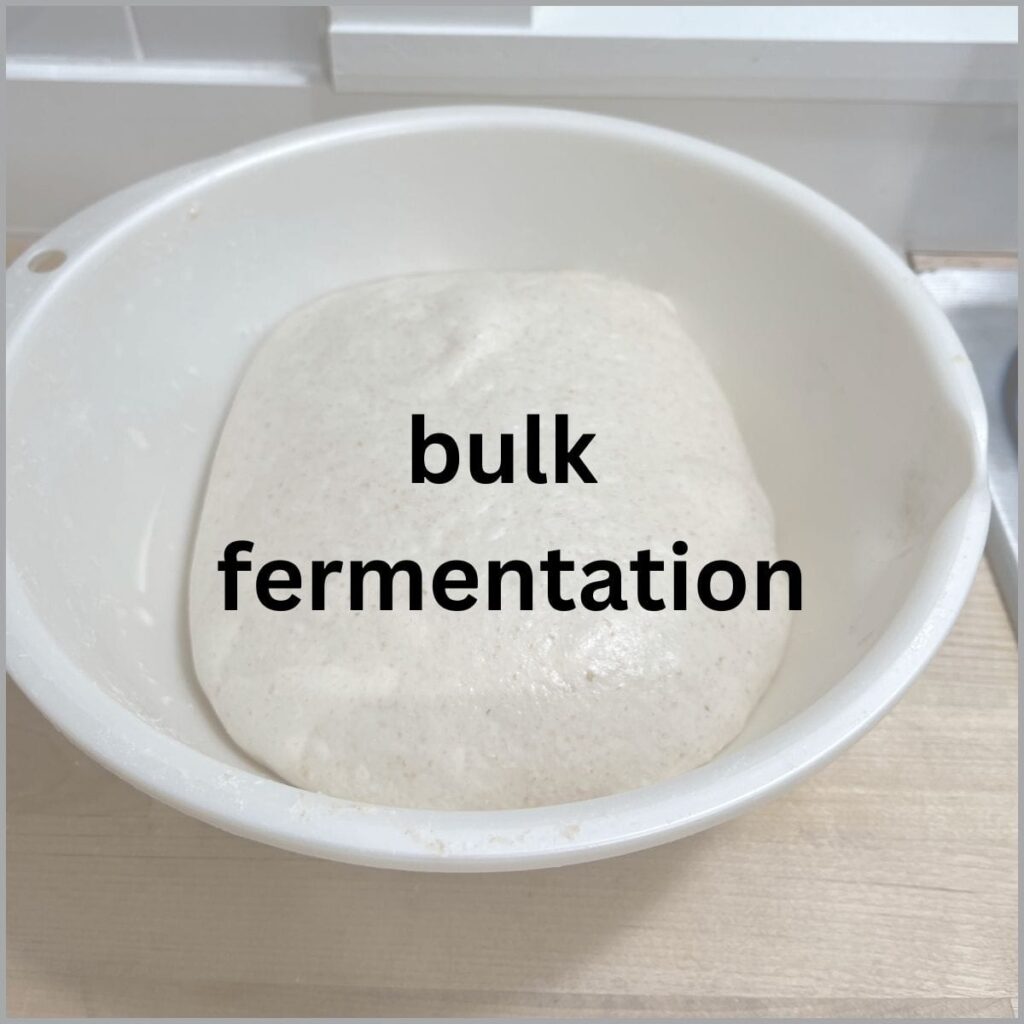
3. Bulk Fermentation
This is where fermentation begins to build gas and develop flavor.
As the dough rests, yeast produces carbon dioxide, causing the dough to expand.
👉 Fermentation time mainly depends on:
- dough temperature
- ambient temperature
- dough type (enriched, lean, high hydration, etc.)
- yeast type and quantity
Because of this, fermentation is best judged by how the dough looks and feels - not just the clock.
👉 How Long Should Bread Proof (And How to Know When It’s Ready)
Baker's Assistant: How to Know When My Dough has Bulk Fermented Sufficiently
What to look for: Dough has increased in volume as stated in the recipe. Dough passes poke test and/or float test.
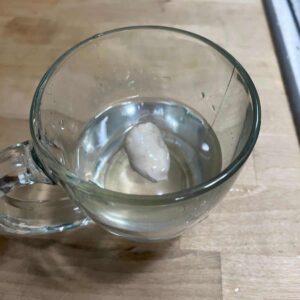

Float Test: A way to see if your dough or sourdough starter has fermented long enough. This method is generally used for testing sourdough.
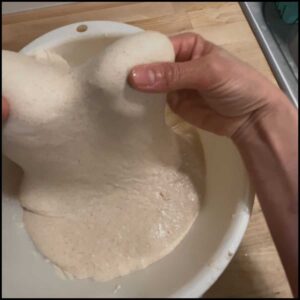
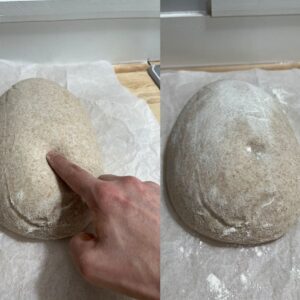
Poke Test: A well-proofed dough will look and feel a bit like a balloon and still have a nice sheen to it. To perform the poke test, dip your finger in flour and gently press it into the dough about ½ inch (halfway up your first knuckle). Under-proofed dough will resist and spring back. Properly proofed dough will hold the indentation but remain springy. Over-proofed dough will look dull, will not spring back when poked, and may even deflate
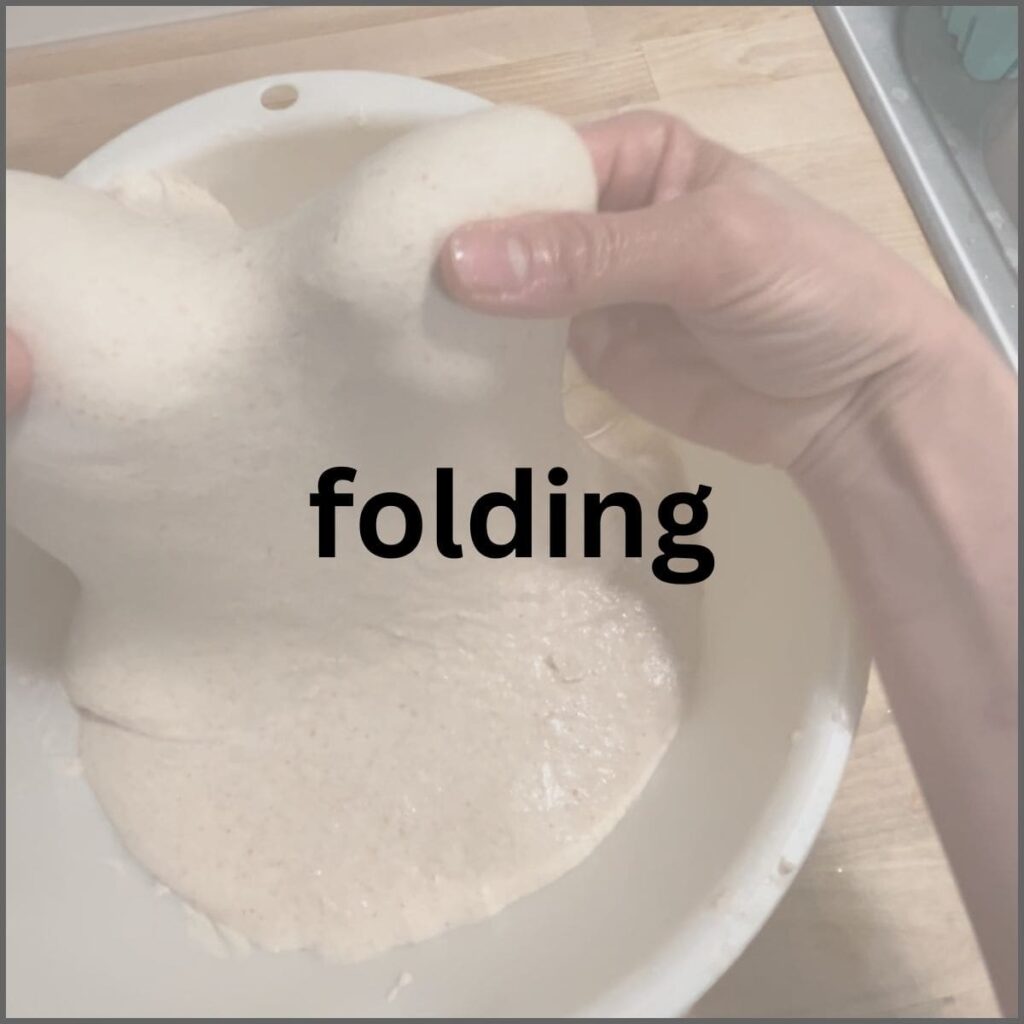
4. Folding
Folding strengthens the dough.
It helps align gluten strands and improves structure.
This is especially important in higher hydration doughs.
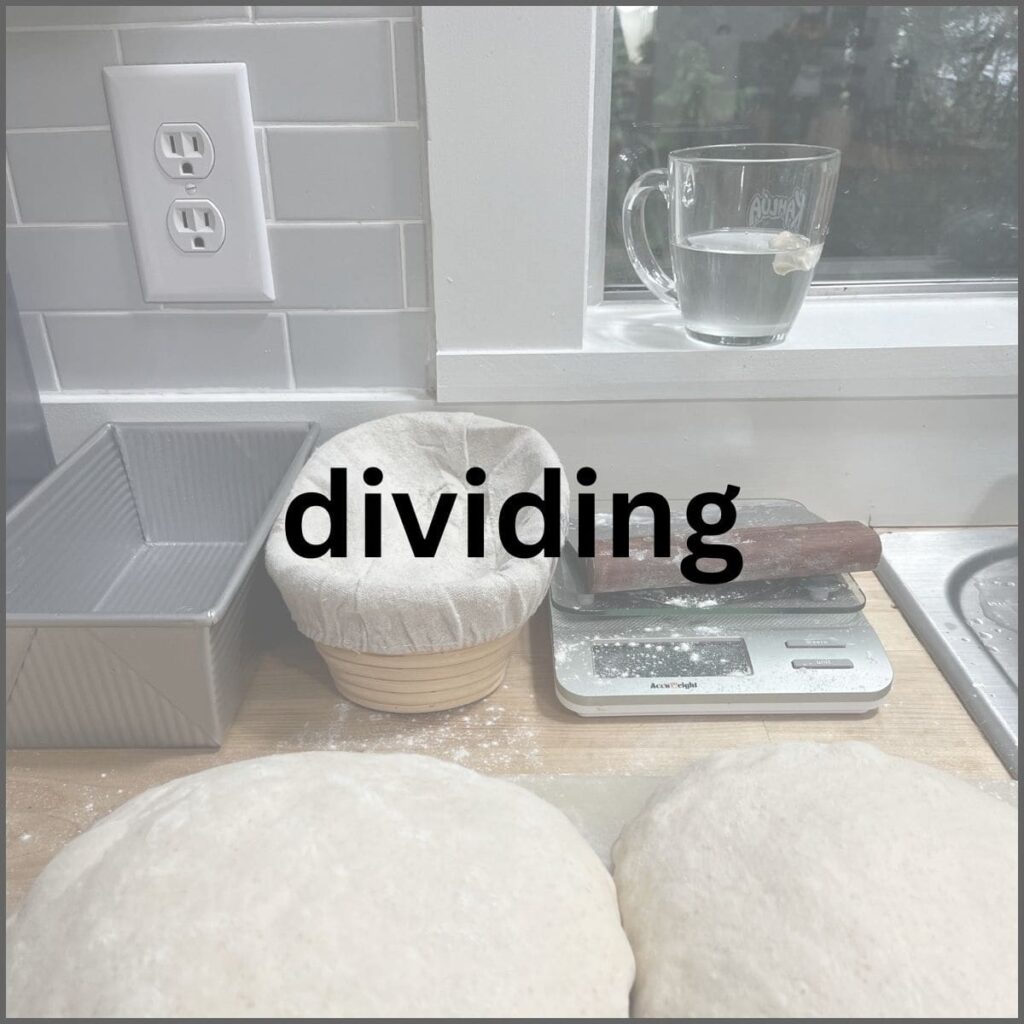
5. Dividing
Dough is portioned into individual pieces.
Consistency matters here - uneven sizes lead to uneven baking.
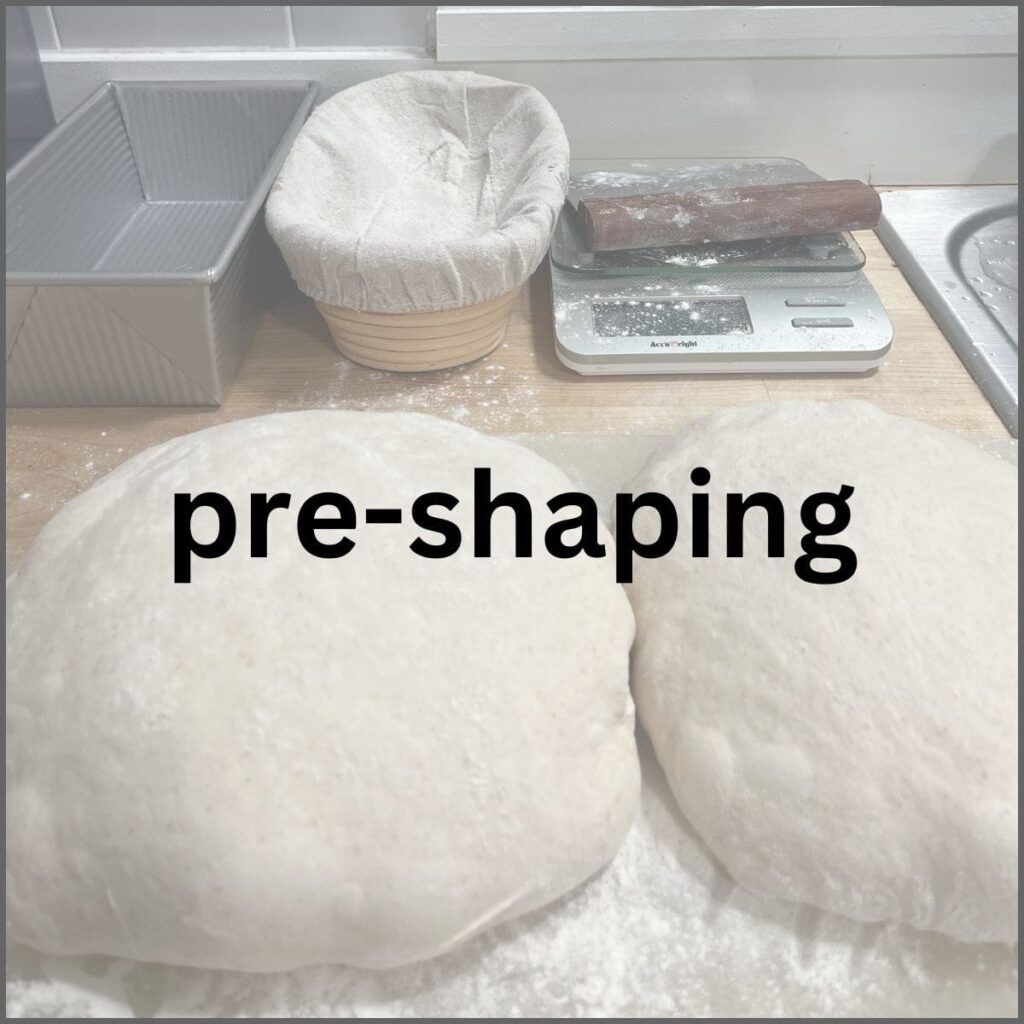
6. Preshaping
Preshaping organizes the dough into a loose structure.
It makes final shaping easier and more consistent.
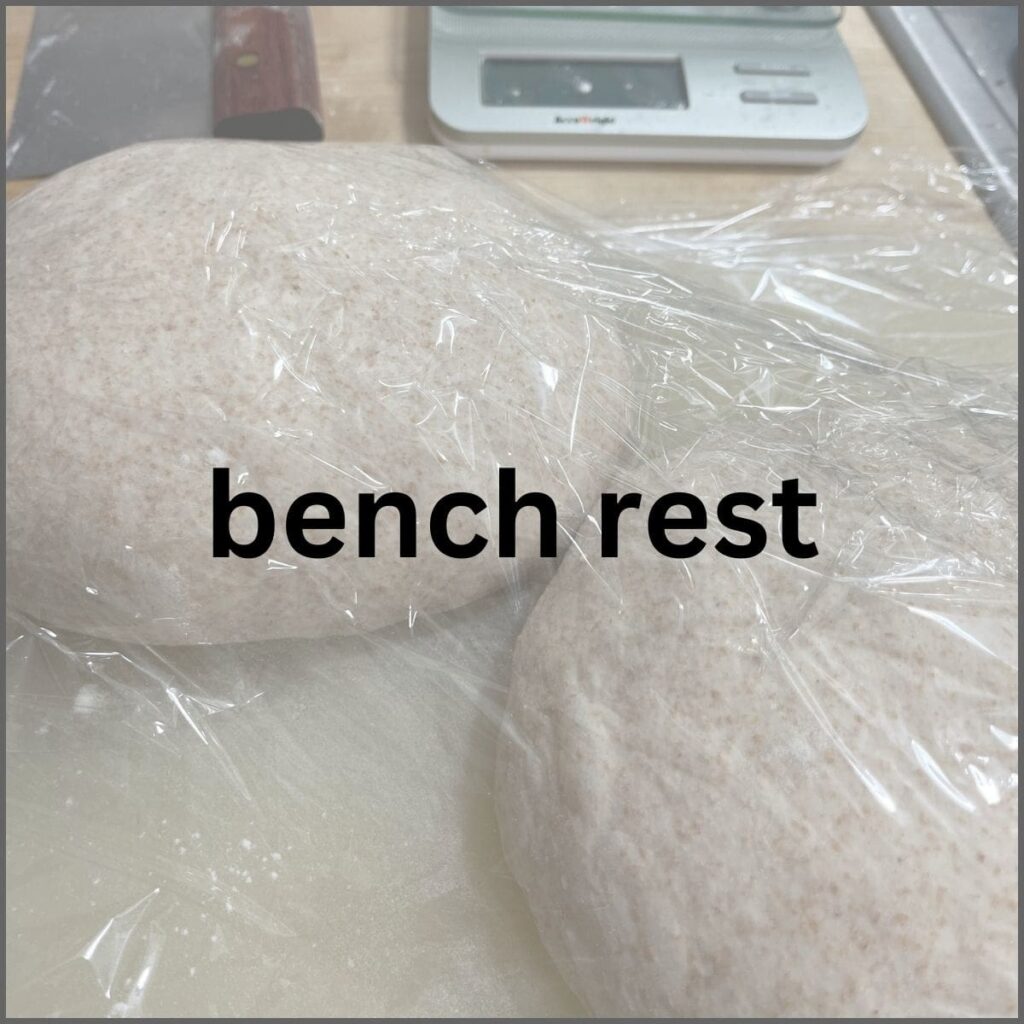
7. Bench Rest
This is a short resting period.
It allows the dough to relax before final shaping.
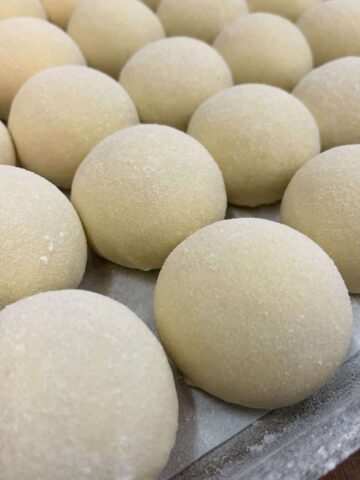
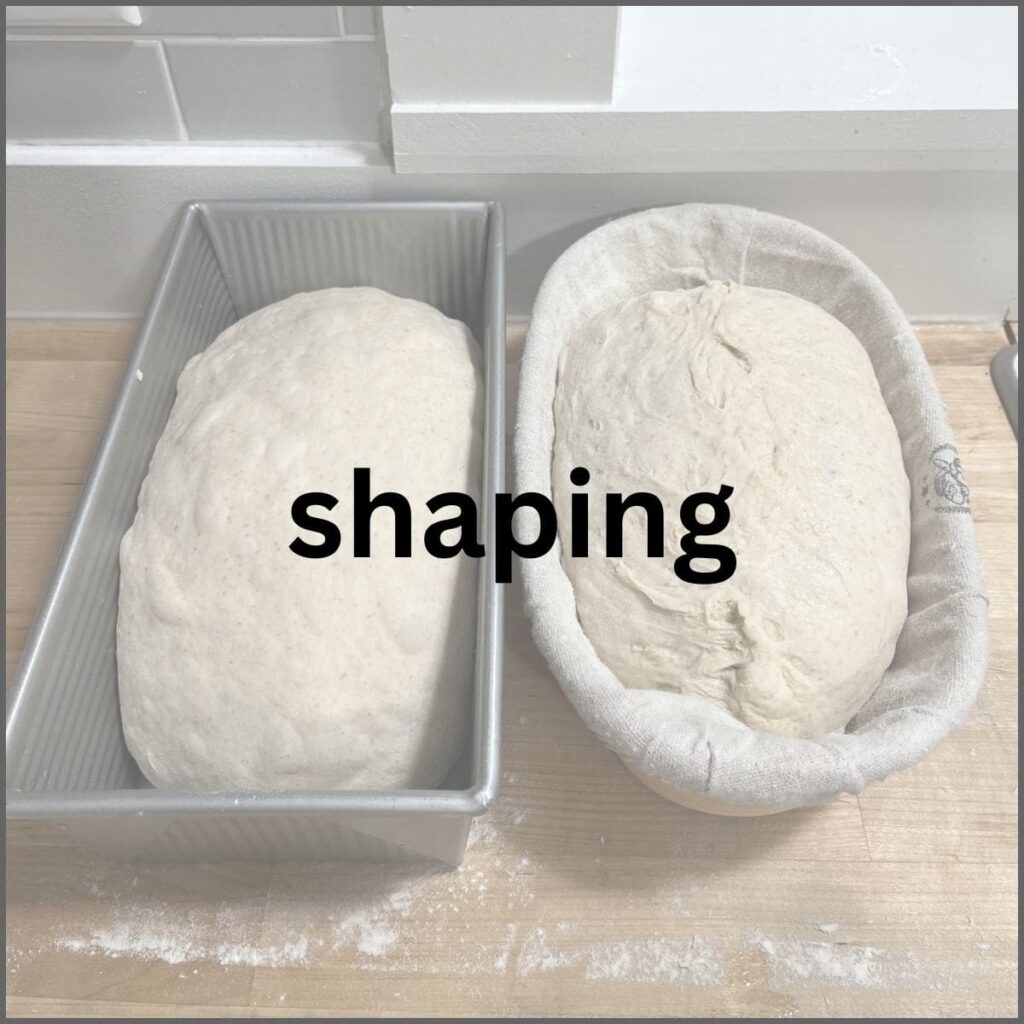
8. Shaping
Shaping creates surface tension.
This helps the dough hold its structure and rise properly.
Overhandling at this stage can push out gas and lead to dense results.
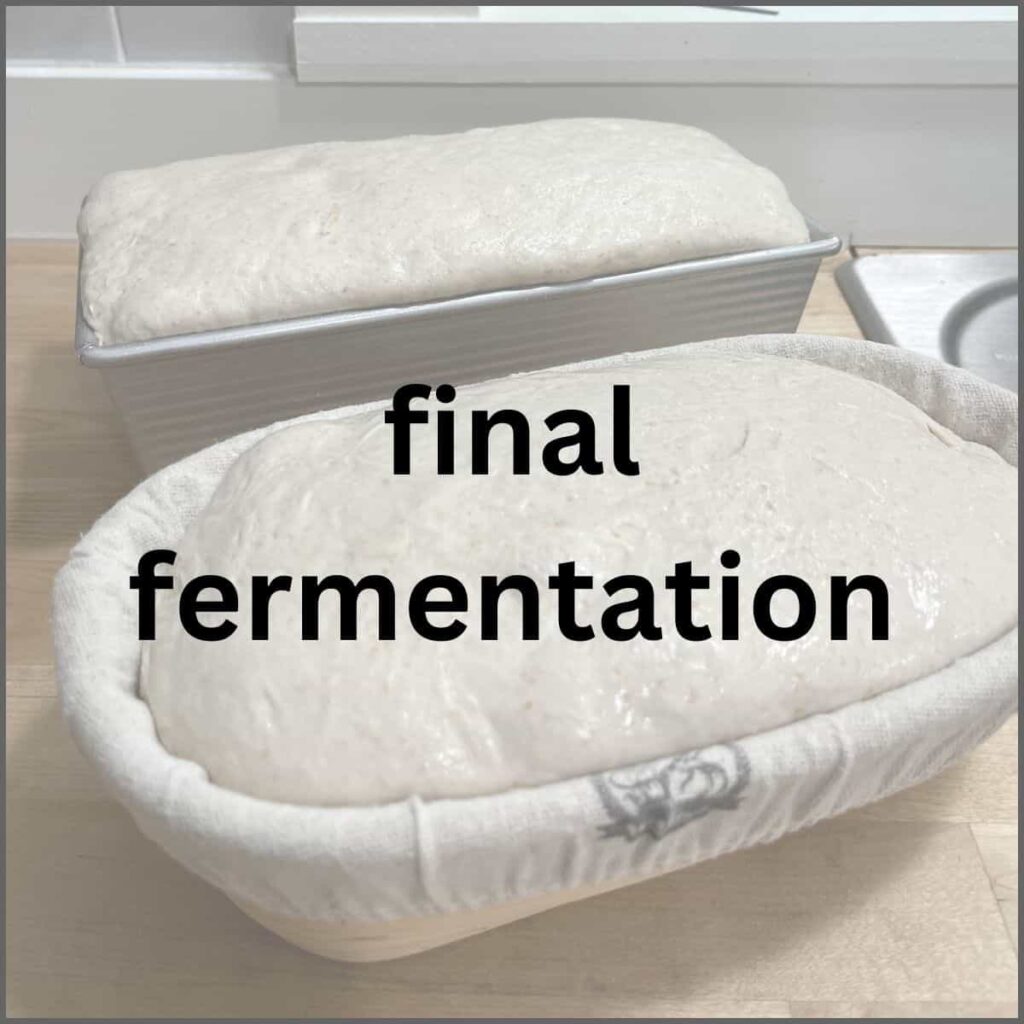
9. Final Fermentation
This is the final rise before baking.
The goal isn’t to follow a timer.
It’s to recognize when the dough is ready.
👉 How Long Should Bread Proof (And How to Know When It’s Ready)
👉 How to Proof Bread in the Oven (Without Overproofing It)
Baker's Assistant: Bulk Fermentation
What to look for: Dough has increased in volume as stated in the recipe. Dough passes poke test and/or float test.
Poke Test: A well-proofed dough will look and feel a bit like a balloon and still have a nice sheen to it. To perform the poke test, dip your finger in flour and gently press it into the dough about ½ inch (halfway up your first knuckle). Under-proofed dough will resist and spring back. Properly proofed dough will hold the indentation but remain springy. Over-proofed dough will look dull, will not spring back when poked, and may even deflate.
10. Scoring
Scoring controls how the bread expands in the oven.
Without scoring, the dough will find its own weak point - and often tear unpredictably.
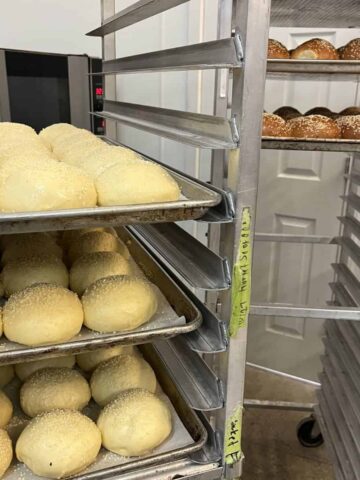
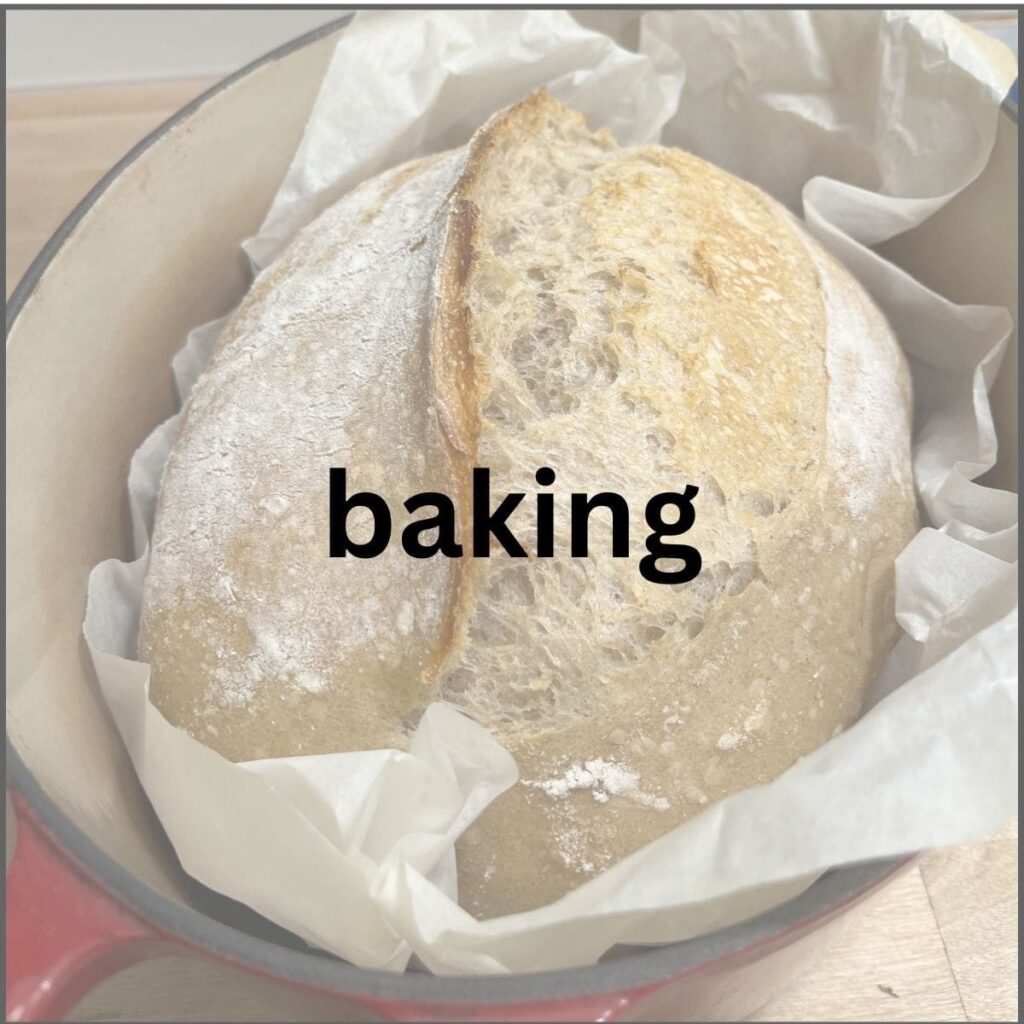
11. Baking
Heat triggers:
- oven spring
- structure setting
- crust formation
Steam plays a key role in many breads, allowing the dough to expand properly.
Baker's Assistant: Baking Temperatures
- Lean Dough - 425° F to 500° F (Sourdough, baguettes, ciabatta, hard rolls)
- Enriched Doughs – 350° F to 400° F (Brioche, challah, sandwich bread, shokupan, sweet rolls)
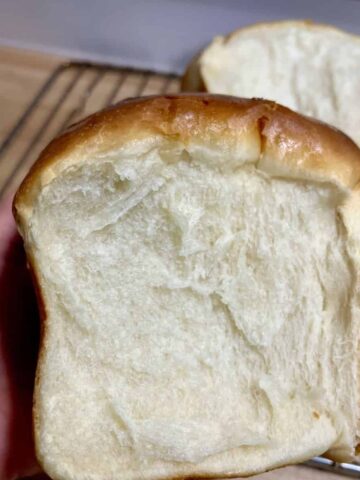
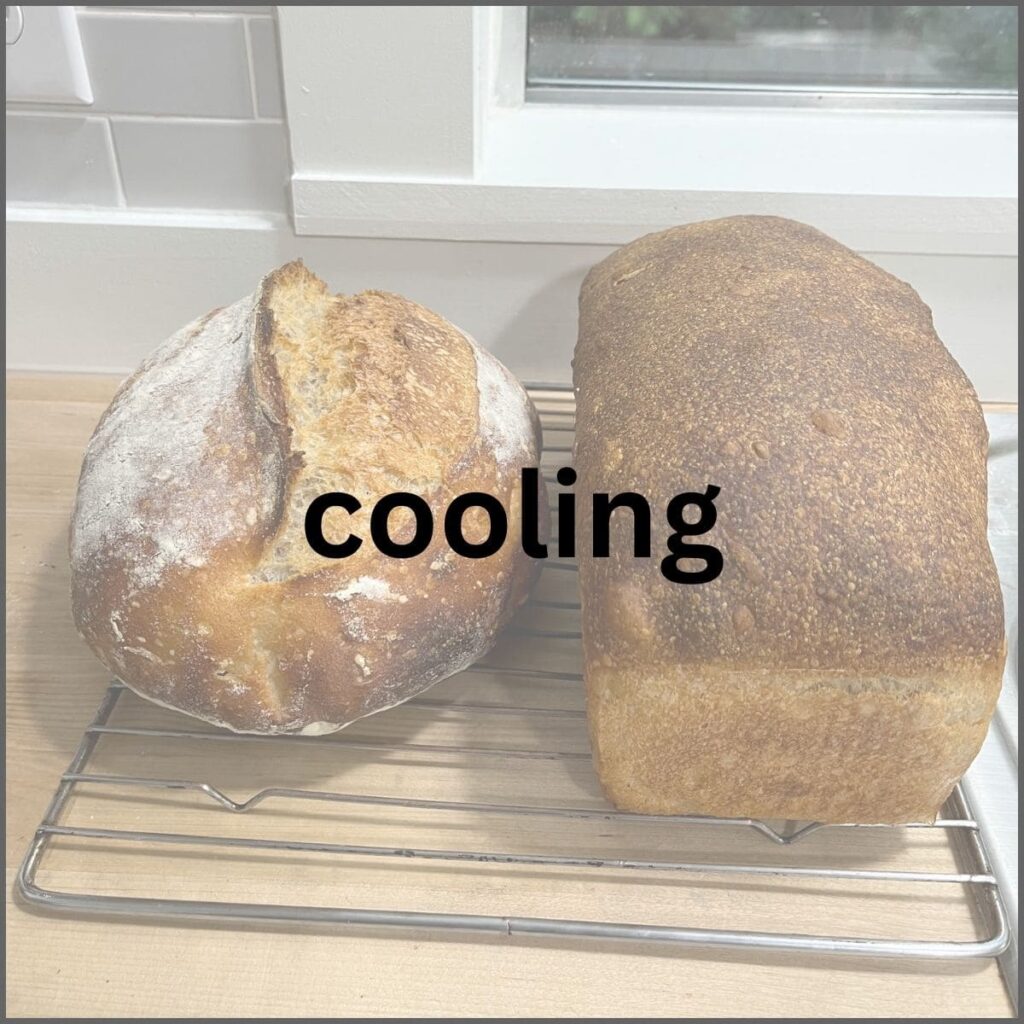
12. Cooling
Cooling allows moisture to redistribute and excess steam to escape, helping the crumb set and the crust firm up.
Cutting too early often leads to a gummy texture.
How These Steps Work Together
Each step builds on the previous one.
If something goes wrong early, it shows up later.
For example:
- underdeveloped dough → weak structure
- poor fermentation → lack of flavor and poor rise
- improper shaping → dry, flat, dense loaf
This is why bread problems are rarely caused by one thing.
A Note on Yeast
Many home bakers focus heavily on yeast - especially whether it needs to be proofed.
But in most cases, yeast is not the issue.
👉 Fermentation management matters more than activation.
→ Do You Really Need to Proof Yeast? (Instant vs Active Dry Explained)
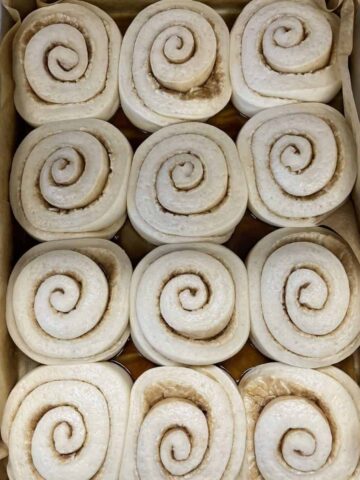
How This Applies Beyond Bread
This same system applies to:
- cinnamon rolls
- donuts
- croissants and danish
👉 The process is the same. The variables change.
👉 Troubleshooting Cinnamon Rolls (Fix Dense, Dry or Flat Rolls
👉 Are All Cinnamon Roll Recipes Basically the Same? (Here’s What Actually Matters)
Related Guides
If you’d like to go deeper into dough development:
👉 How to Knead Dough Properly (And How to Know When It’s Ready)
👉 Why Is My Dough Sticky? (And How to Fix It)
👉 How to Proof Bread in the Oven (Without Overproofing It)
👉 Why Is My Bread Dense? (6 Common Causes and How to Fix Them).
👉 How Long Should Bread Proof (And How to Know When It’s Ready)
👉 Do You Really Need to Proof Yeast? (Instant vs Active Dry Explained)
👉 Why Is My Dough Not Smooth or Elastic? (And How to Fix It)
Final Thoughts
Bread baking isn’t about memorizing steps.
It’s about understanding how those steps work together - and recognizing what your dough needs along the way.
Because once you start to see the process as a system:
baking becomes more consistent
troubleshooting becomes easier
results become more predictable
Pocket Baker Perspective
In professional kitchens, bread making isn’t treated as a series of isolated techniques.
It’s treated as a connected process - one where each step builds on the last.
Each step supports the next.
And the goal isn’t to follow the process perfectly.
It’s to understand it well enough to make adjustments as you go.
Because that’s what leads to consistent, repeatable results.