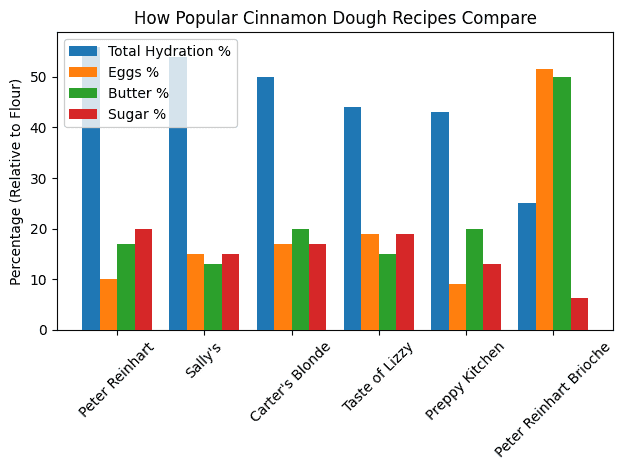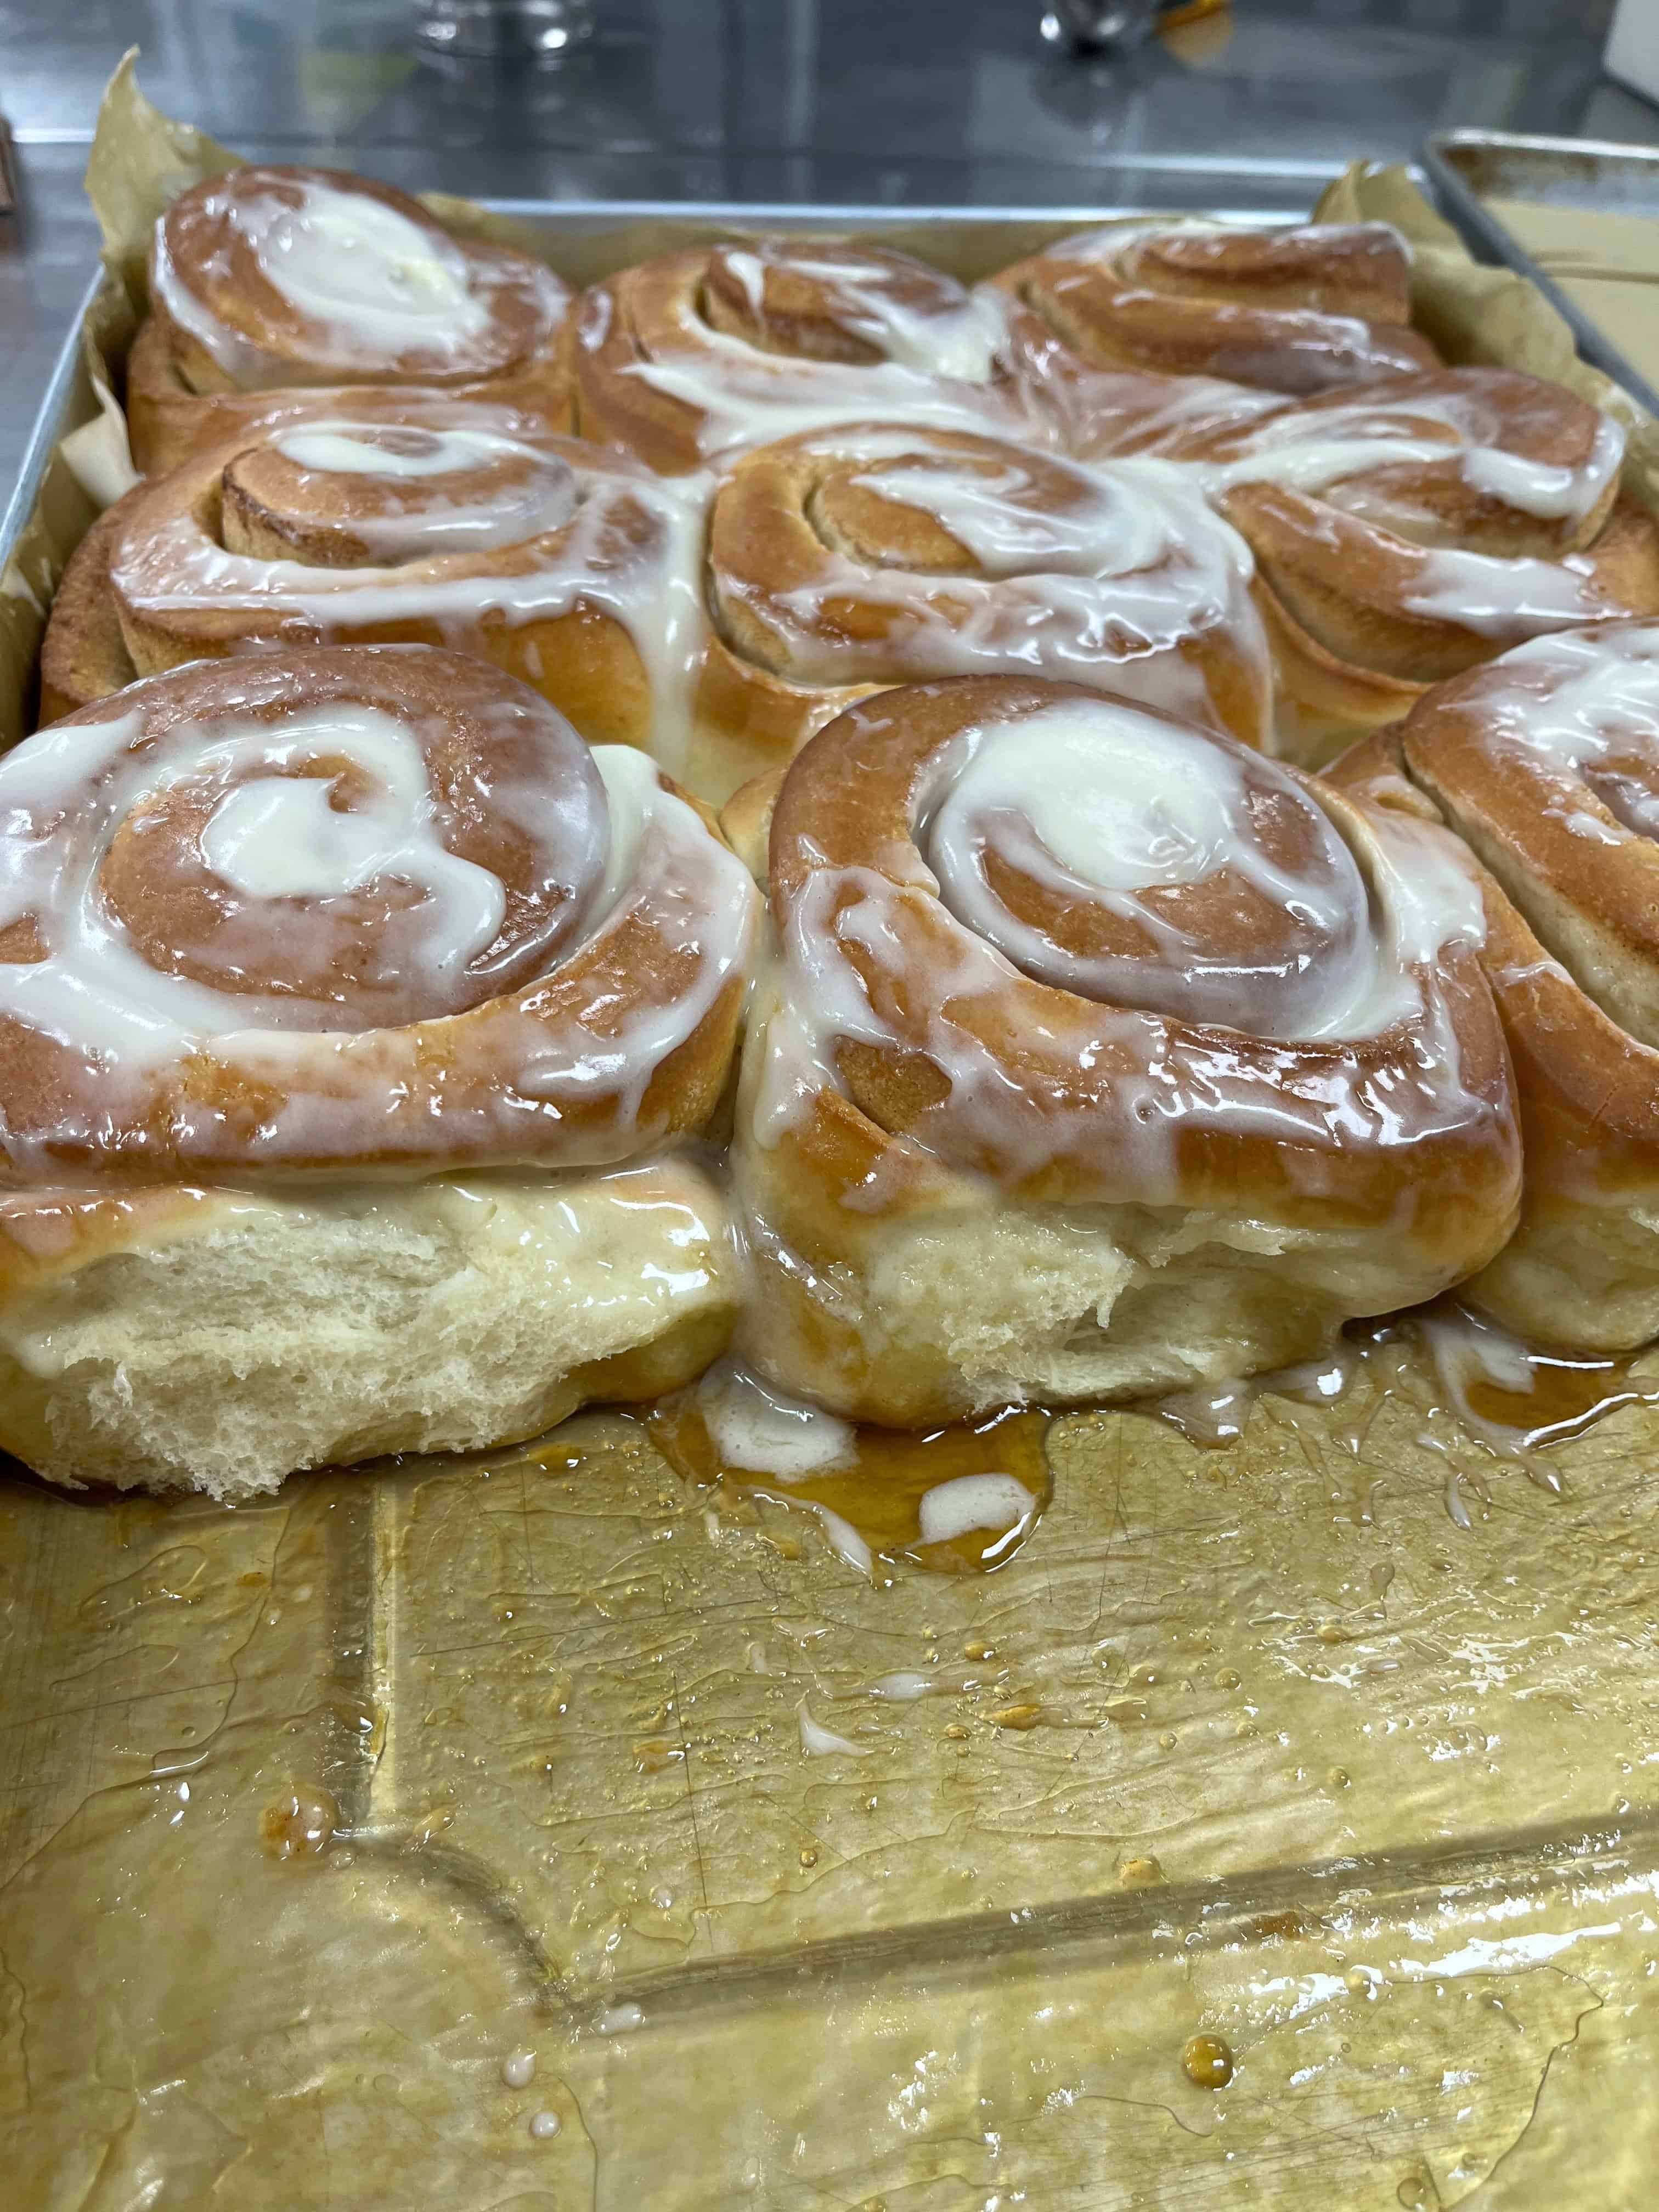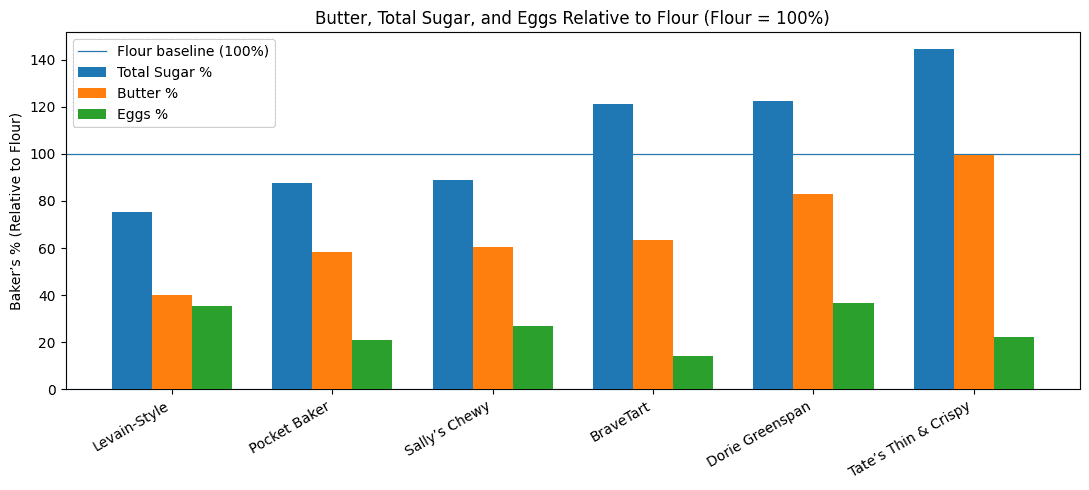
Introduction
Pie dough that won’t come together can be frustrating.
Instead of forming a smooth dough, it stays dry, crumbly, and difficult to work with.
You press it together - and it falls apart again.
Your first instinct is usually:
👉 "Add more water"
👉 "Just keep mixing"
And while those might seem like quick fixes, they don’t always address what’s actually going wrong.
In most cases, crumbly dough comes down to how fat, flour, and moisture are balanced - and how the dough is handled.
Quick Answer: Why Is My Pie Dough Crumbly?
👉 Pie dough becomes crumbly when there isn’t enough structure or hydration to hold it together.
This usually happens when:
- too little water is added
- the dough hasn’t had time to rest and hydrate fully
- too much fat is present relative to the flour
- the dough lacks enough structure to hold together
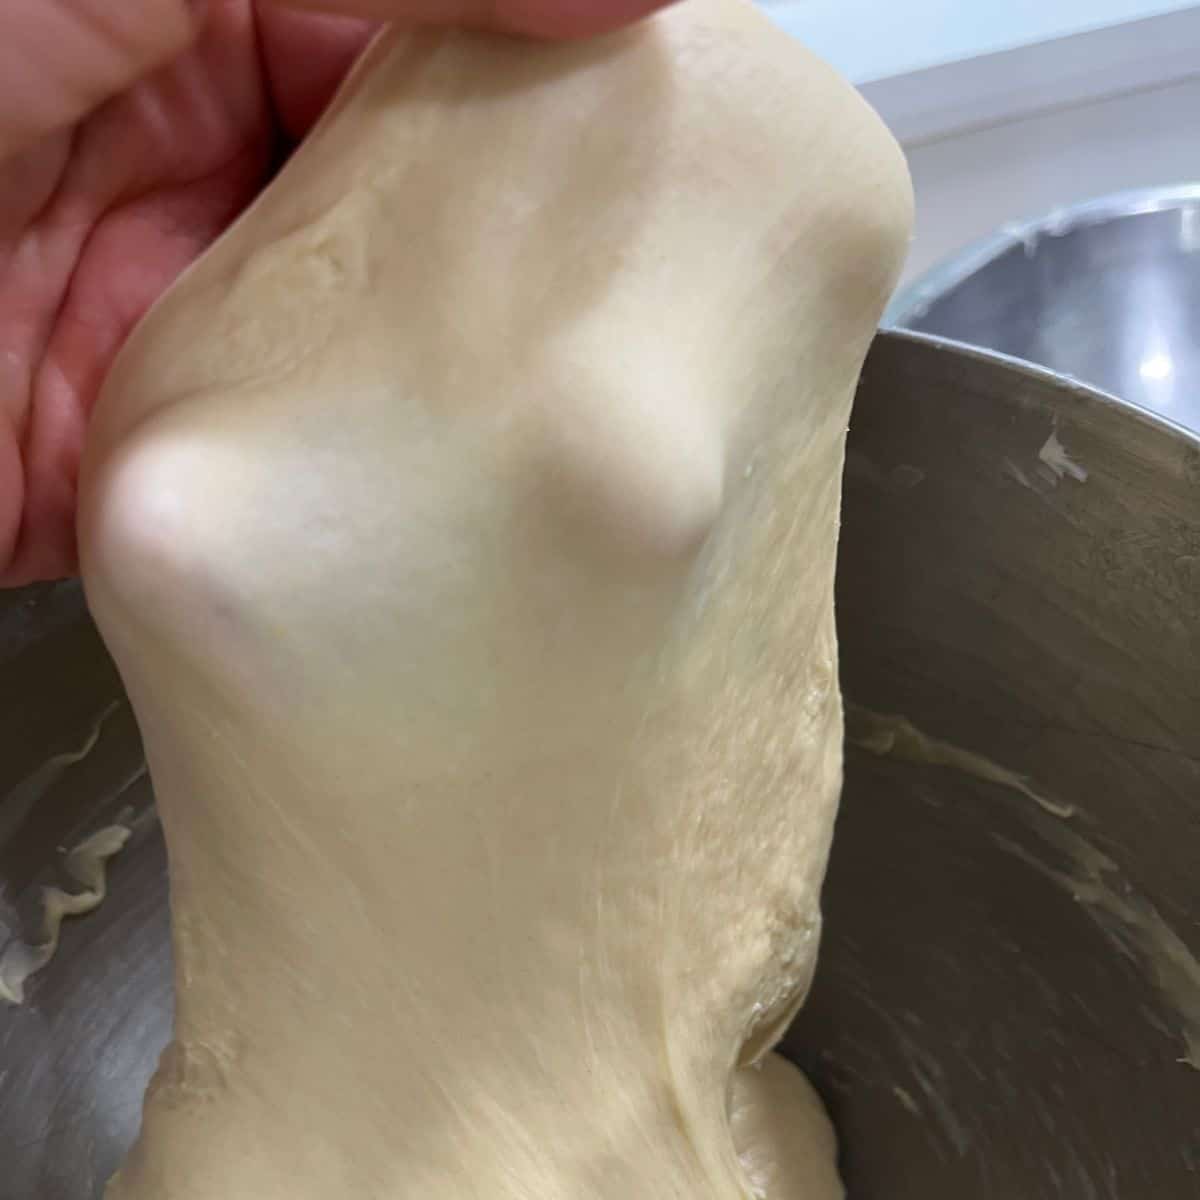
👉 A workable dough needs some structure from gluten and enough hydration to bind everything together.
What’s Actually Happening
Pie dough relies on a balance between:
- fat
- flour
- water
Fat limits gluten development.
Water hydrates the flour and allows gluten to form.
👉 You need some gluten for the dough to hold together - but not so much that it becomes tough.
If that balance is off:
- the dough won’t form properly
- it won’t hold its shape
- it becomes crumbly instead of cohesive
Why Pie Dough Becomes Crumbly
1. Not Enough Liquid Was Added
Pie dough often looks dry when it first comes together.
That’s normal.
👉 But it still needs enough water to hydrate the flour and allow some gluten to form.
If there isn’t enough liquid:
- the flour can’t fully hydrate
- the dough won’t bind
👉 The result is a dry, crumbly texture that won’t come together.
2. The Dough Didn’t Rest
Resting is a key step.
After mixing:
👉 the flour continues to absorb moisture and the gluten is given time to relax
If the dough is used right away:
- the flour won't have a chance to fully hydrate
- the dough may be harder to roll
- the structure hasn't had time to fully develop
👉 The dough may feel dry and crumbly - even if the ratio is correct
👉 Aim to rest the dough for at least 2 hours before rolling
3. Too Much Flour Was Used
Extra flour can throw off the balance.
This can happen when:
- measuring inaccurately
- adding flour during rolling
👉 Too much flour reduces available moisture and makes the dough harder to bring together.
4. The Fat Was Too Warm
Temperature matters here too.
If the fat becomes too soft:
- it blends more easily into the flour
- it can limit gluten development
👉 Some structure is required to hold the dough together
👉 Without it, the dough can become difficult to bring together and may feel dry or crumbly
5. Too Much Fat
Fat limits gluten development.
👉 Too much fat can prevent enough structure from forming.
The result:
- a dough that won’t bind
- a dough that breaks apart easily
6. Flour Type
Flour choice can contribute.
- all-purpose flour works well
- pastry flour works well
- cake flour has less protein
👉 Lower protein = less gluten potential.
This can make the dough:
- more tender
- but also more fragile and crumbly
7. Fat Type (Lard or Shortening)
The type of fat matters.
- the water naturally present in butter contributes a small amount of hydration
- lard and shortening create a more tender texture
👉 Doughs made with 100% lard or shortening are often more prone to a crumbly texture because they contain very little water and limit gluten development more effectively than butter.
👉 This is not to say that lard and shortening make inferior pie crusts - it's simply important not to overwork the fat into the flour.
8. The Fat Was Blended Too Fully Into the Flour
Fat should be incorporated - but not completely.
If the fat is:
- too finely blended
- fully worked into the flour
👉 the dough may have less structure available to hold itself together
Instead of:
- distinct pieces of fat
- light gluten development
You get:
- a more uniform mixture
👉 Some structure from gluten is necessary to bind the dough.
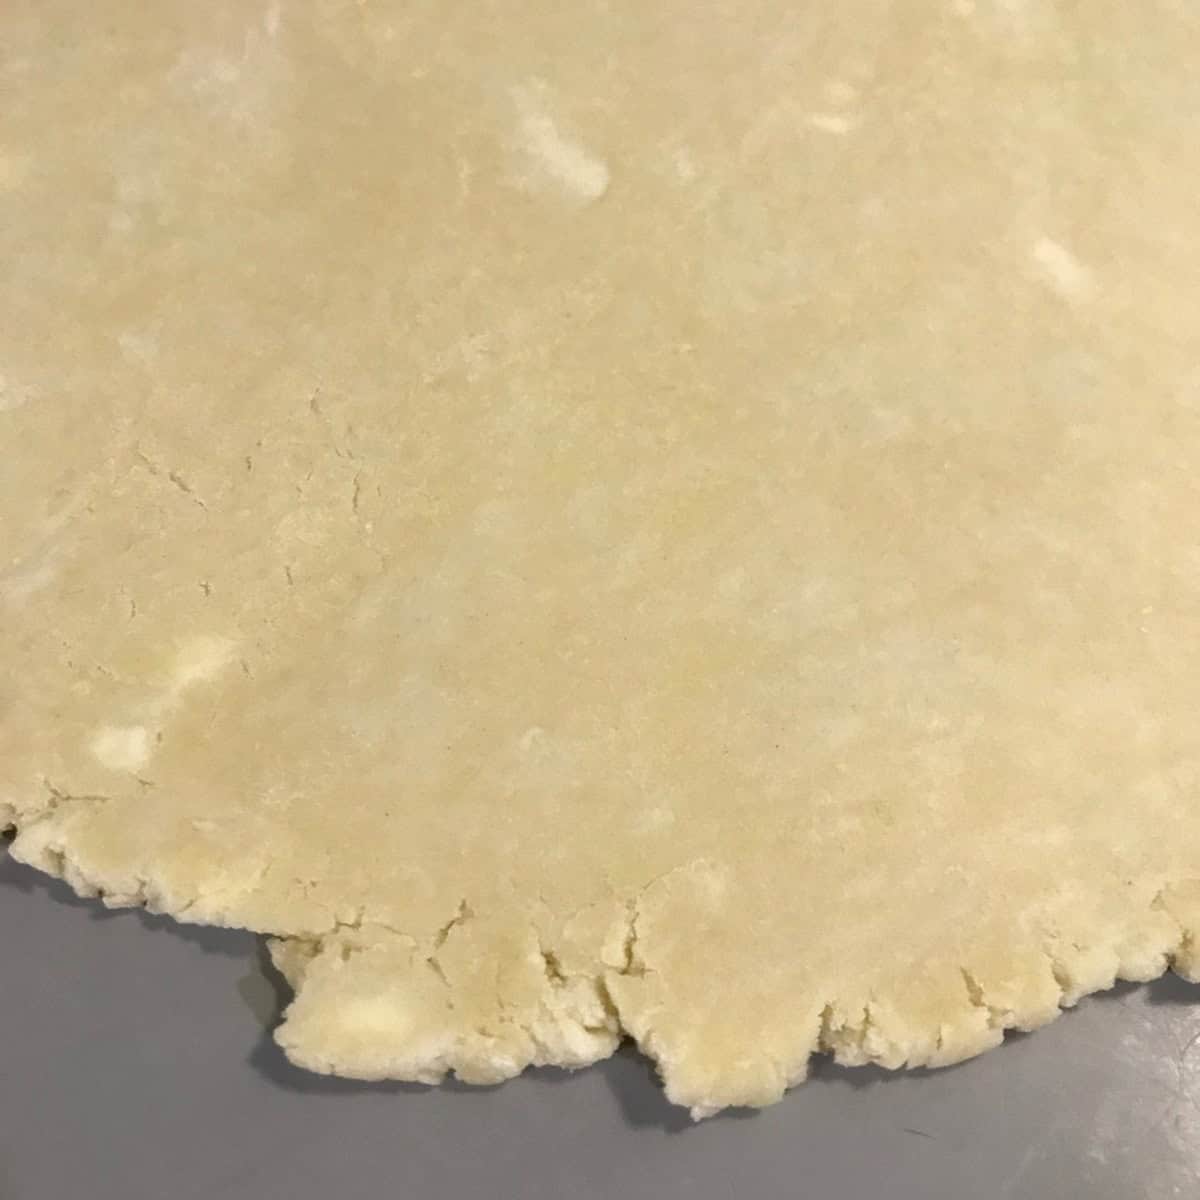
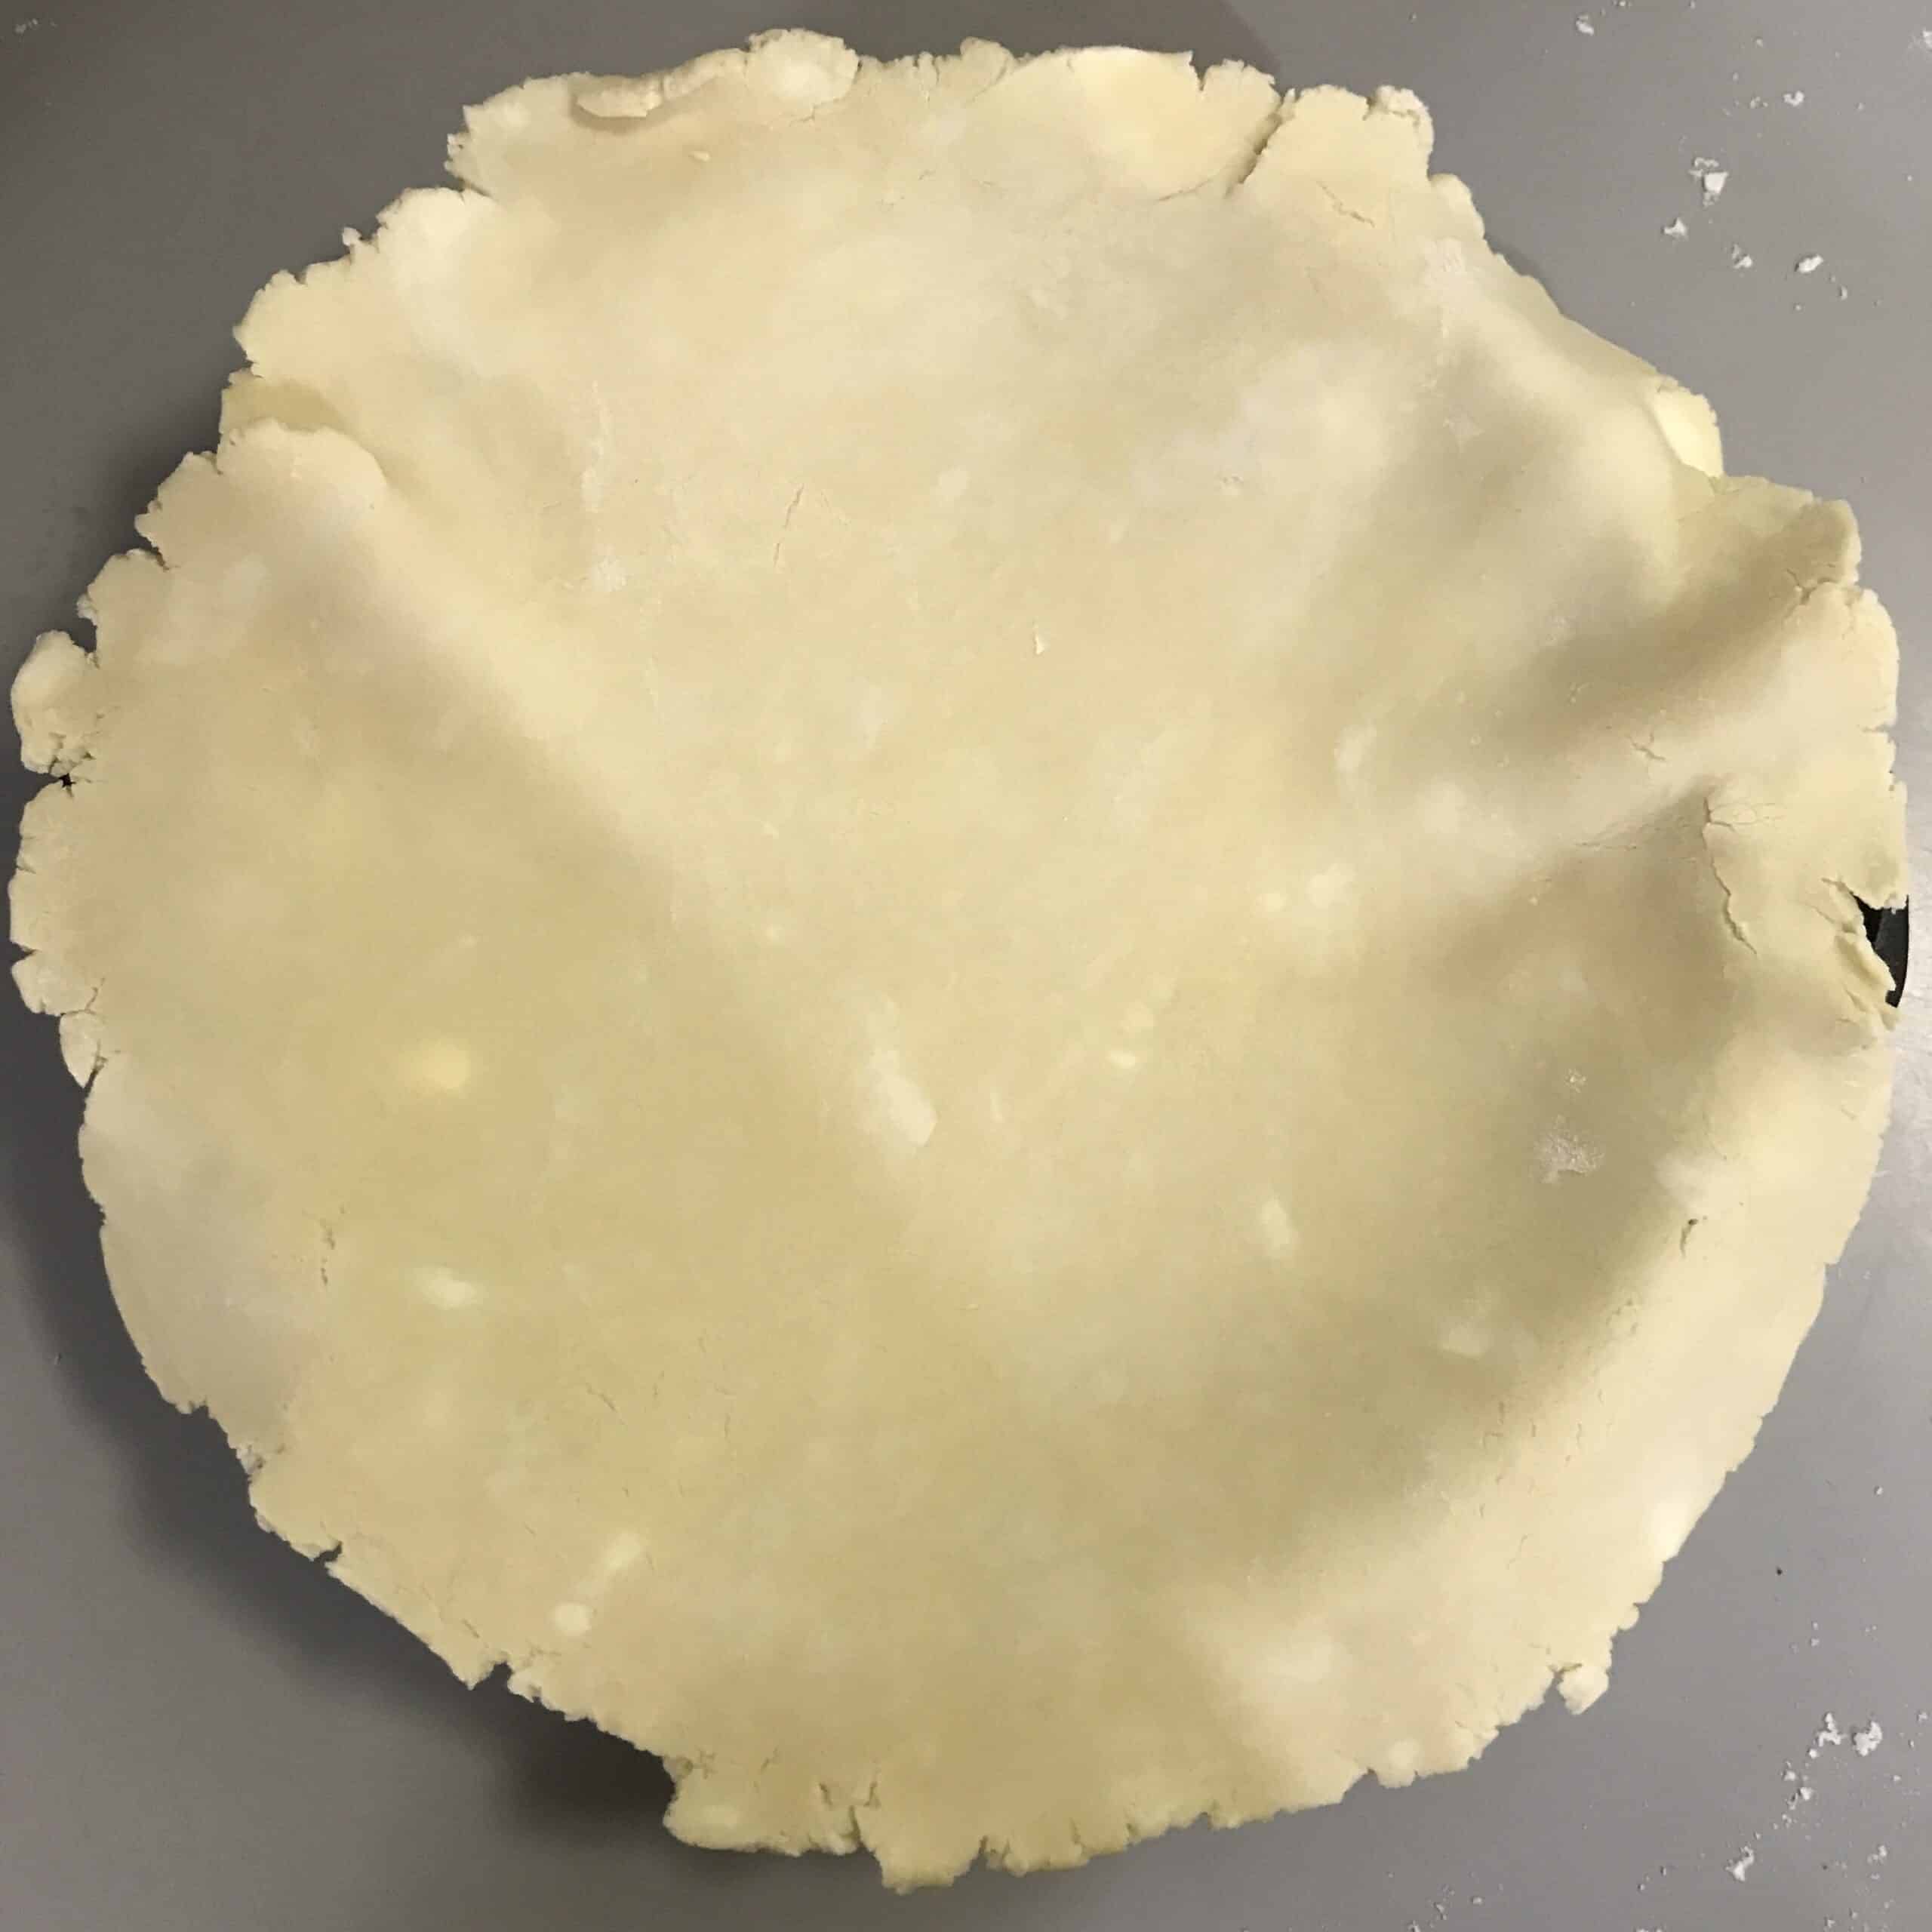
A Better Way to Approach Pie Dough
Instead of forcing the dough to come together, focus on building the right balance from the start.
Add Just Enough Water
- add gradually
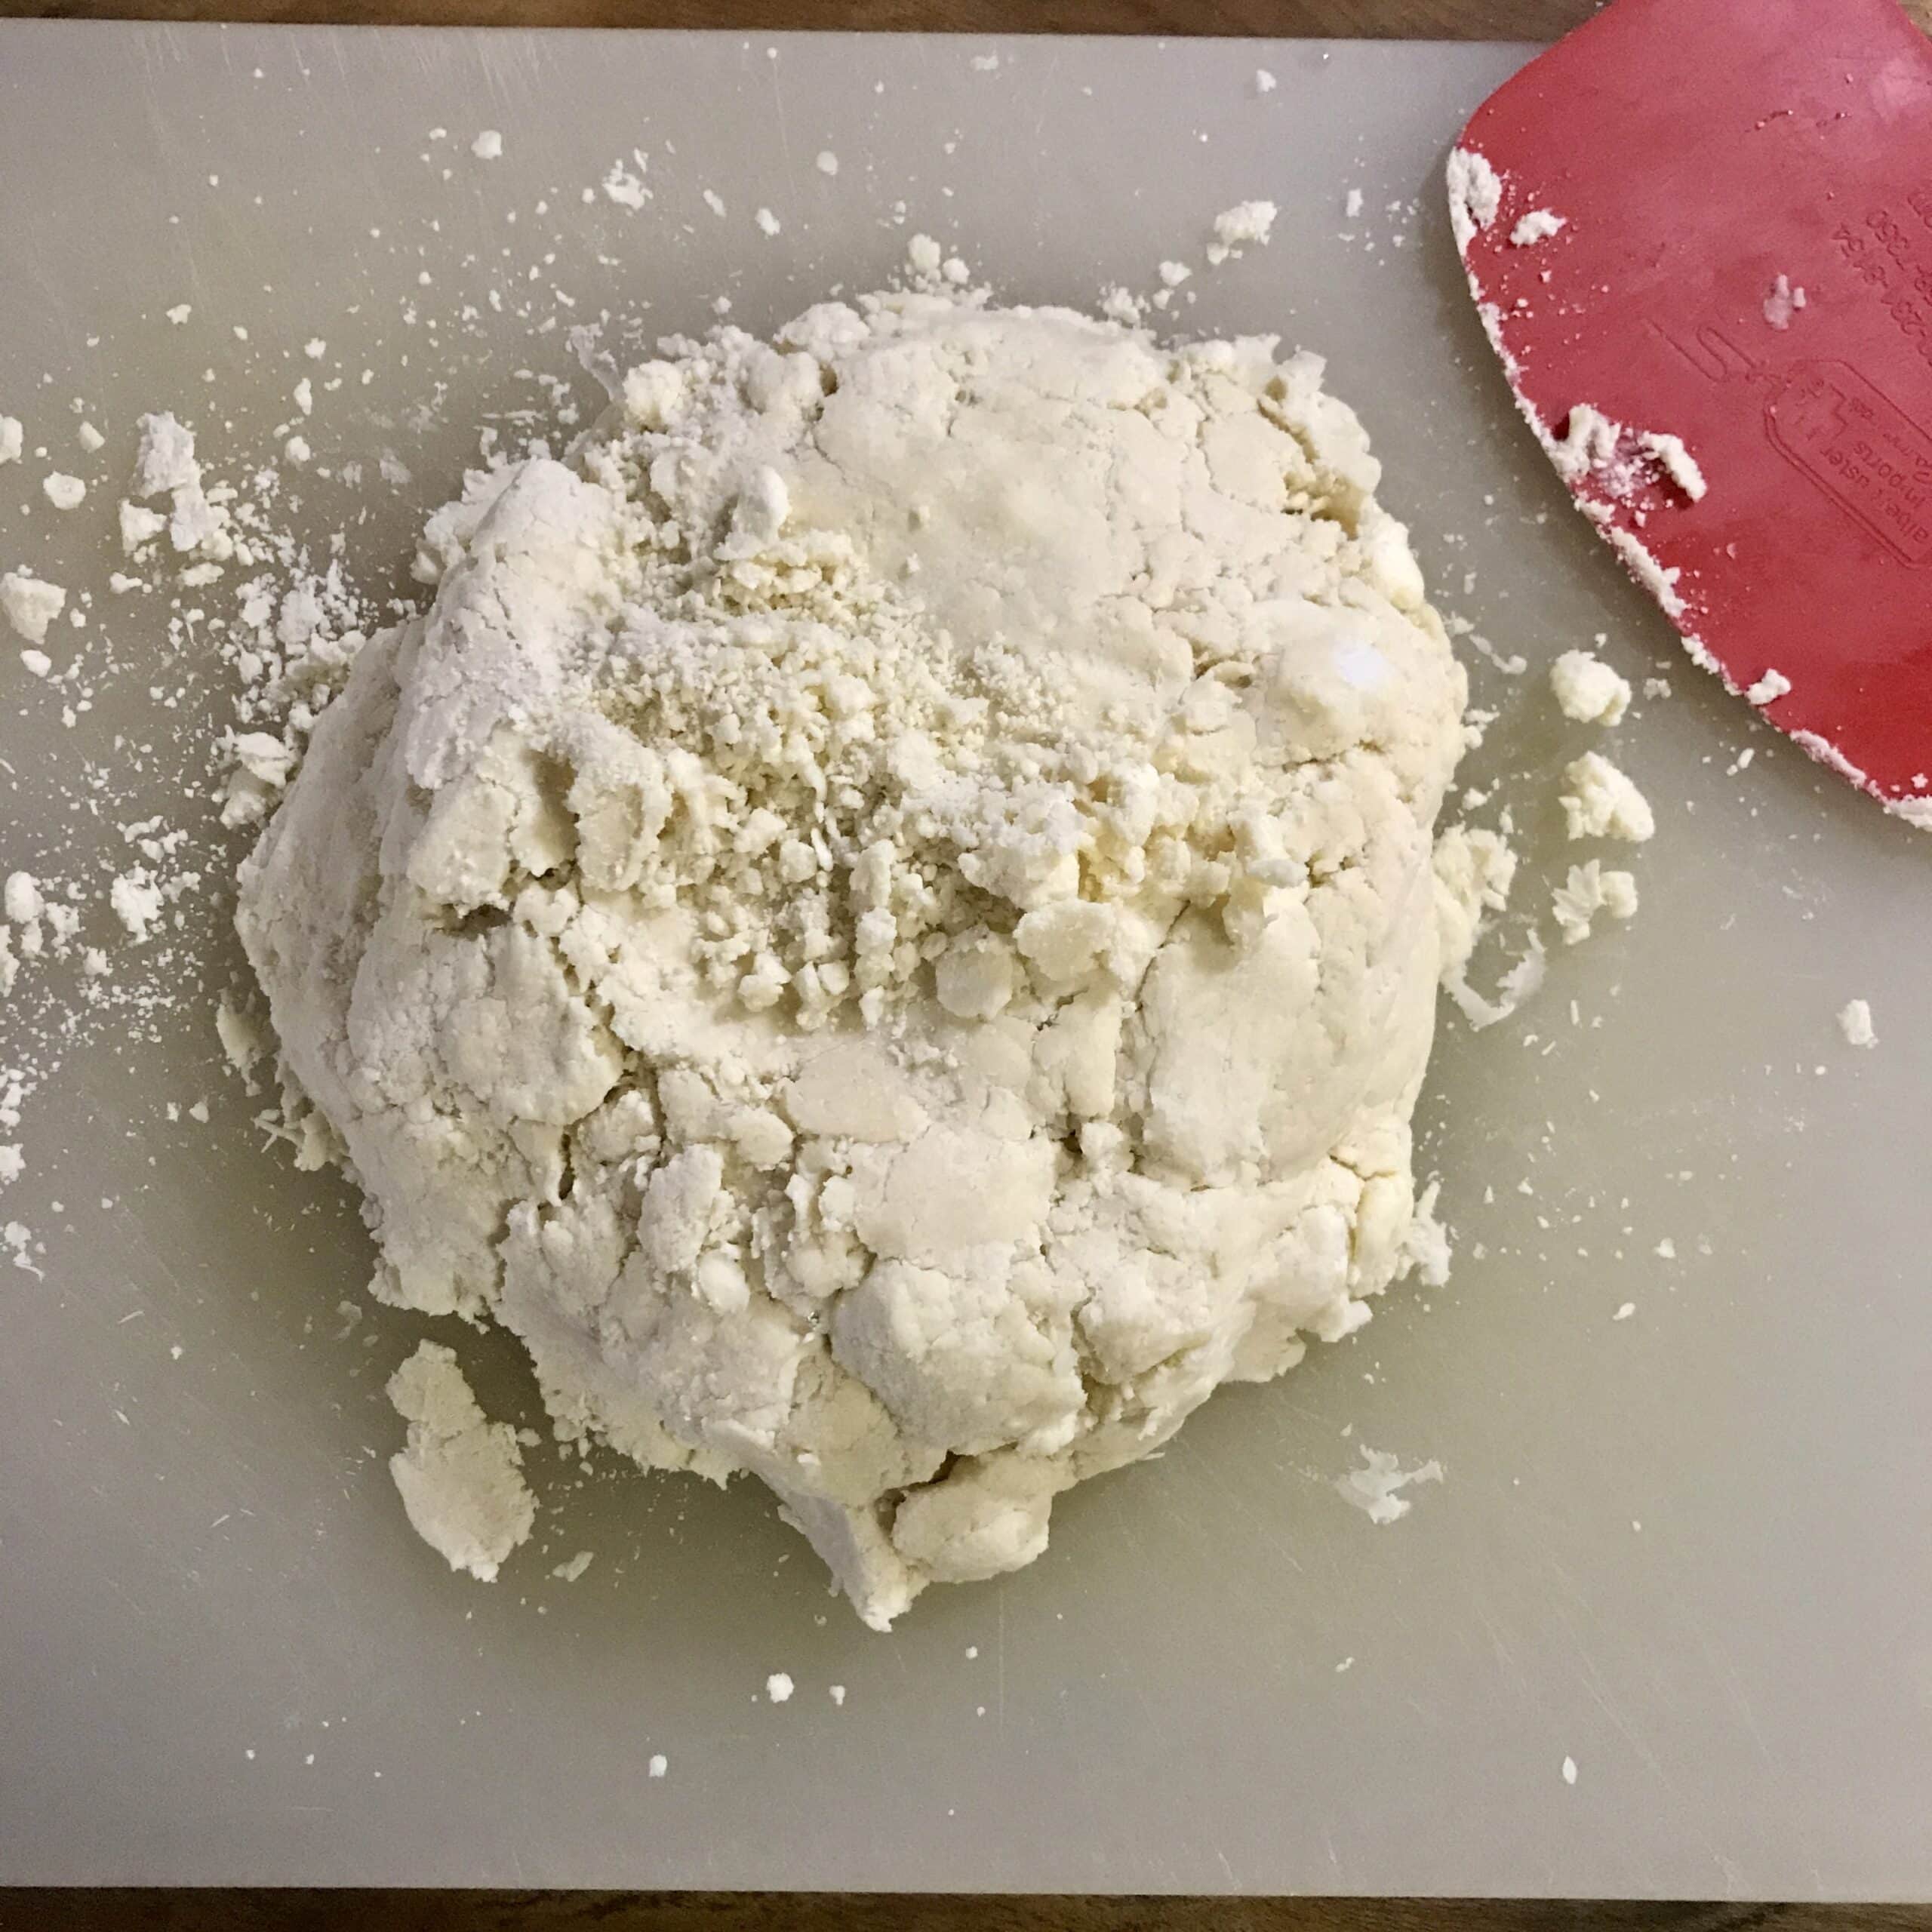
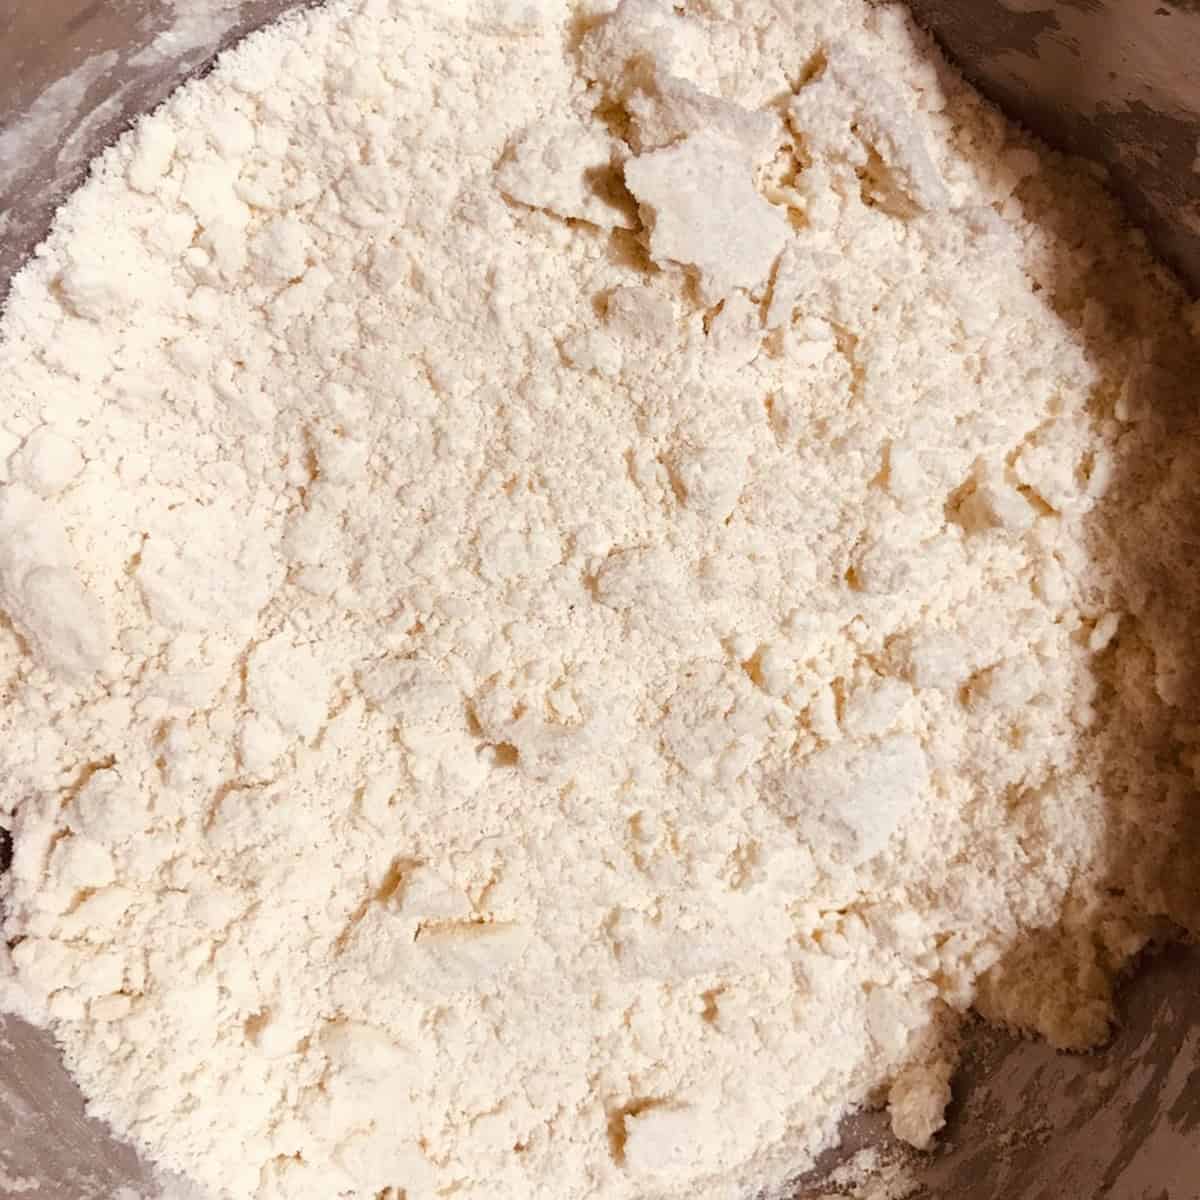
- stop when the dough just holds together
👉 It should look slightly dry - but still hold when pressed.
Don’t Overwork the Fat
- leave visible pieces
- avoid fully blending
👉 resembles coarse cornmeal with some pea-sized pieces remaining
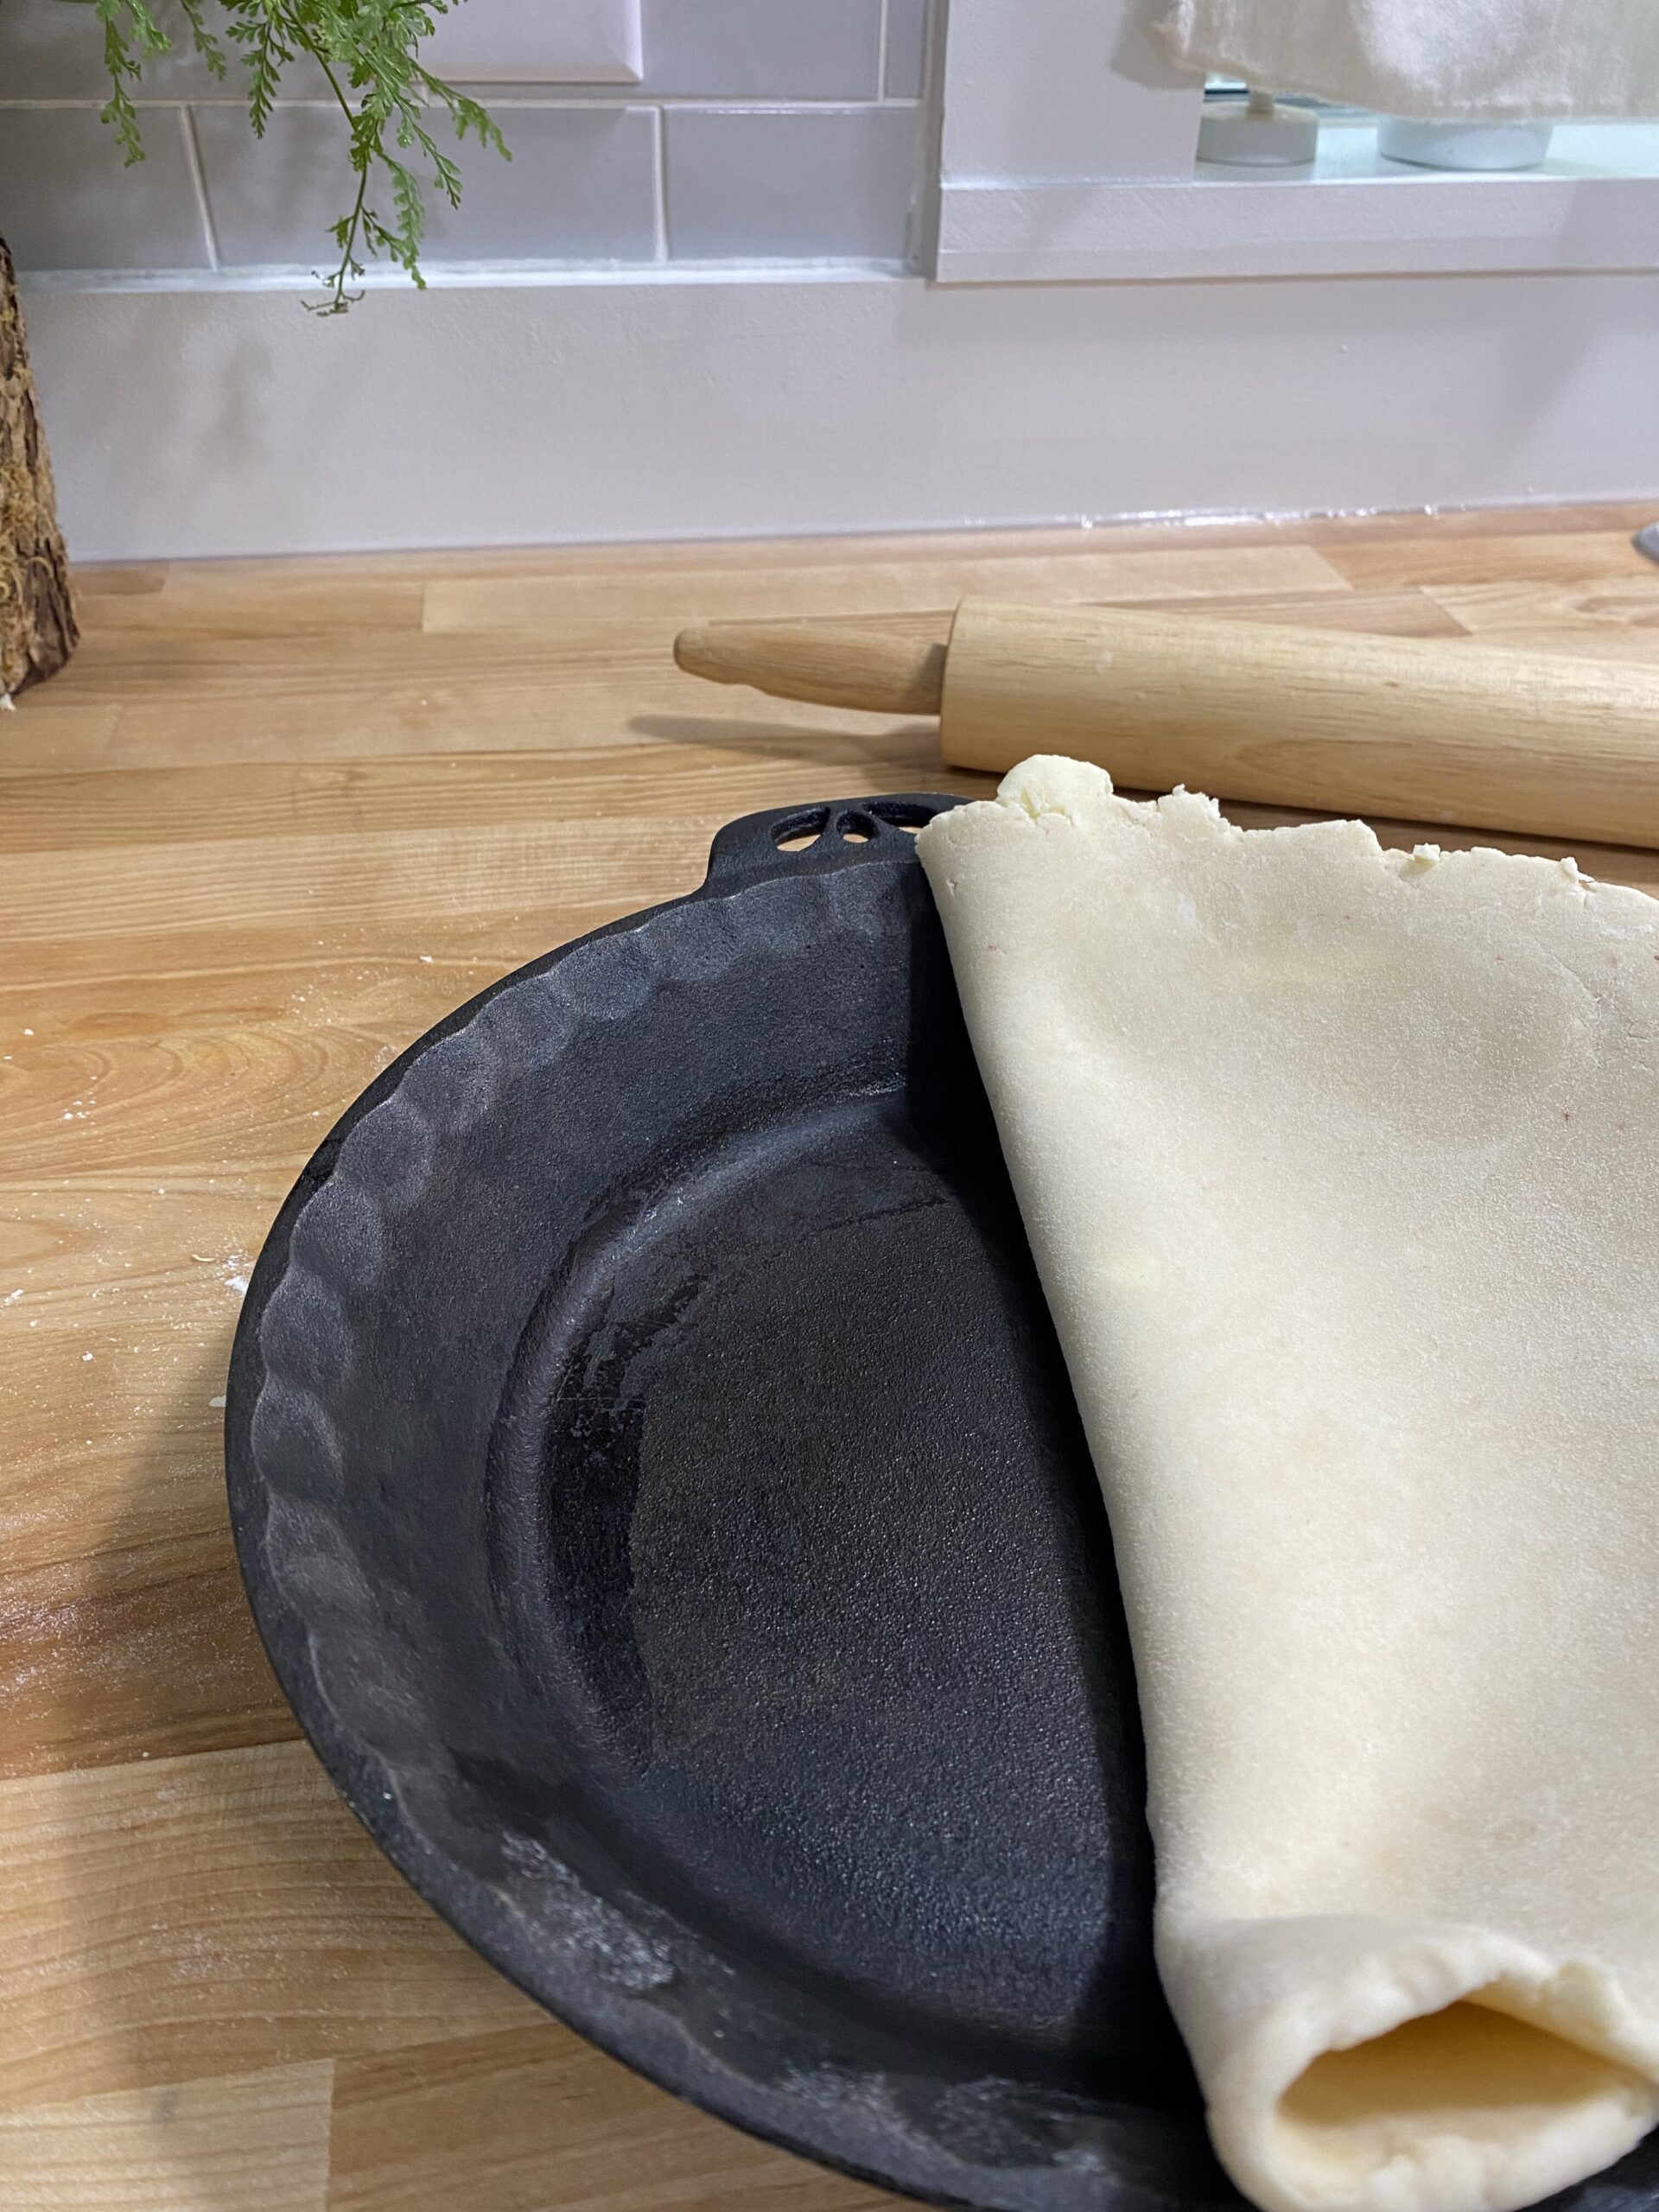
Use Folding (Instead of Kneading)
If the dough needs structure:
👉 flatten and fold it 1-2 times
This helps:
- bring it together
- create layers
👉 without overdeveloping gluten.
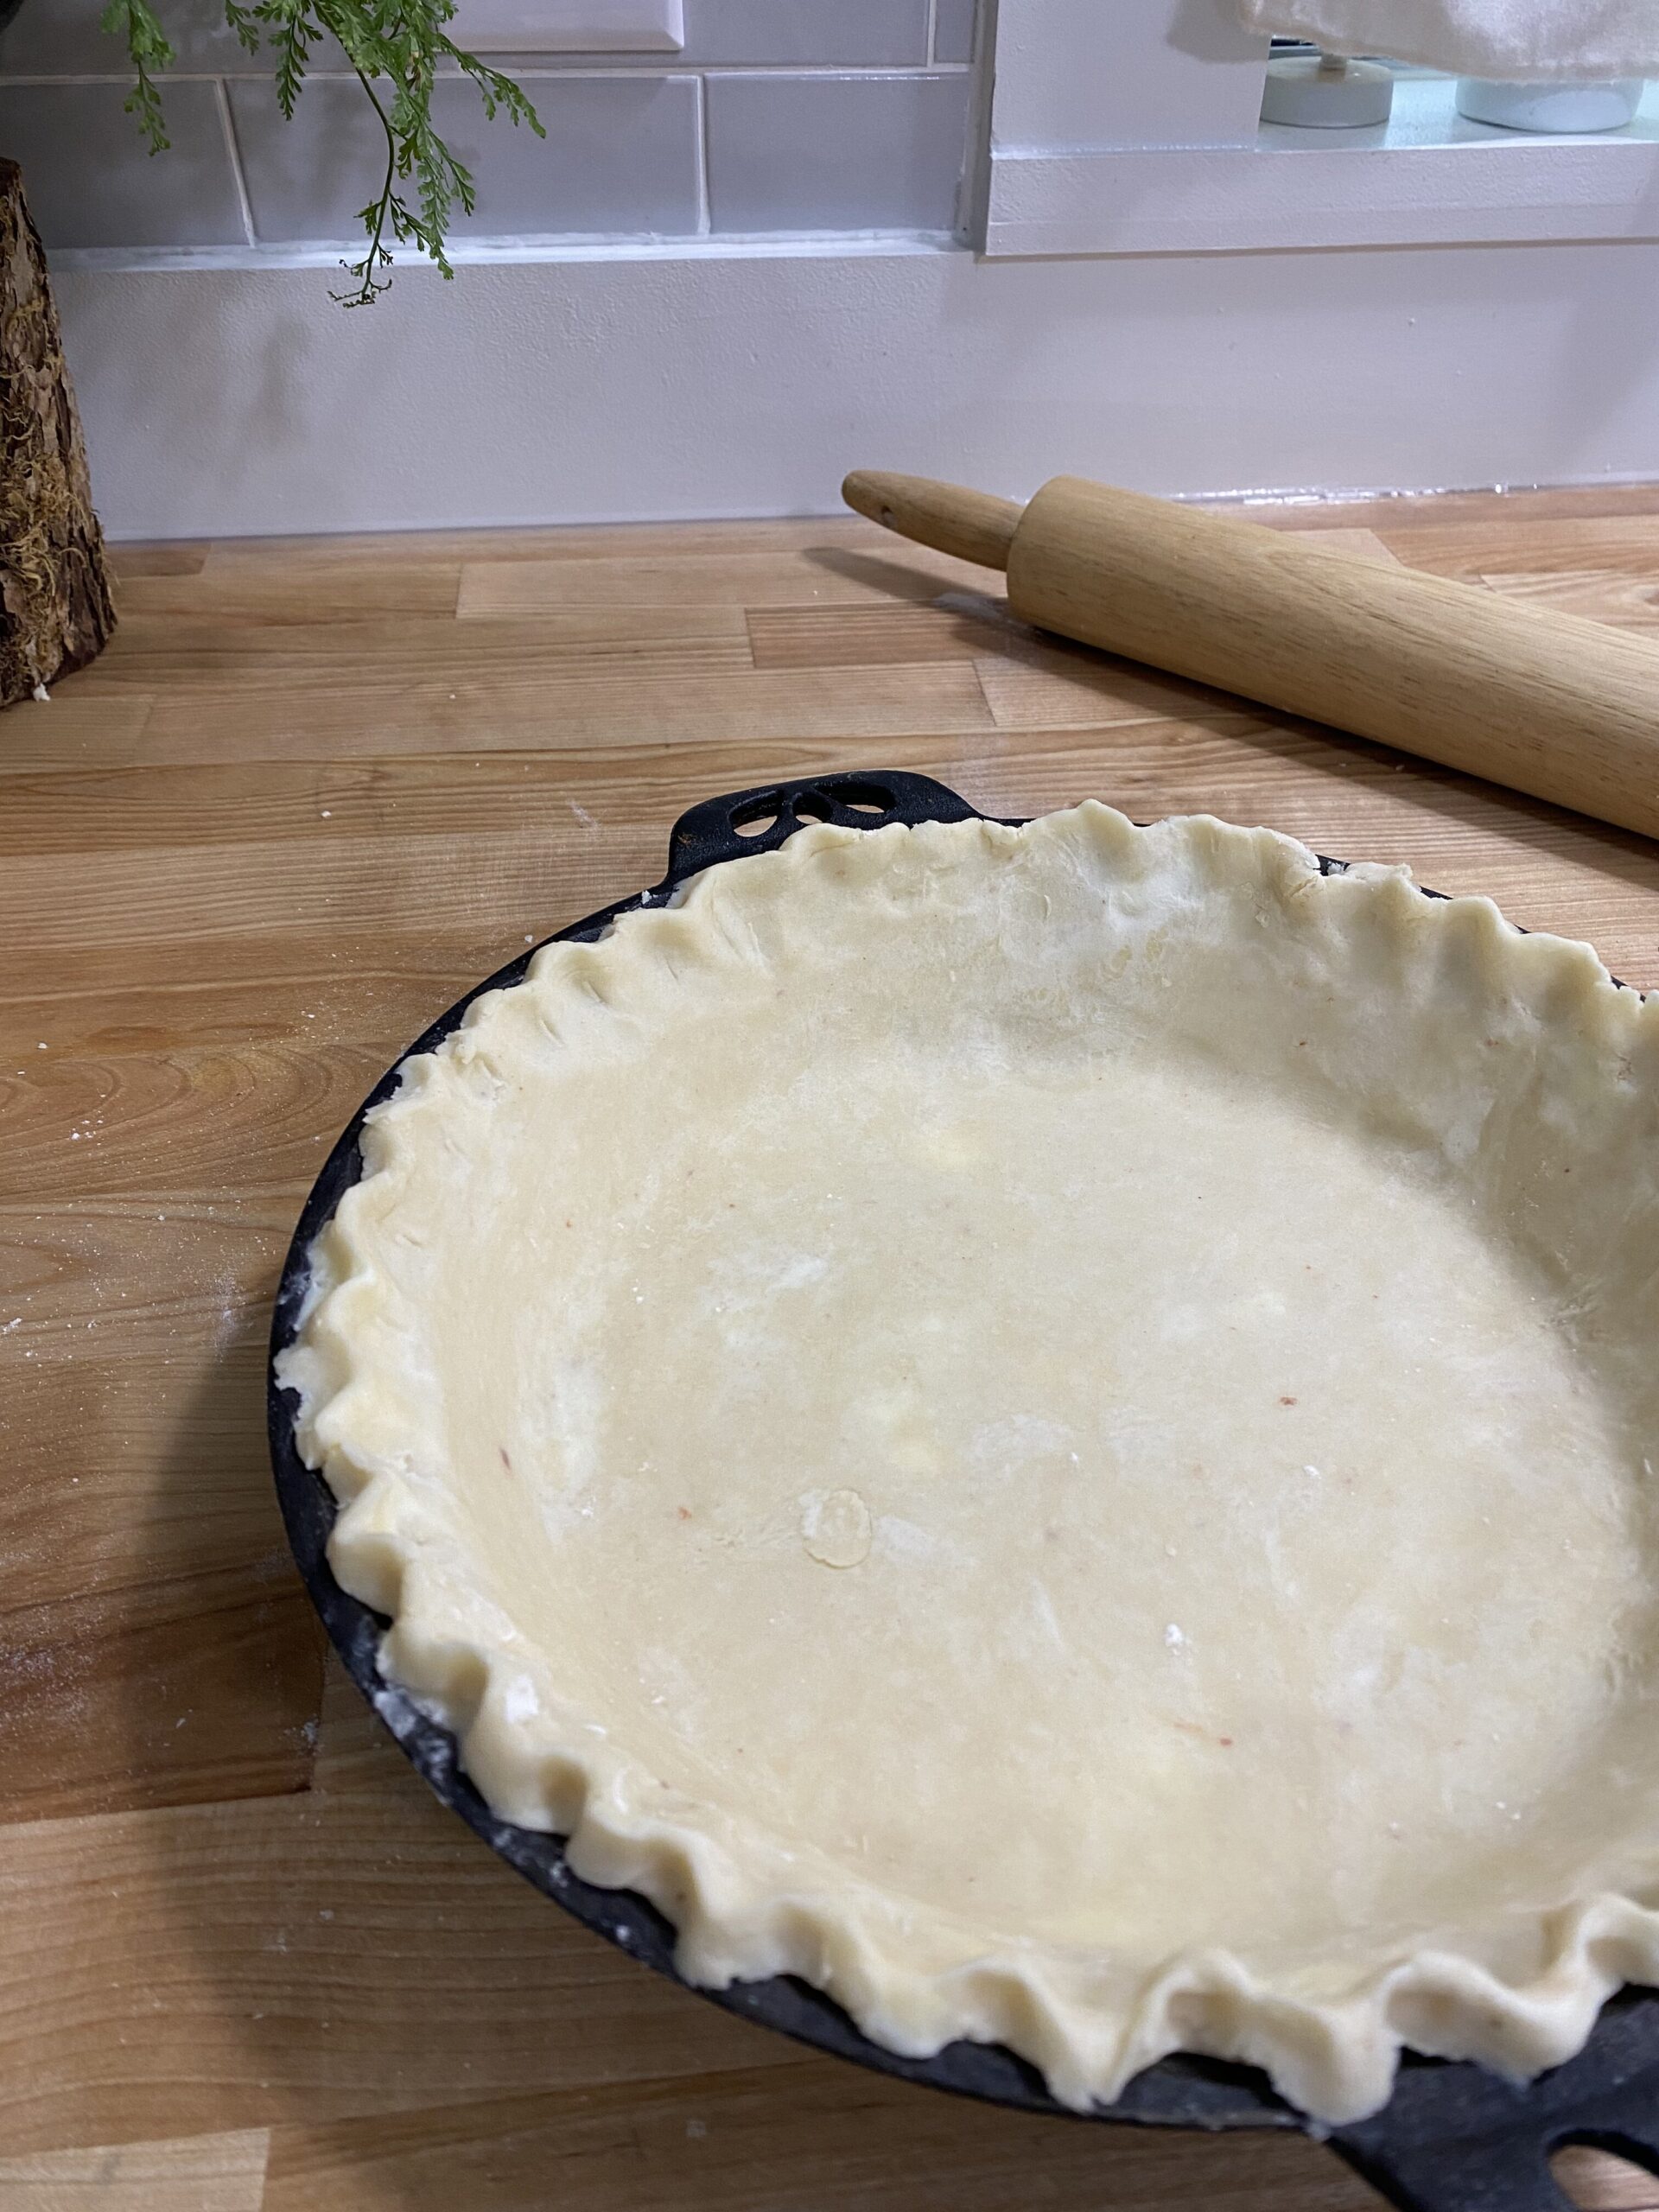
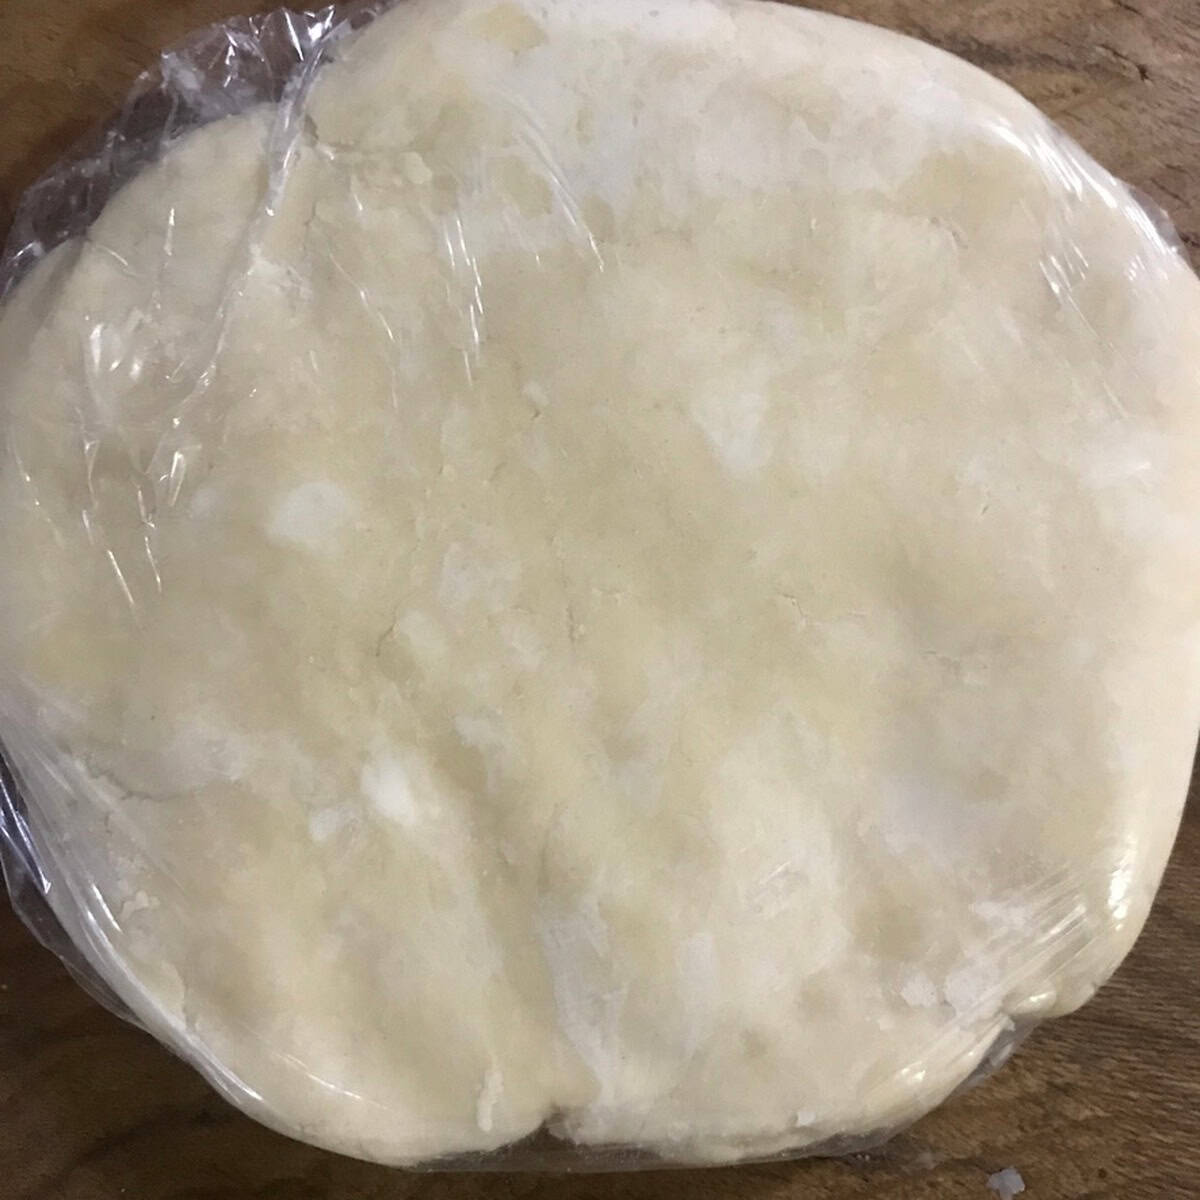
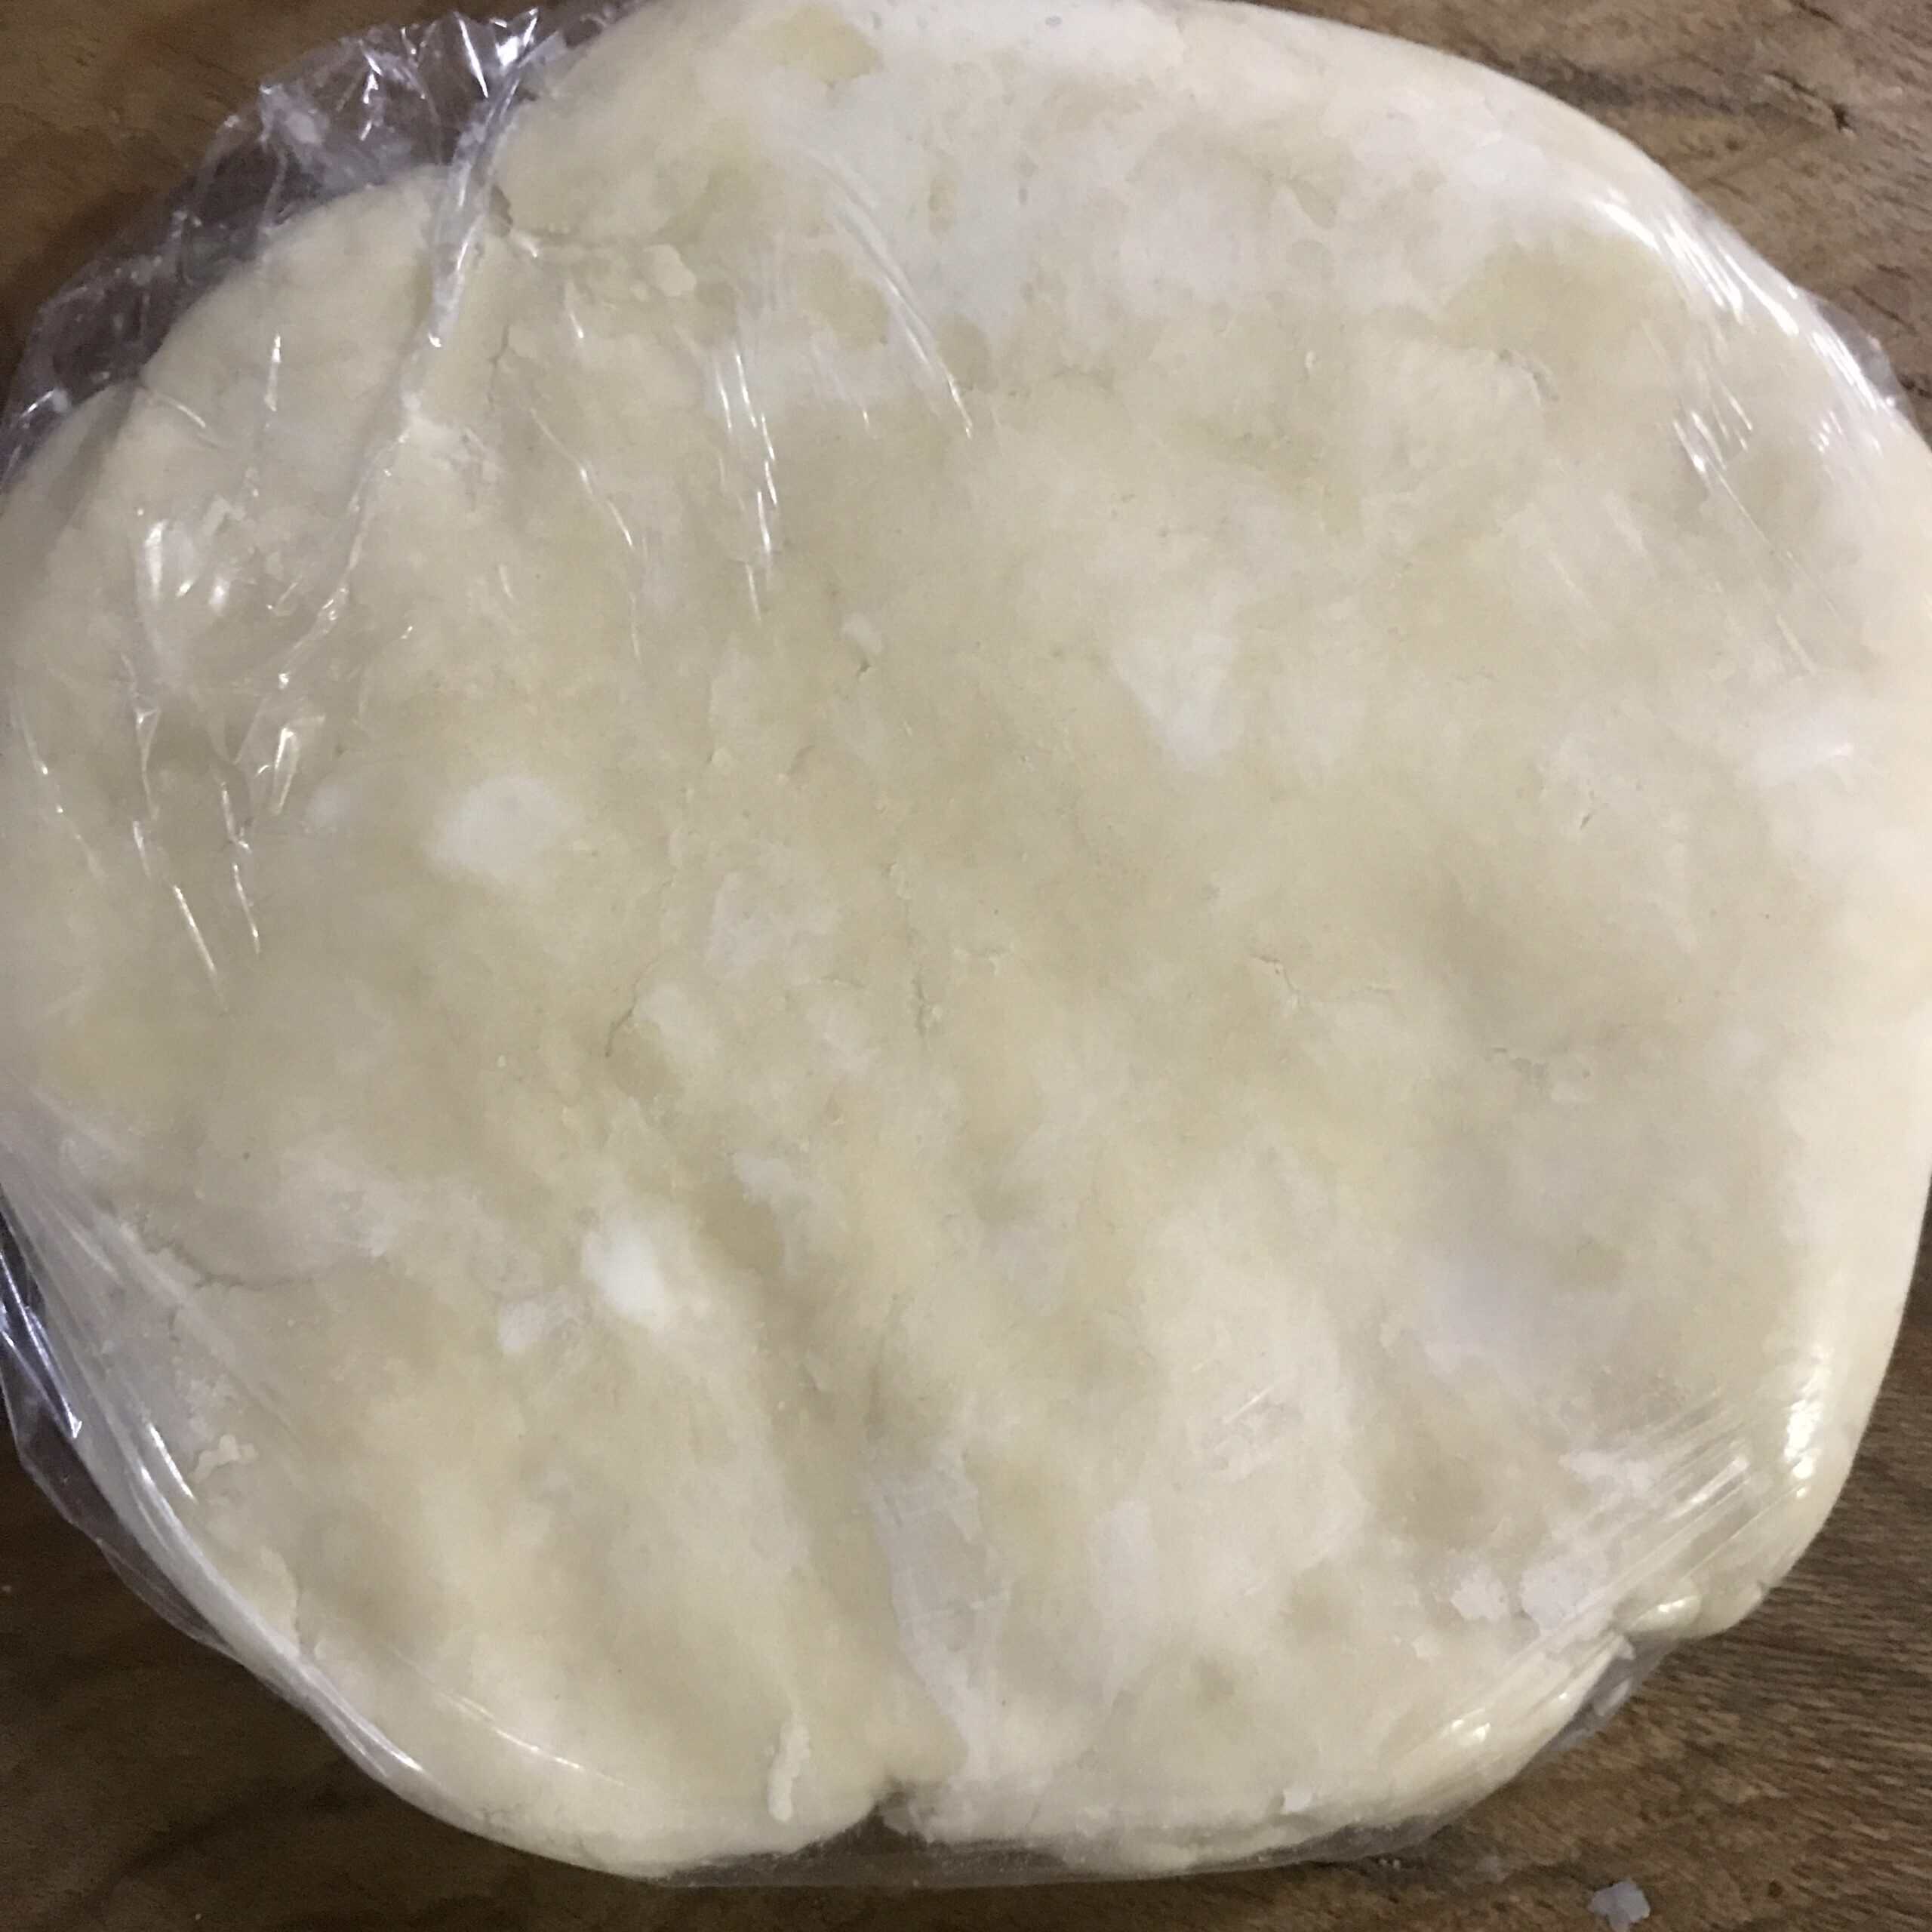
Flatten Before Chilling
Flatten the dough into a ½-inch thick disk before wrapping.
👉 This helps the dough chill more evenly and makes it easier to roll later.
When it's time to roll out the dough, it's already close to the right shape and thickness.
Let the Dough Rest
After mixing:
👉 wrap and refrigerate for at least 2 hours
This allows:
- flour to hydrate
- gluten to relax
- structure to develop
- dough to become more cohesive
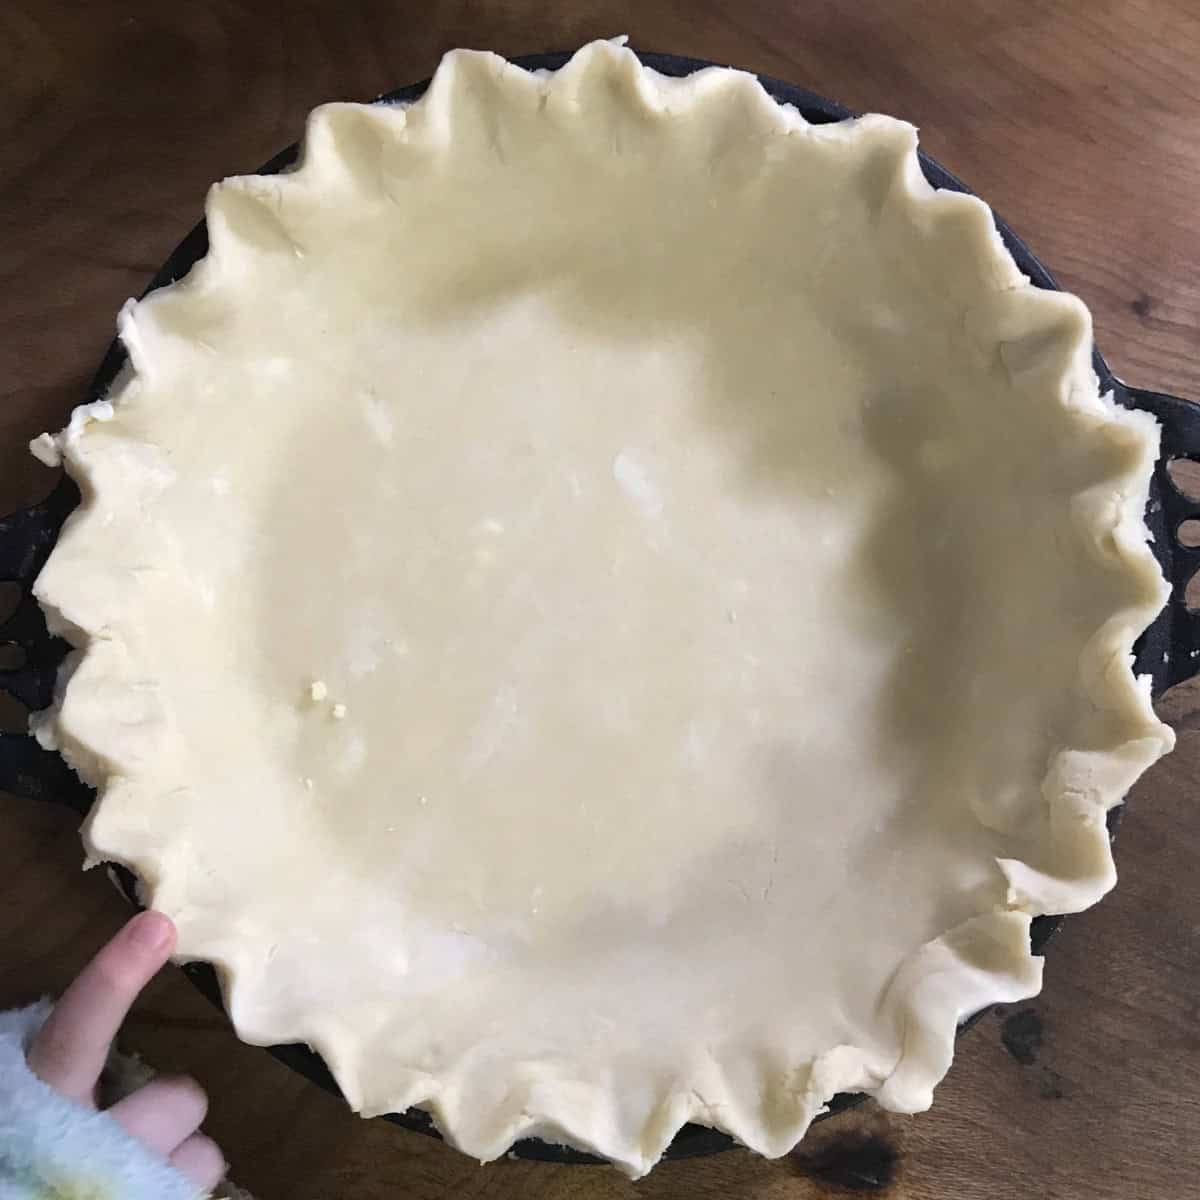
Temper the Dough
A few minutes before rolling, remove the dough from the refrigerator to take the chill off.
👉 You still want the dough cold, but allowing it to soften slightly makes it easier to roll without cracking.
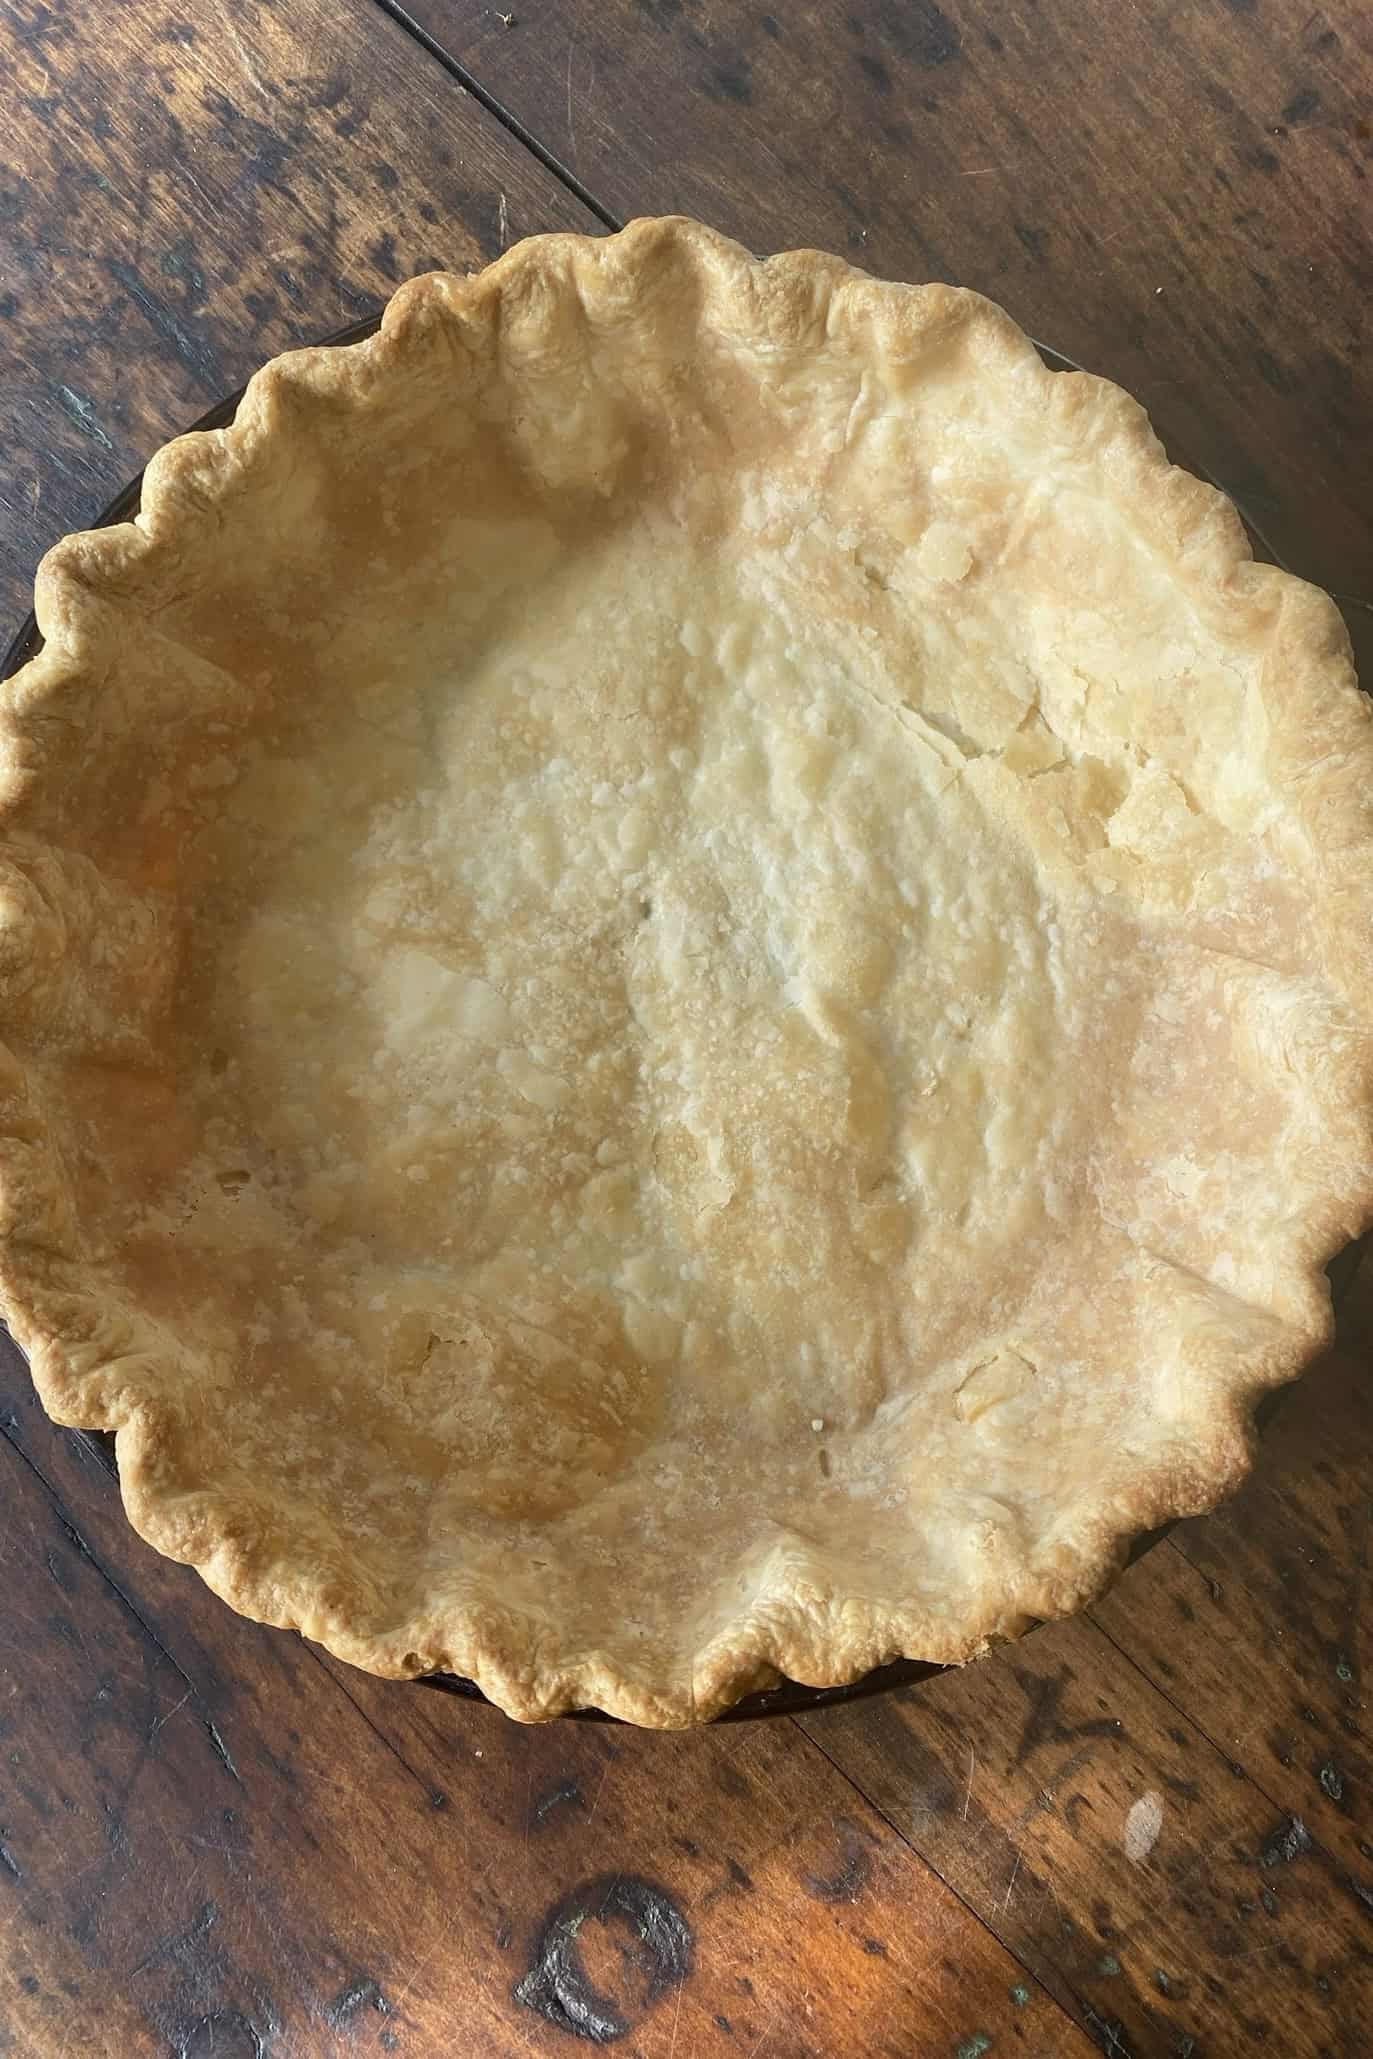
Pie Making and Troubleshooting Guides
Troubleshooting Pie
- 👉 Why Is My Pie Crust Tough?
- 👉 Why Does My Pie Crust Shrink?
- 👉 Why Is My Pie Crust Soggy?
- 👉 Why Is My Pie Dough Crumbly?
Pie Making Basics
Final Thoughts
Crumbly pie dough isn’t just about adding more water.
👉 It’s usually a balance issue between fat, flour, and water.
When you:
- incorporate the fat properly
- provide an adequate amount of liquid
- give the dough time to relax and hydrate fully
👉 the dough comes together more easily and behaves more predictably.
Pocket Baker Perspective
In professional kitchens, doughs aren't rushed to perform.
Instead, they're given time to rest, hydrate, and become cohesive on their own.
One of the most common mistakes home bakers make is judging the dough too quickly. Pie dough often looks drier than it actually is when it first comes together.
👉 After it's rested, it should look noticeably less dry.
Without allowing the dough to rest and the gluten to relax, something that simply needs more time may be mistaken for a problem that needs fixing.
👉 When the balance is right, a little patience usually solves the problem better than adding more water or mixing longer.