


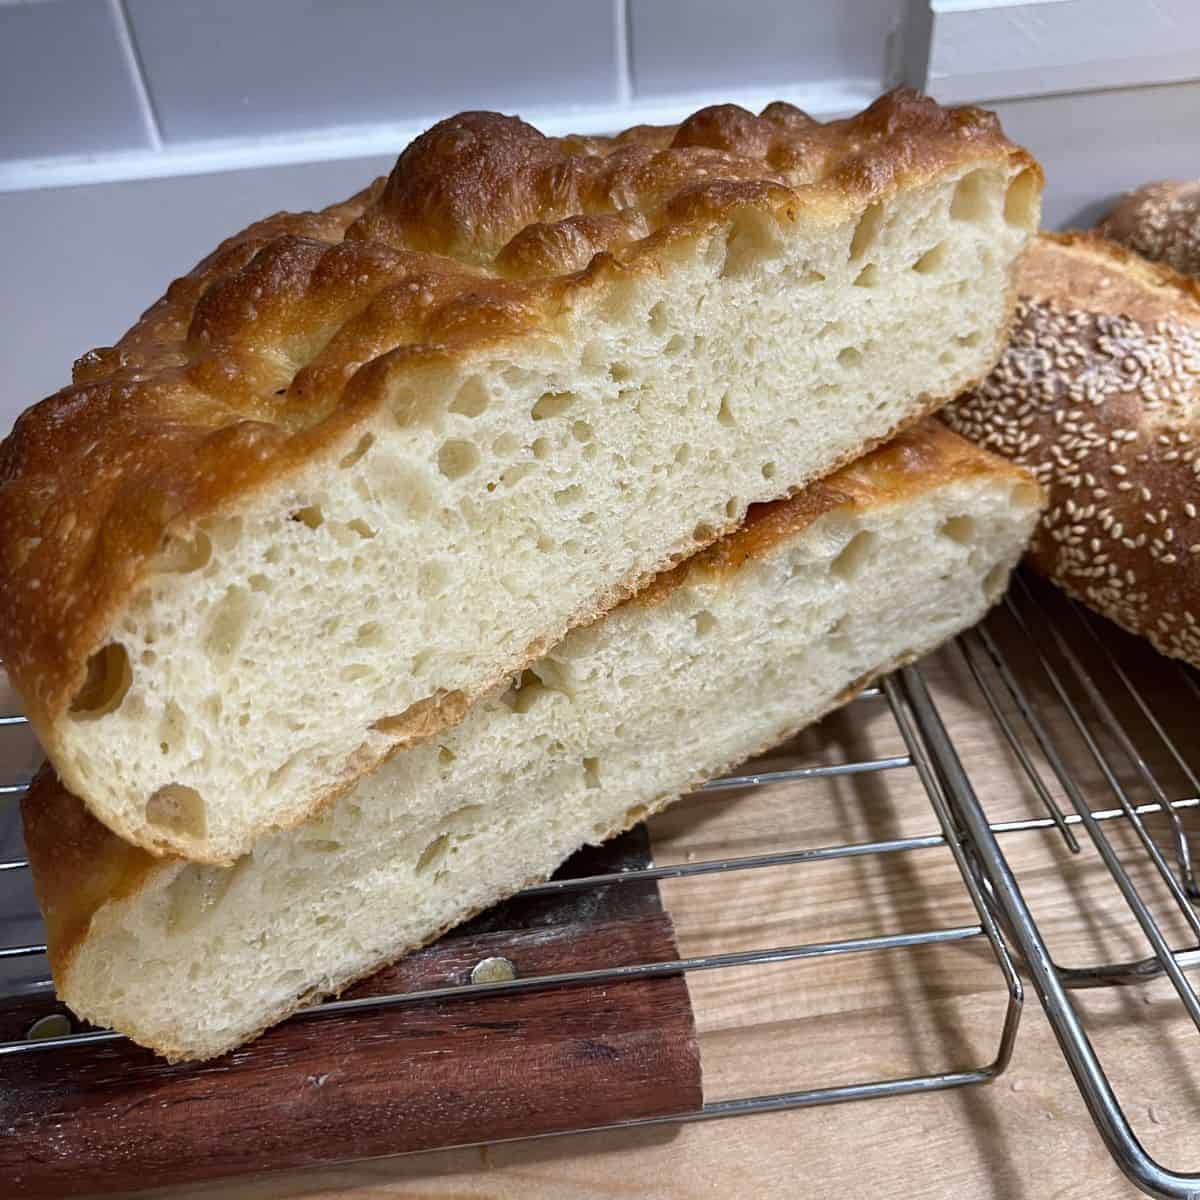
From start to finish, this focaccia takes about three hours to make (mostly just waiting time), requires no mixer, and can be baked in just about any pan. Have fresh focaccia on the dinner table tonight—just don’t forget to set out a dish of olive oil and balsamic vinegar for dipping!
Jump to:
Recipe overview
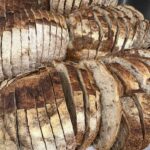
This focaccia doesn’t have the big air pockets, chew, and fermented flavor of the sandwich focaccia, which benefits from a slow, cold fermentation, but it’s super easy, quick and satisfyingly soft.
- This is a one-day recipe. At a room temperature of around 70-75°F, the process should take about 3 hours. At colder temperatures, it may take a little longer.
- For this focaccia, we'll be making the dough by hand—no special equipment needed.
- Bake in any oven-safe pan—see below for recommendations.
Baker's Assistant: Dive Deeper
For more in-depth information about topics covered on this page, follow the links
Mise en place
Have ready in advance:
- Round pan (at least 10" in diameter) or a rectangular dish between 7" x 11" and 9.5" x 13".
- Parchment paper (for pans that are not non-stick)
- Kitchen scale
- Thermometer (beneficial but not required)
Ingredient Properties & Substitutions
Substituting ingredients in a recipe—especially when baking—will almost certainly affect the flavor and texture of the final product. Additionally, not using a scale to measure your ingredients can lead to inconsistent results. To ensure accuracy, I strongly recommend weighing your ingredients and following the recipe as written.
Bread Flour – Protein content: 12-14%. I like to use a combination of all-purpose flour and bread flour to achieve a focaccia that is both soft and sturdy. You can substitute all-purpose flour, but the outcome may vary depending on the protein content.
All-Purpose Flour – Protein content: 8-11%. You can substitute bread flour for all-purpose flour in this recipe, but this will likely result in a focaccia that’s less soft and a bit chewier.
Water – If your kitchen is around 75°F, the water temperature for your dough should feel neither hot nor cold. If using a thermometer, aim for a reading of 75-80°F. If your kitchen is cold, warm the water slightly; if it’s hot, make it cooler. The goal is for your dough to sit at around 75°F after mixing all the ingredients. This will allow for optimal yeast activity and fermentation. Unless you're in a very cold environment or your flour has been refrigerated, avoid using water warmer than 90°F.
Oil – Olive oil is recommended for this recipe, but you can use any oil in the dough. I suggest brushing the baked focaccia with extra virgin olive oil for enhanced flavor.
Yeast – I prefer instant yeast because it can be added directly to the flour without needing to be bloomed first (although it now seems that you no longer have to do this—see article from King Arthur Baking). To substitute active dry or fresh yeast, refer to the notes section of the recipe card.
Honey – It contributes to the soft texture of the dough and acts as food for the yeast. Granulated sugar can be substituted.
Salt – Provides flavor and helps control yeast activity.
Baker's Assistant: Toppings
Focaccia dough is an excellent base for various odds and ends from the fridge. I’ve topped it with everything from cheddar & kimchi, cured meats, jalapeños, pears, nuts, and gorgonzola. Of course, a simple sprinkle of flaky sea salt is always a winner.
Here are a few tips when adding toppings:
- Make sure your toppings are ready before your focaccia has fully proofed.
- Toppings should not be hot.
- Add toppings just before you’re ready to dimple the dough.
- Fresh garlic, onions, herbs, sun-dried tomatoes, and some dry cheeses tend to burn in the oven. If you want to incorporate these ingredients into your dough, add them after your first fold (the garlic and onion should be cooked first). Alternatively, you can top the baked focaccia with an oil-based condiment like chimichurri or gremolata.
Technique
Proper mixing, proofing, shaping and baking are all vital for making good bread. For more in-depth information please see: A Guide to Bread Making 12 Steps for the Home Baker.

Pans
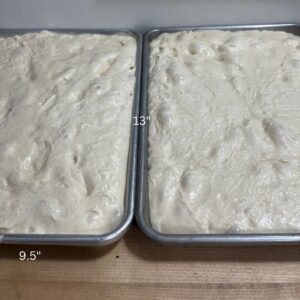
You can bake focaccia in just about anything—cake pans, PYREX glass dishes, muffin tins, or cast iron (especially great for an extra crispy bottom crust!). For one batch of this recipe, a round pan 10"-12" in diameter or a rectangular dish between 7" x 11" and 9.5" x 13" works great. Obviously, the larger the pan, the thinner your focaccia will be.
Pay careful attention
Two points to pay attention to for soft, fluffy focaccia.
Baker's Assistant: Folding Dough
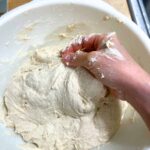
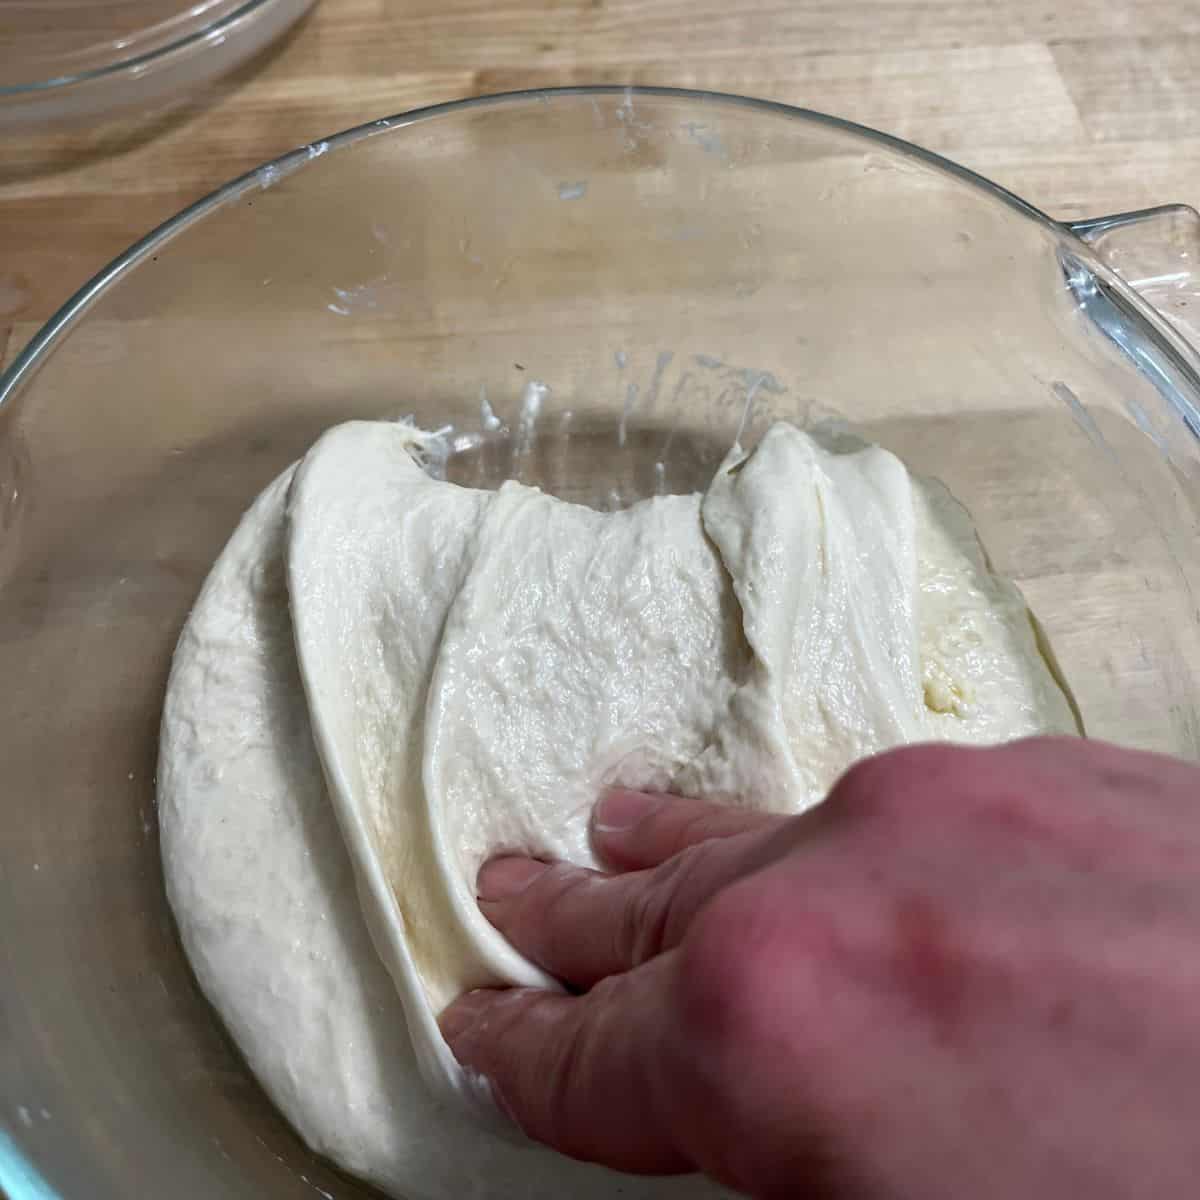
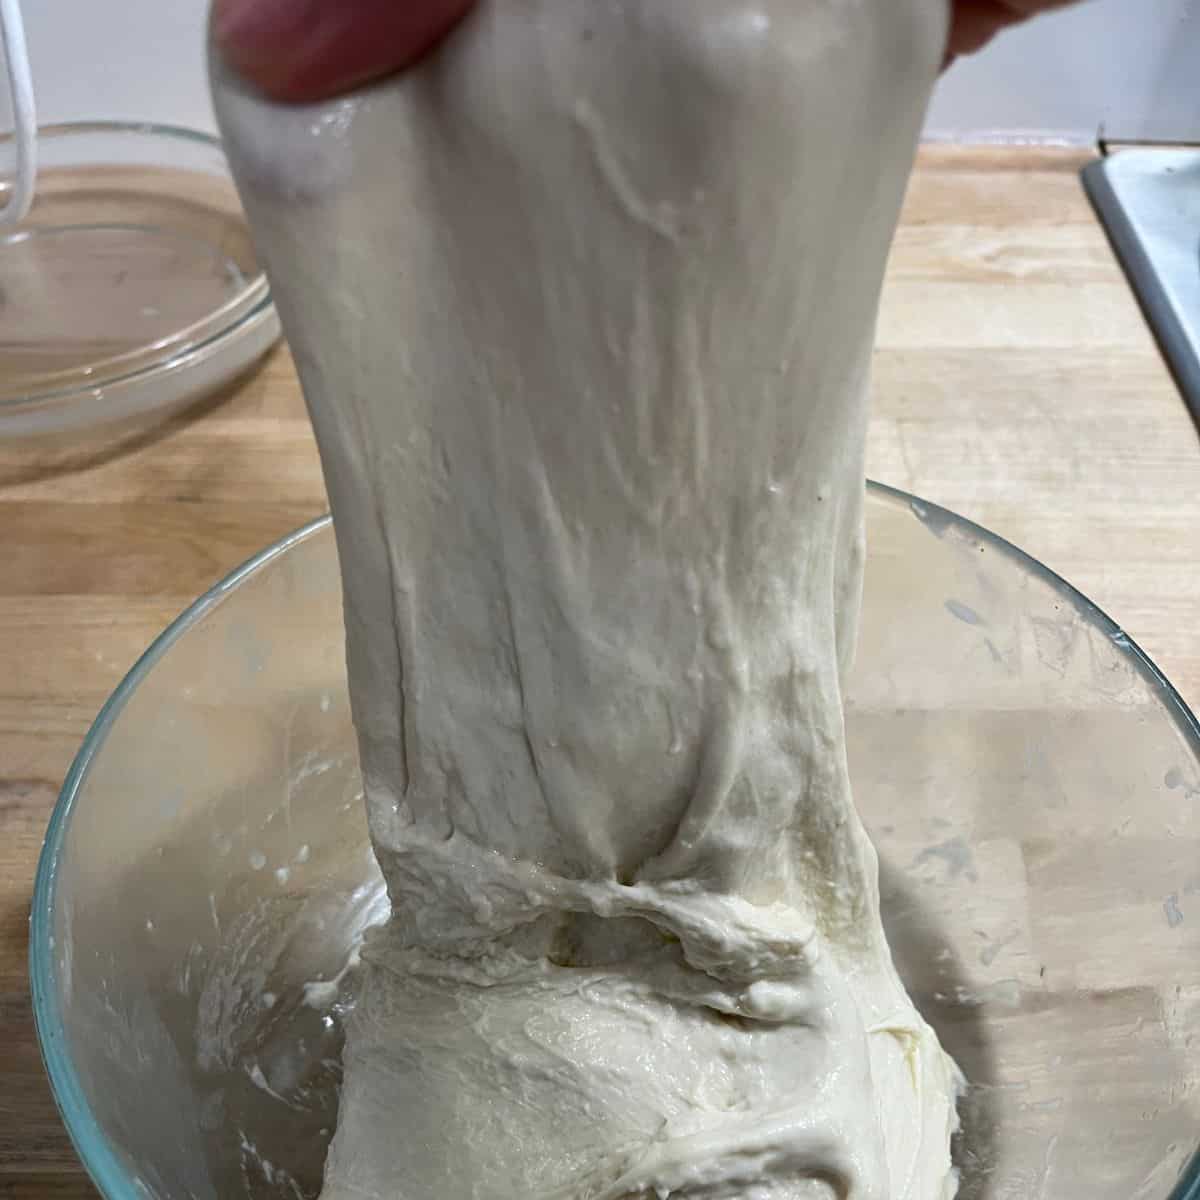
How to Stretch and Fold:
- With wet hands, gently stretch one side of the dough upwards
- Fold the stretched portion over to the middle/opposite end of the dough
- Rotate the bowl 45° and repeat this process three times with the other sides of the dough.
- Flip dough so that the smooth side is now up
- Repeat this process as necessary, every 30-45 minutes
Baker's Assistant: Make Extra & Freeze
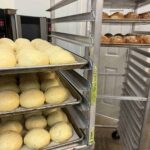
Always Make Extra! No matter how easy a recipe is, good bread still takes time. When mixing a batch of dough, consider making enough for an extra sheet of focaccia—bread freezes incredibly well and comes in handy when you need to throw a meal together.
How to Freeze Baked Focaccia: Don’t just throw the whole sheet in the freezer. Cut it into pieces and slice it in half if you plan to use it for sandwiches (need mayo? Check out my recipe that takes less than five minutes). Place it in a ziplock bag or wrap it tightly with plastic wrap. When you're ready to use it, simply thaw on the counter or pop it into the toaster oven—ready in minutes!
Same Day Focaccia
Equipment
- Kitchen Scale
- Pan (see Pans for Focaccia)
- Bench Scraper
- Parchment Paper (see note1)
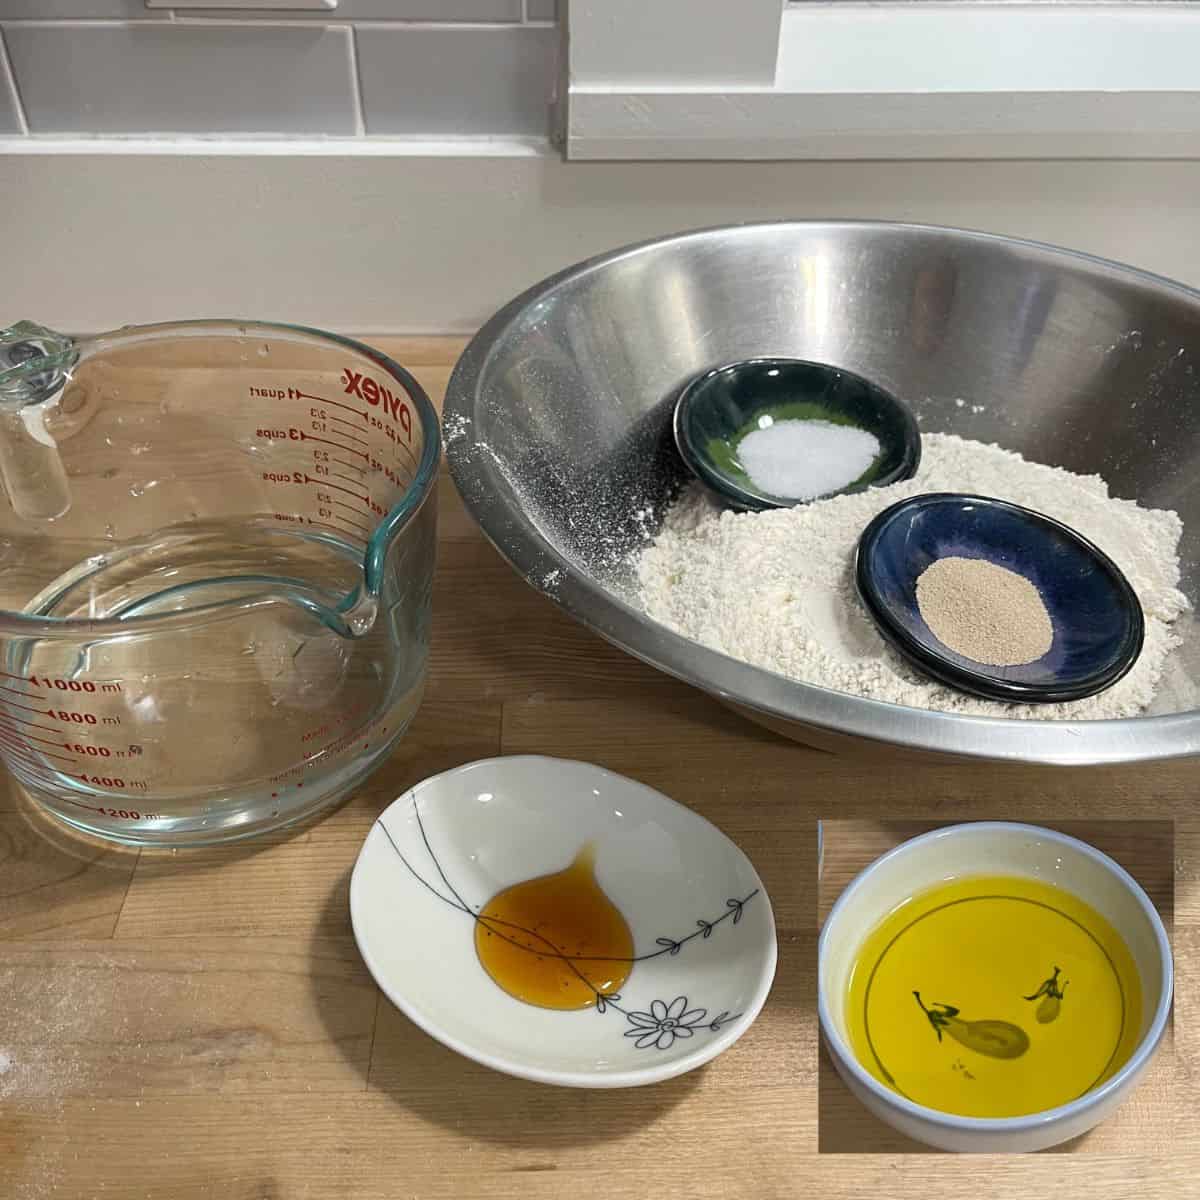
Ingredients
Mix Together
- 285 g Water Room temp
- 178 g Bread Flour
- 178 g All Purpose Flour
- 5 g Instant Yeast See note2
- 5 g Honey
- 5 Salt
Add Oil
- 28 g Olive Oil
Brush After Baking
- Olive OIl as needed
Instructions
Make dough
- Add the water to the bowl, then honey. In a separate bowl, combine the bread flour, all-purpose flour, salt and yeast. Then, add the dry ingredients to the water.
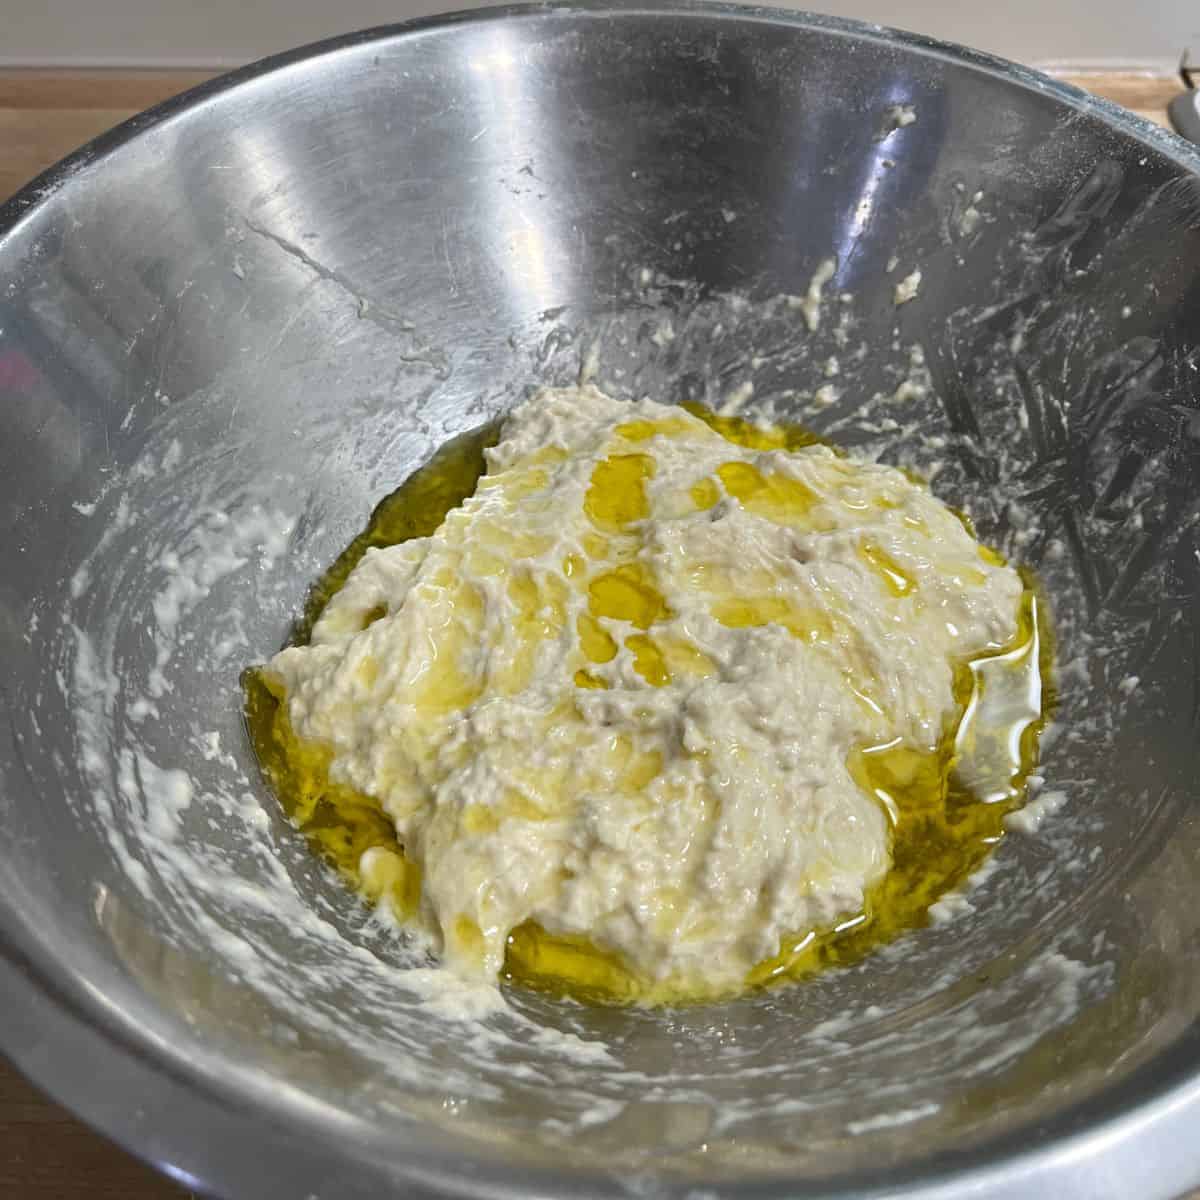
- Using a sturdy wooden spoon or spatula (I like to use a paddle rice scoop) mix until the flour is fully hydrated. Add the oil and use your hands to work it into the dough. After a few minutes, the dough should be homogenous and sticky again. It should no longer be slick or feel oily. Cover the dough and let it rest for 30 minutes.
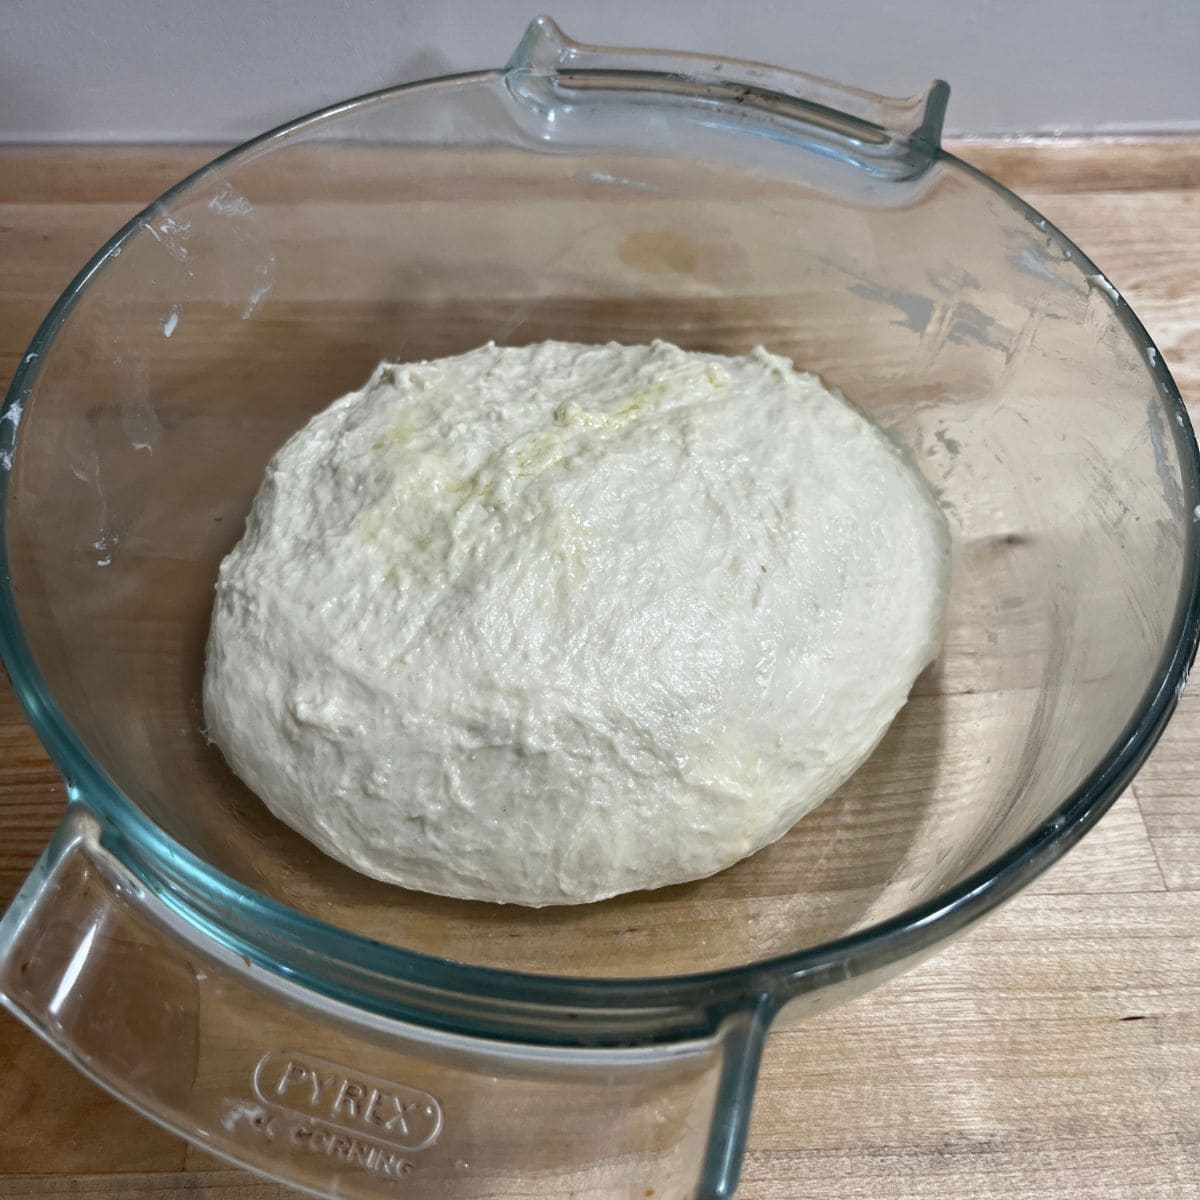
- After the 30-minute rest, remove the plastic wrap and complete one set of stretch-and-folds. Cover the dough and repeat this process two more times, making sure to let the dough rest between folds.
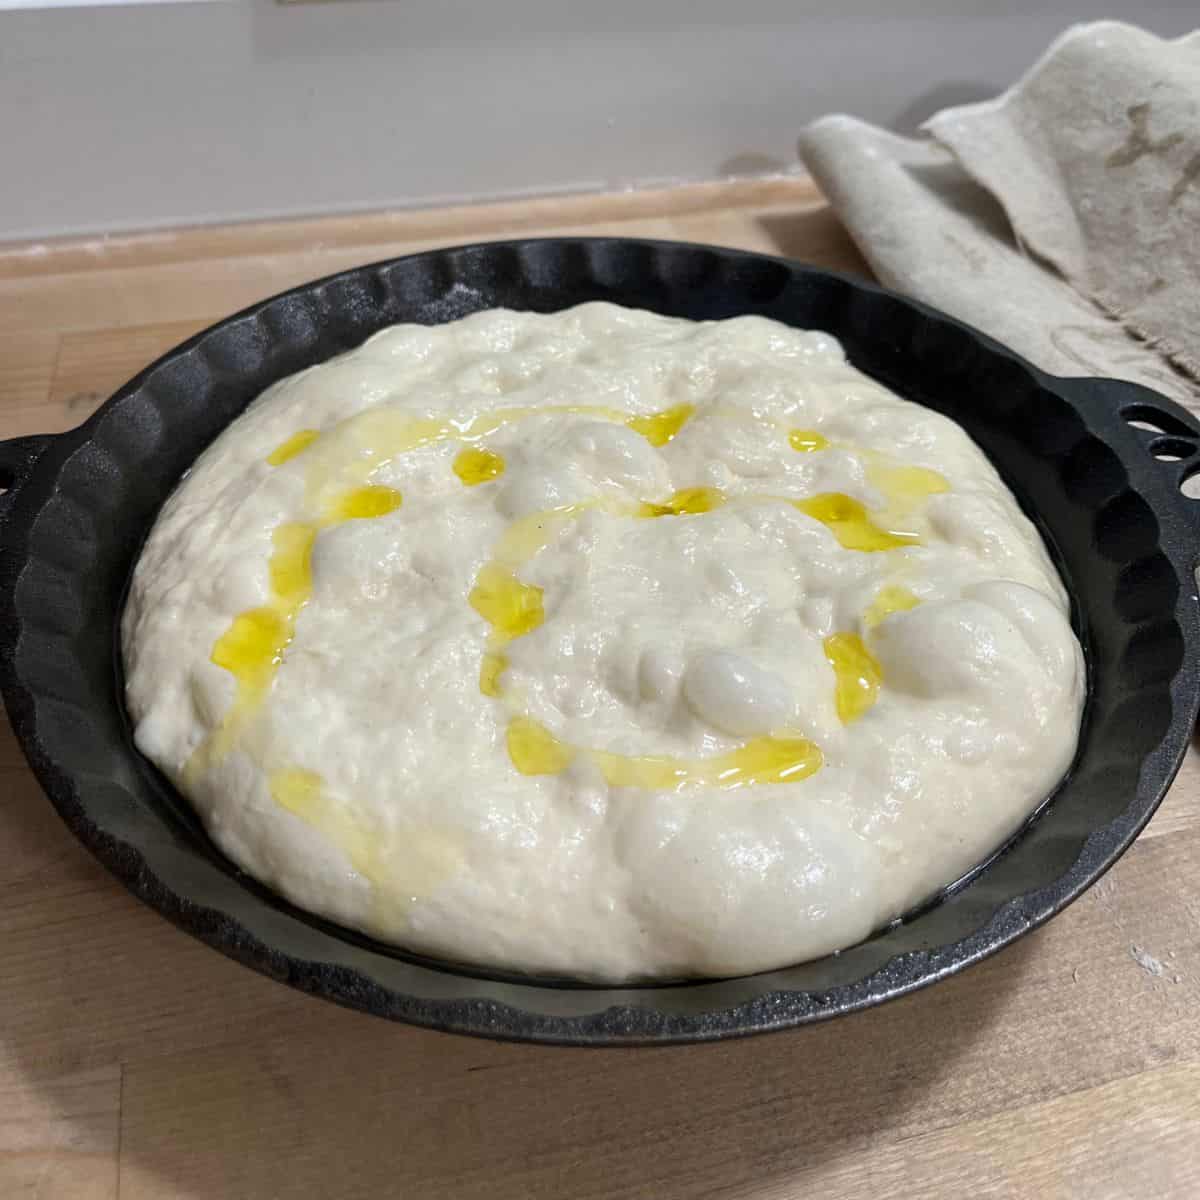
- After the third, and final stretch-and fold, place the dough in an oiled baking dish smooth-side up. Cover and proof for 30-45 minutes. Begin preheating your oven to 500? about 20 minutes before your dough is ready.
Final Proof and Bake
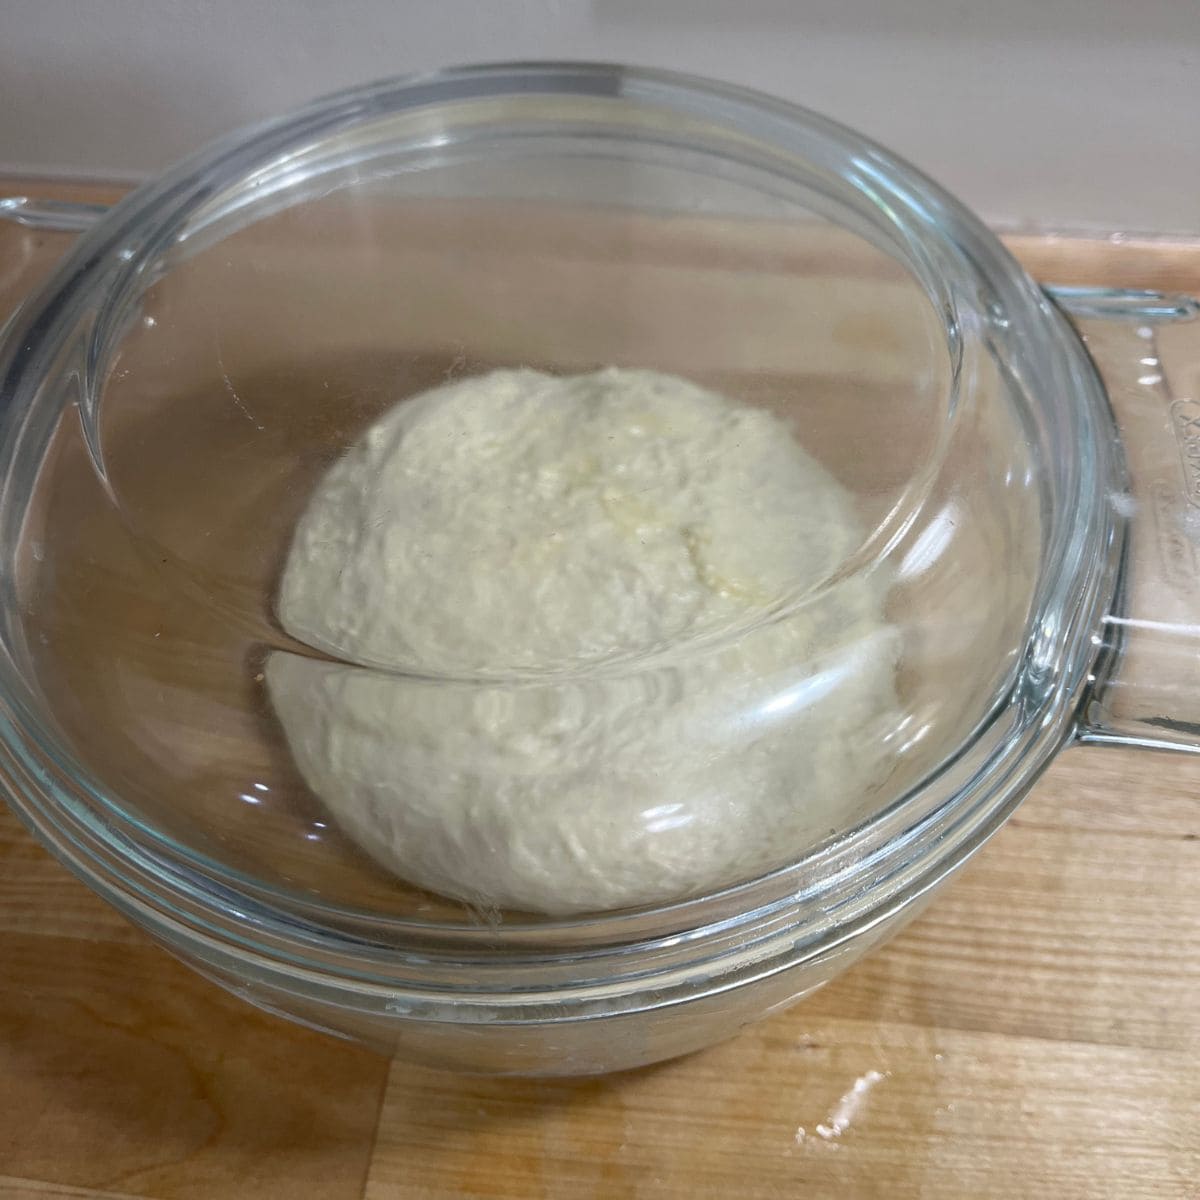
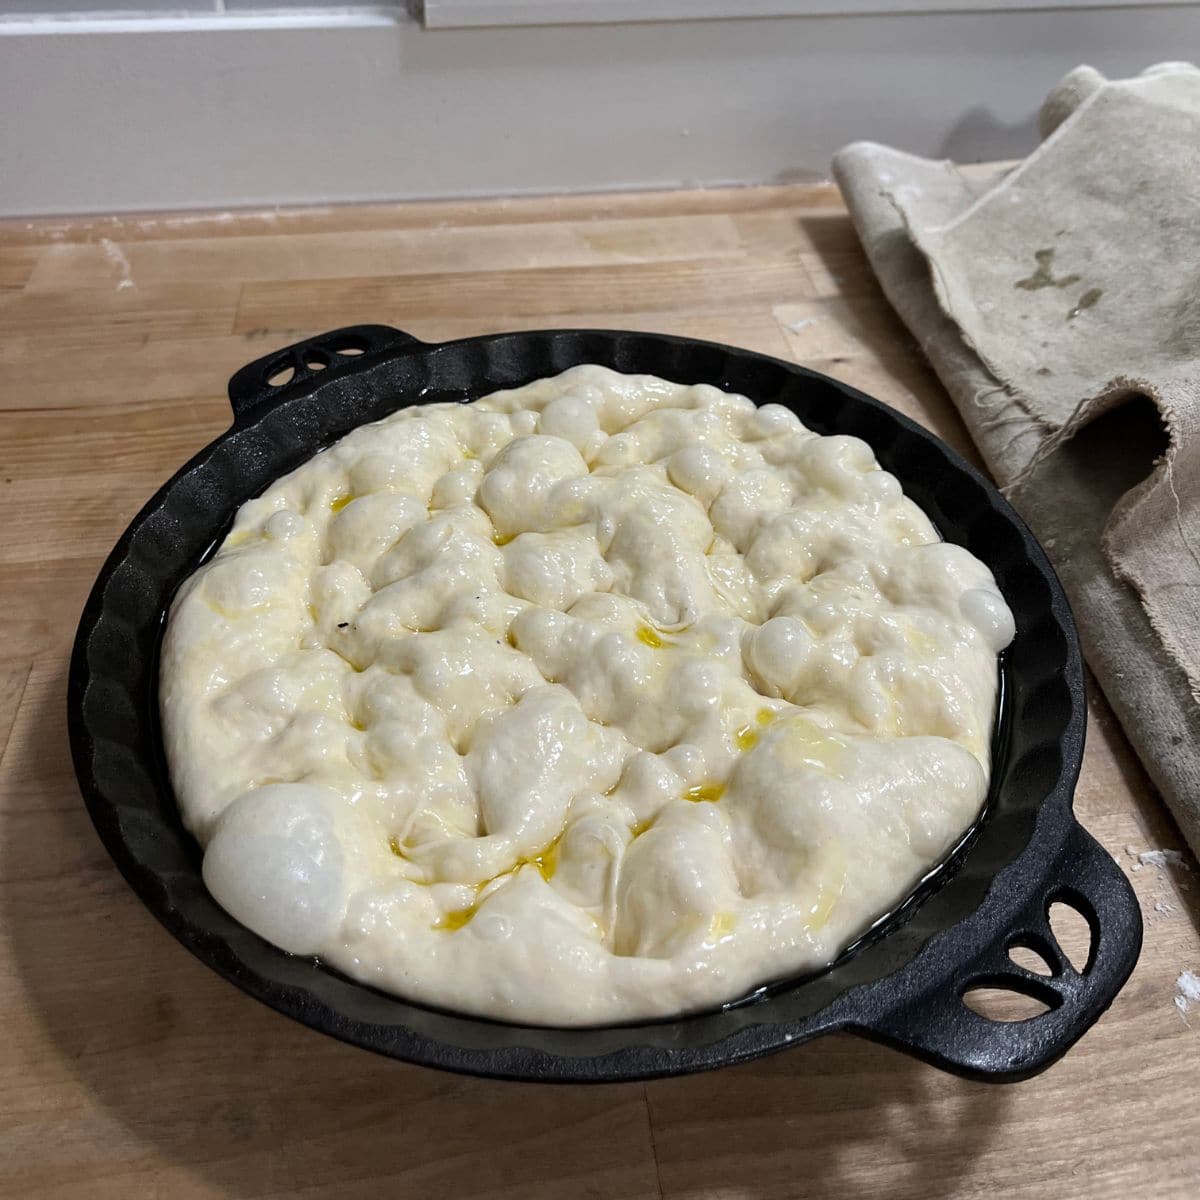
- After about 30-45 minutes, the dough should be jiggly and bouncy, almost filling the pan (if using the pans suggested) and easily dimpled. If the dough resists when you press in with your fingers, cover and wait another 15-30 minutes.
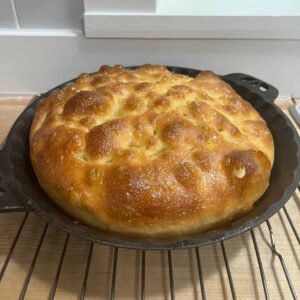
- Once the dough has sufficiently proofed, add toppings (if desired) and dimple. Place the dough in the preheated oven, and reduce the temperature to 450?. Bake for approximately 20-25 minutes. See note3
Finishing & Cooling
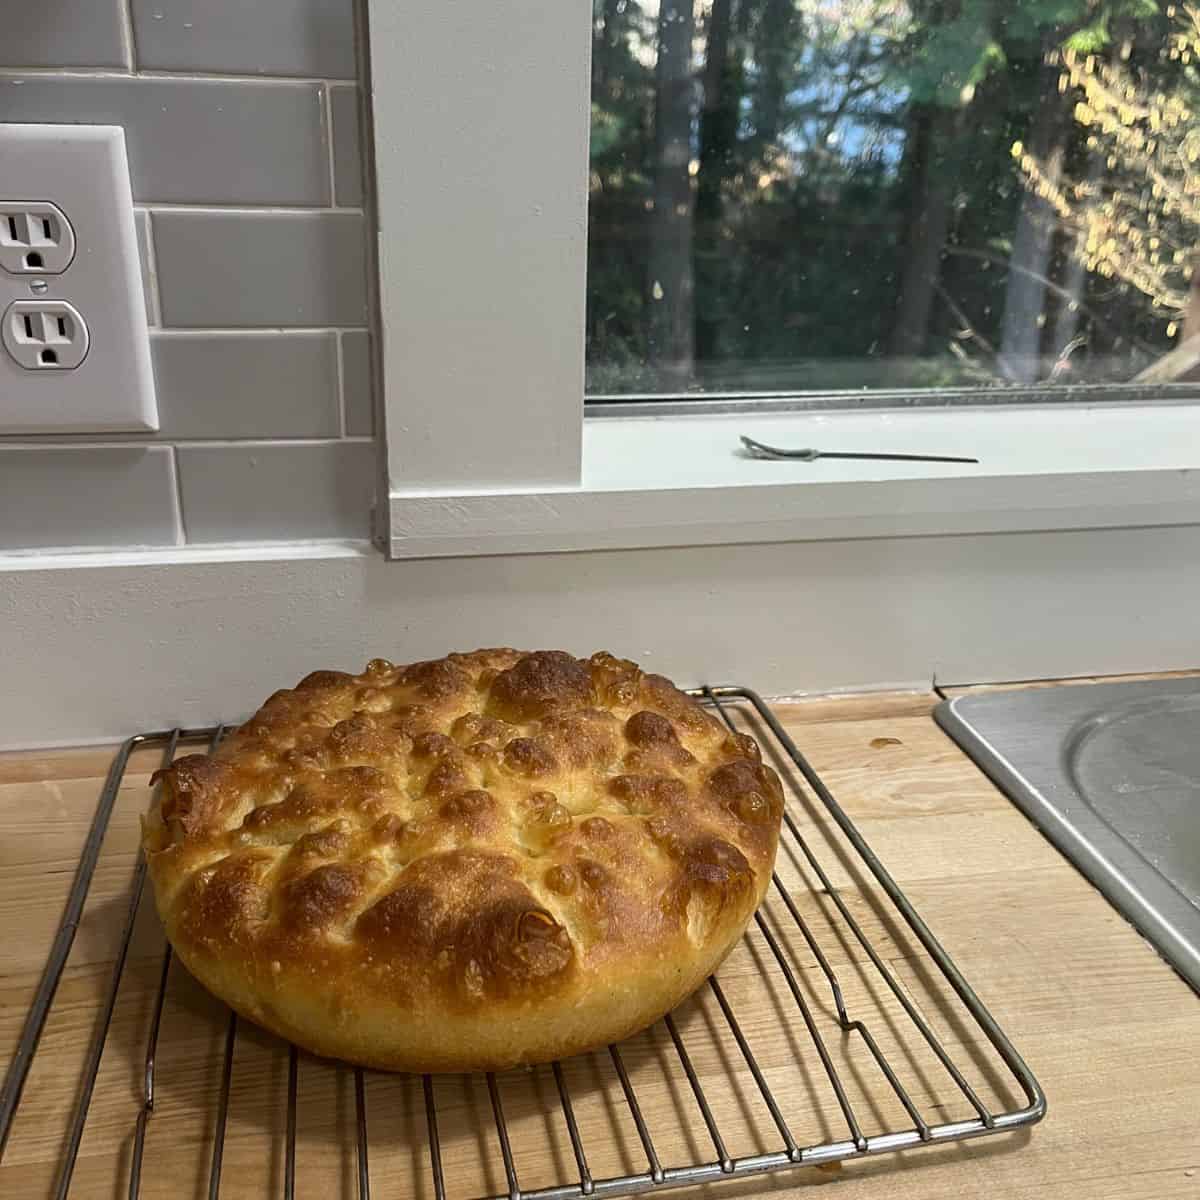
- Remove the focaccia from the oven and transfer it to a cooling rack. If the bread is stuck to the edges of the pan, use a bench scraper to release it. Brush with olive oil and allow to cool fully before cutting.
Notes
- Parchment paper is not necessary if you're using non-stick or well-seasoned cast iron pans. You can purchase 18" x 13" parchment sheets on Amazon.
- If you're using fresh yeast, increase the quantity to 15g. Crumble and add it to the water, then proceed with the recipe as instructed. For active dry yeast, increase the quantity to 7g.
- Oven times and temperatures: Baking times can vary depending on your oven and pan size. Some ovens run hotter (or colder), have hot spots, or behave differently in convection mode.
Nutrition
Credit, sources, shout outs (& sometimes ramblings)
Very few recipes are true originals. Here is where I share my inspiration and cite my sources.
I have a bit of a bone to pick with "no-knead" breads, specifically the ones that require no handling after the initial mixing.
Ever wonder why your no-knead bread turns out dense, gummy, or fails to rise? You’re not alone—these are some of the most common occurrences when using this method.
Assuming your yeast is active and your water wasn’t too cold (or too hot to kill the yeast), the problem often lies in the dough not developing enough gluten. Gluten is what gives a loaf its structure and strength to rise. Without it, the dough can’t hold its shape, resulting in a dense and/or gummy interior.
The good news is, this is easy to fix in just about any "no-knead" recipe. Simply let the dough rest for 30 minutes, then perform a set of stretch-and-folds two or three times, every 30 to 45 minutes. Even if the recipe calls for immediate refrigeration after mixing, you can pull it out to do the stretch-and-folds then return it to the fridge. I promise you’ll be amazed by the difference it makes.
To learn more tips, check out my post: A Guide to Bread Making – 12 Steps for the Home Baker.
Baker's Assistant: Baker's Percentage
Flour 100%
Water 80%
Sugar 1%
Yeast 1%
Salt 1%
Oil 8%
Why should you trust my recipes? You can read about me here.