



Introduction
Pie dough is one of the simplest doughs you'll ever make - but also one of the easiest to overthink.
Most pie dough recipes are built on nearly identical ratios of flour, fat, and water. Yet one baker produces a beautifully flaky crust while another ends up with dough that's tough, crumbly, or shrinks in the oven.
The difference usually isn't the recipe.
It's understanding how flour, fat, water, and heat work together throughout the process.
This guide walks through the entire pie-making process - from mixing the dough to baking the finished pie - while linking to more detailed guides if you'd like to explore each topic further.
Jump to:
- Introduction
- Quick Answer: What Makes a Great Pie Crust?
- Step 1: Understand What Makes Pie Dough Different
- Step 2: Mix the Dough
- Step 3: Rest the Dough
- Step 4: Roll and Shape the Dough
- Step 5: Decide Whether to Blind Bake
- Step 6: Bake the Pie
- Step 7: Let the Pie Cool
- If Something Goes Wrong...
- Make-Ahead & Production
- Pie Making: Start Here
- Final Thoughts
- Pocket Baker Perspective
- Get the FREE Profitable Baker Pricing Calculator
Quick Answer: What Makes a Great Pie Crust?
A great pie starts with a few simple principles:
- Cold ingredients
- Minimal gluten development
- Proper hydration
- Plenty of resting time
- The right baking method
- Managing moisture during baking
Most pie problems happen when one of these principles gets overlooked - not because the recipe itself is wrong.
Step 1: Understand What Makes Pie Dough Different
Unlike bread dough, pie dough isn't trying to build a strong gluten network.
Instead, the goal is to create a crust that's tender, flaky, and sturdy enough to support the filling.
That happens by:
- limiting gluten development
- keeping the fat cold
- preserving visible pieces of fat
- allowing steam to create flaky layers during baking
Because the ingredients are so simple, technique has an even greater impact on the finished crust.
Related Guides
👉 What Is the Cut-In Method? (And How to Get Flaky Results Every Time)
👉 Pie Dough Recipe for a Flaky Pie Crust
Step 2: Mix the Dough
The mixing stage lays the foundation for everything that follows.
Your goals are simple:
- Keep the fat cold.
- Mix only until the dough comes together.
- Leave small, visible pieces of fat throughout the dough.
- Don't worry if the dough looks slightly dry at first.
Many home bakers assume dry-looking dough needs more water.
Often, it simply needs time to rest and hydrate.
If something isn't going as planned:
👉 Why Is My Pie Dough Crumbly?
Step 3: Rest the Dough
Resting isn't optional.
It's one of the most important steps in pie making.
As the dough rests:
- the flour continues absorbing water
- the gluten relaxes
- the fat firms back up
- the dough becomes easier to roll
Skipping this step often leads to dough that cracks, shrinks, or resists rolling.
Related Guide
👉 Why Does My Pie Crust Shrink? (And How to Prevent It)
Step 4: Roll and Shape the Dough
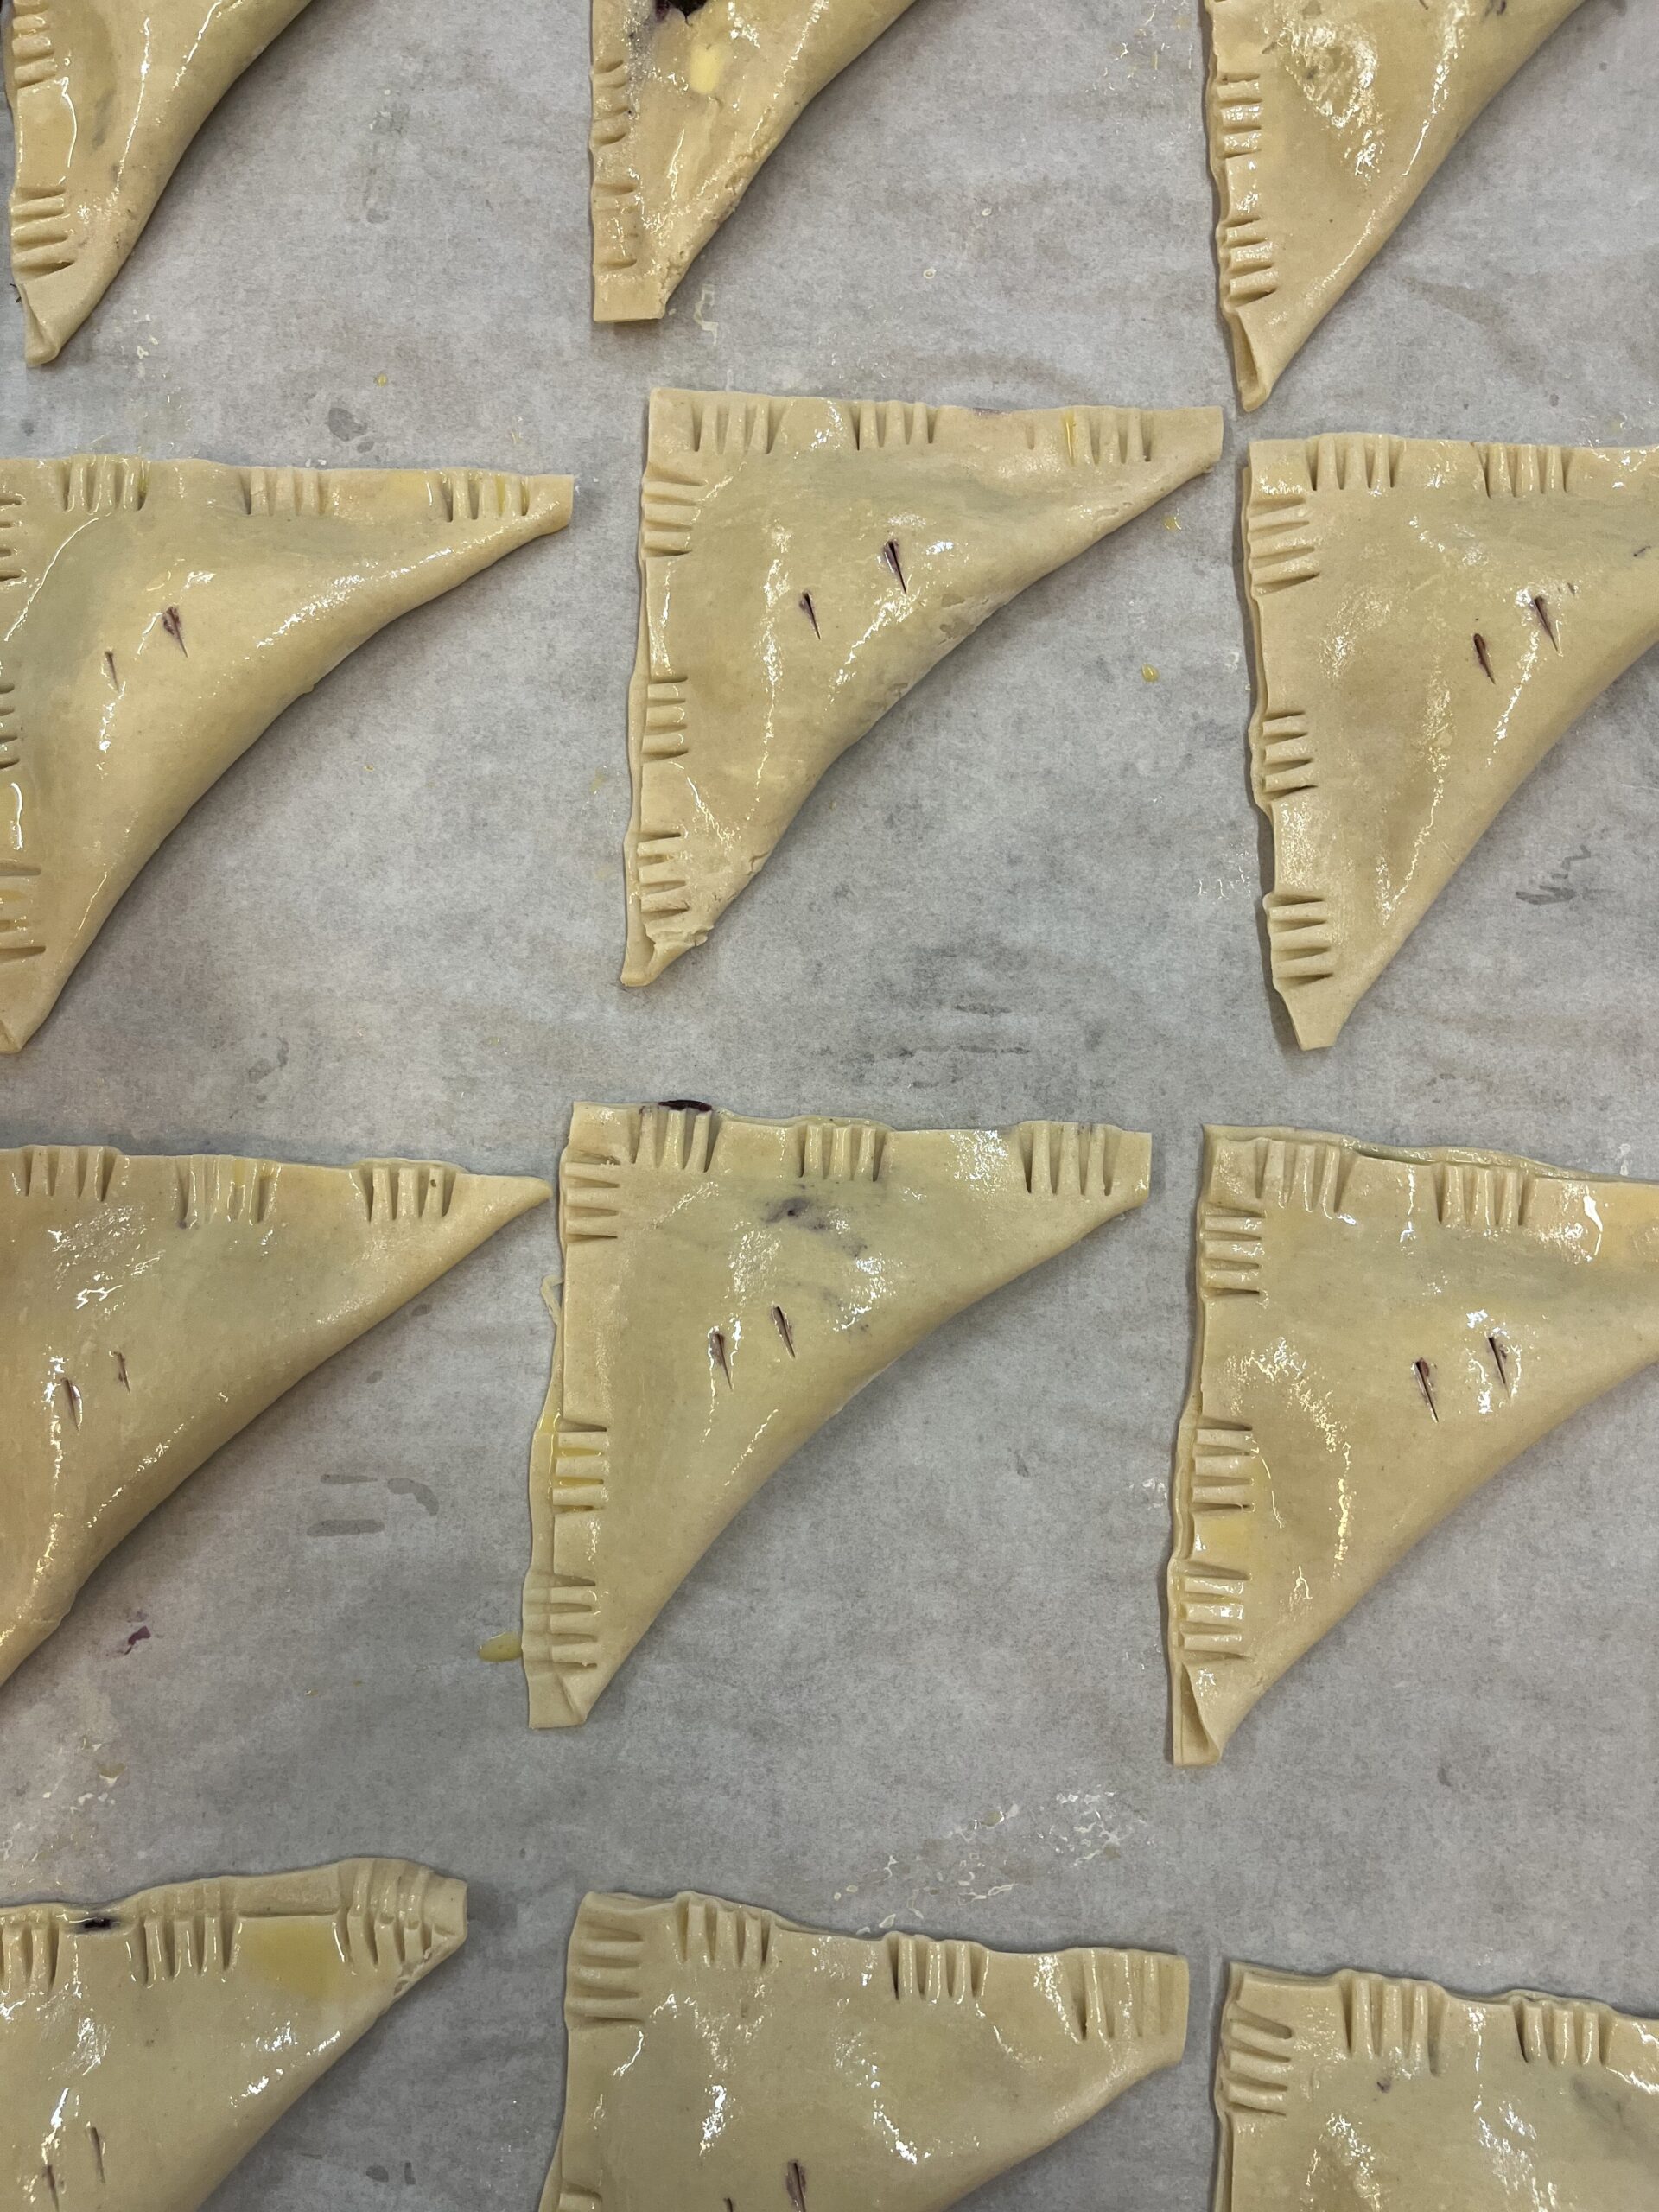
Rolling pie dough is less about force and more about control.
Aim for a crust that's about ⅛ inch thick and as even as possible.
As you work:
- rotate the dough frequently
- use enough flour to prevent sticking
- avoid stretching the dough into the pan
- let it settle naturally before pressing it into the corners
Once shaped, chill the crust again before baking whenever possible.
That extra rest helps maintain the shape during baking.
Step 5: Decide Whether to Blind Bake
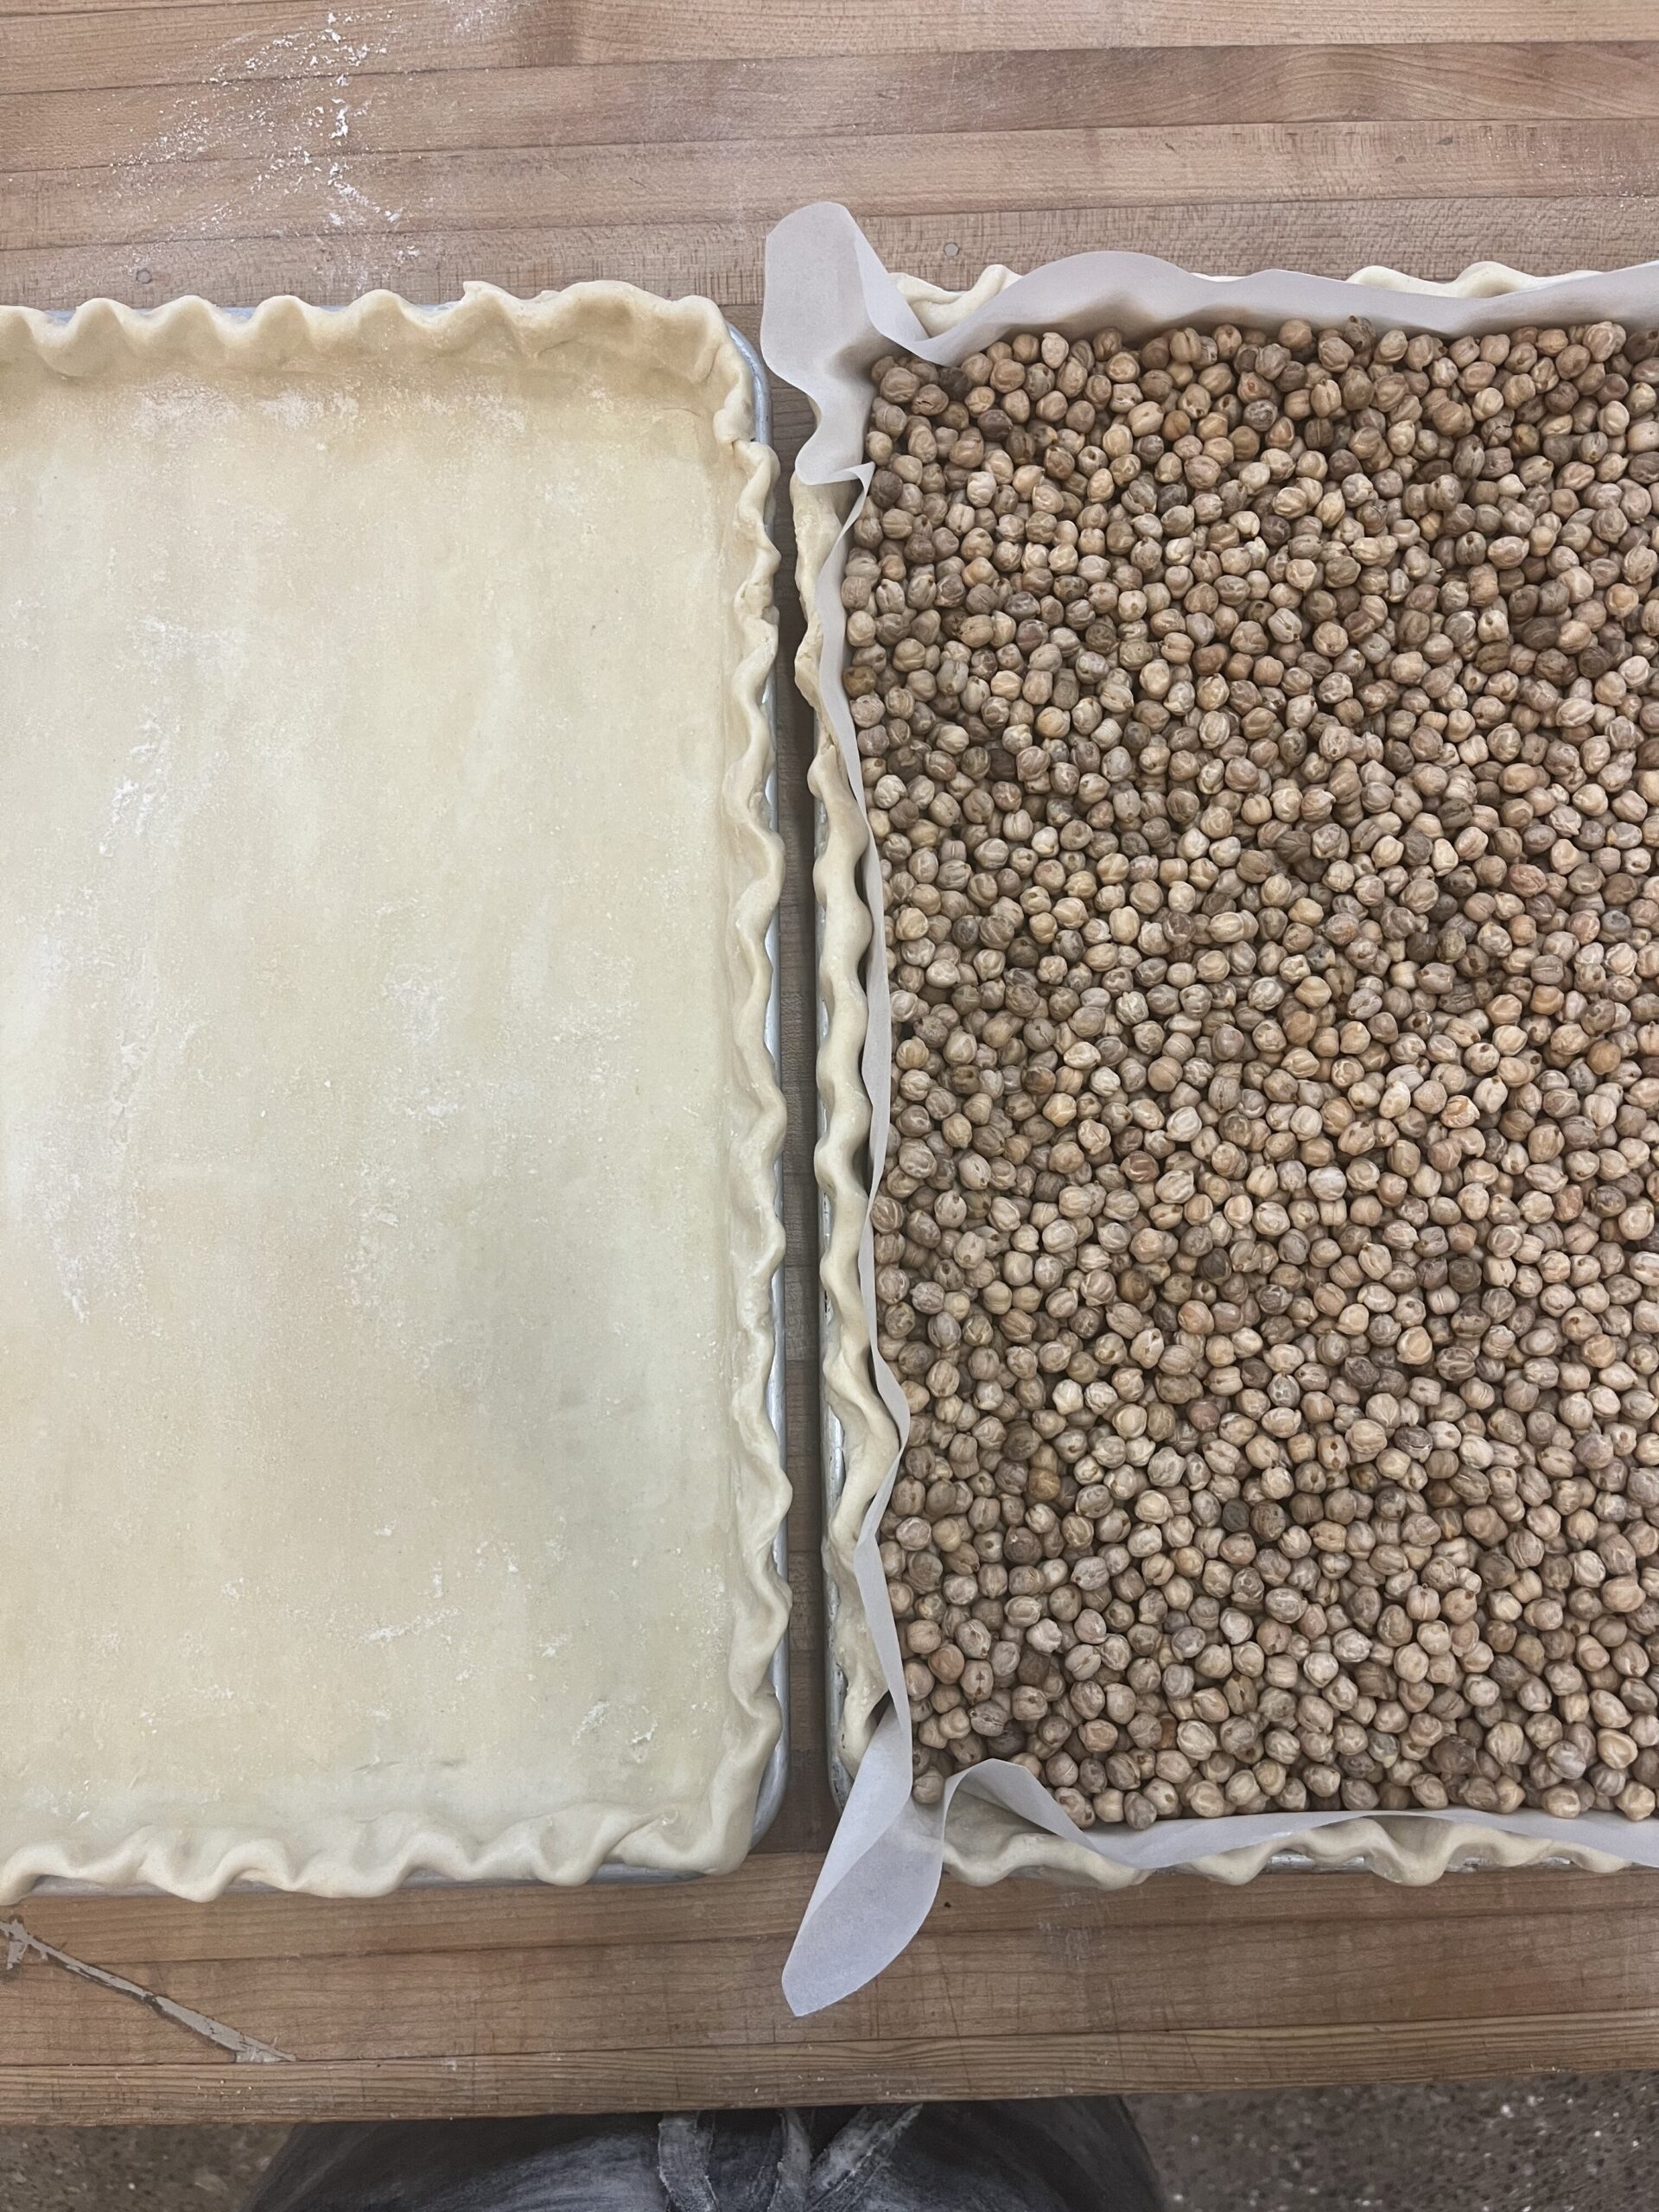
Not every pie needs blind baking.
Some benefit tremendously from it.
Here's a simple guide:
| Pie | Blind Bake? |
|---|---|
| Pumpkin | Yes |
| Pecan | Yes |
| Quiche | Yes |
| Cream pies | Fully bake crust |
| Double-crust fruit pies | Usually no |
Blind baking helps:
- set the crust
- reduce sogginess
- create a sturdier base for wet fillings
Step 6: Bake the Pie
Good pie crust comes from managing heat and moisture.
A few simple decisions make a noticeable difference:
- Fully preheat the oven.
- Start with a relatively high baking temperature.
- Use a metal pan when possible for better heat transfer.
- If you own a baking stone, bake the pie directly on it.
- Allow cooked fillings to cool before adding them to the crust.
- Use moisture barriers like egg wash or chocolate when appropriate.
These small adjustments work together to produce a crisp, golden bottom crust.
Related Guide
👉 Why Is My Pie Crust Soggy? (And How to Fix It)
Step 7: Let the Pie Cool
Cooling isn't just about serving temperature.
It's part of the baking process.
As the pie cools:
- fillings continue setting
- moisture redistributes
- slices hold together more cleanly
Cutting into a pie too soon often leads to runny fillings - even when the pie was baked perfectly.
Sometimes, waiting is the final ingredient.
If Something Goes Wrong...
Every baker runs into problems occasionally.
Fortunately, most pie issues have straightforward causes.
| If your pie... | Read this guide |
|---|---|
| Has a tough crust | 👉 Why Is My Pie Crust Tough? |
| Has crumbly dough | 👉 Why Is My Pie Dough Crumbly? |
| Shrinks during baking | 👉 Why Does My Pie Crust Shrink? |
| Has a soggy bottom | 👉 Why Is My Pie Crust Soggy? |
Make-Ahead & Production
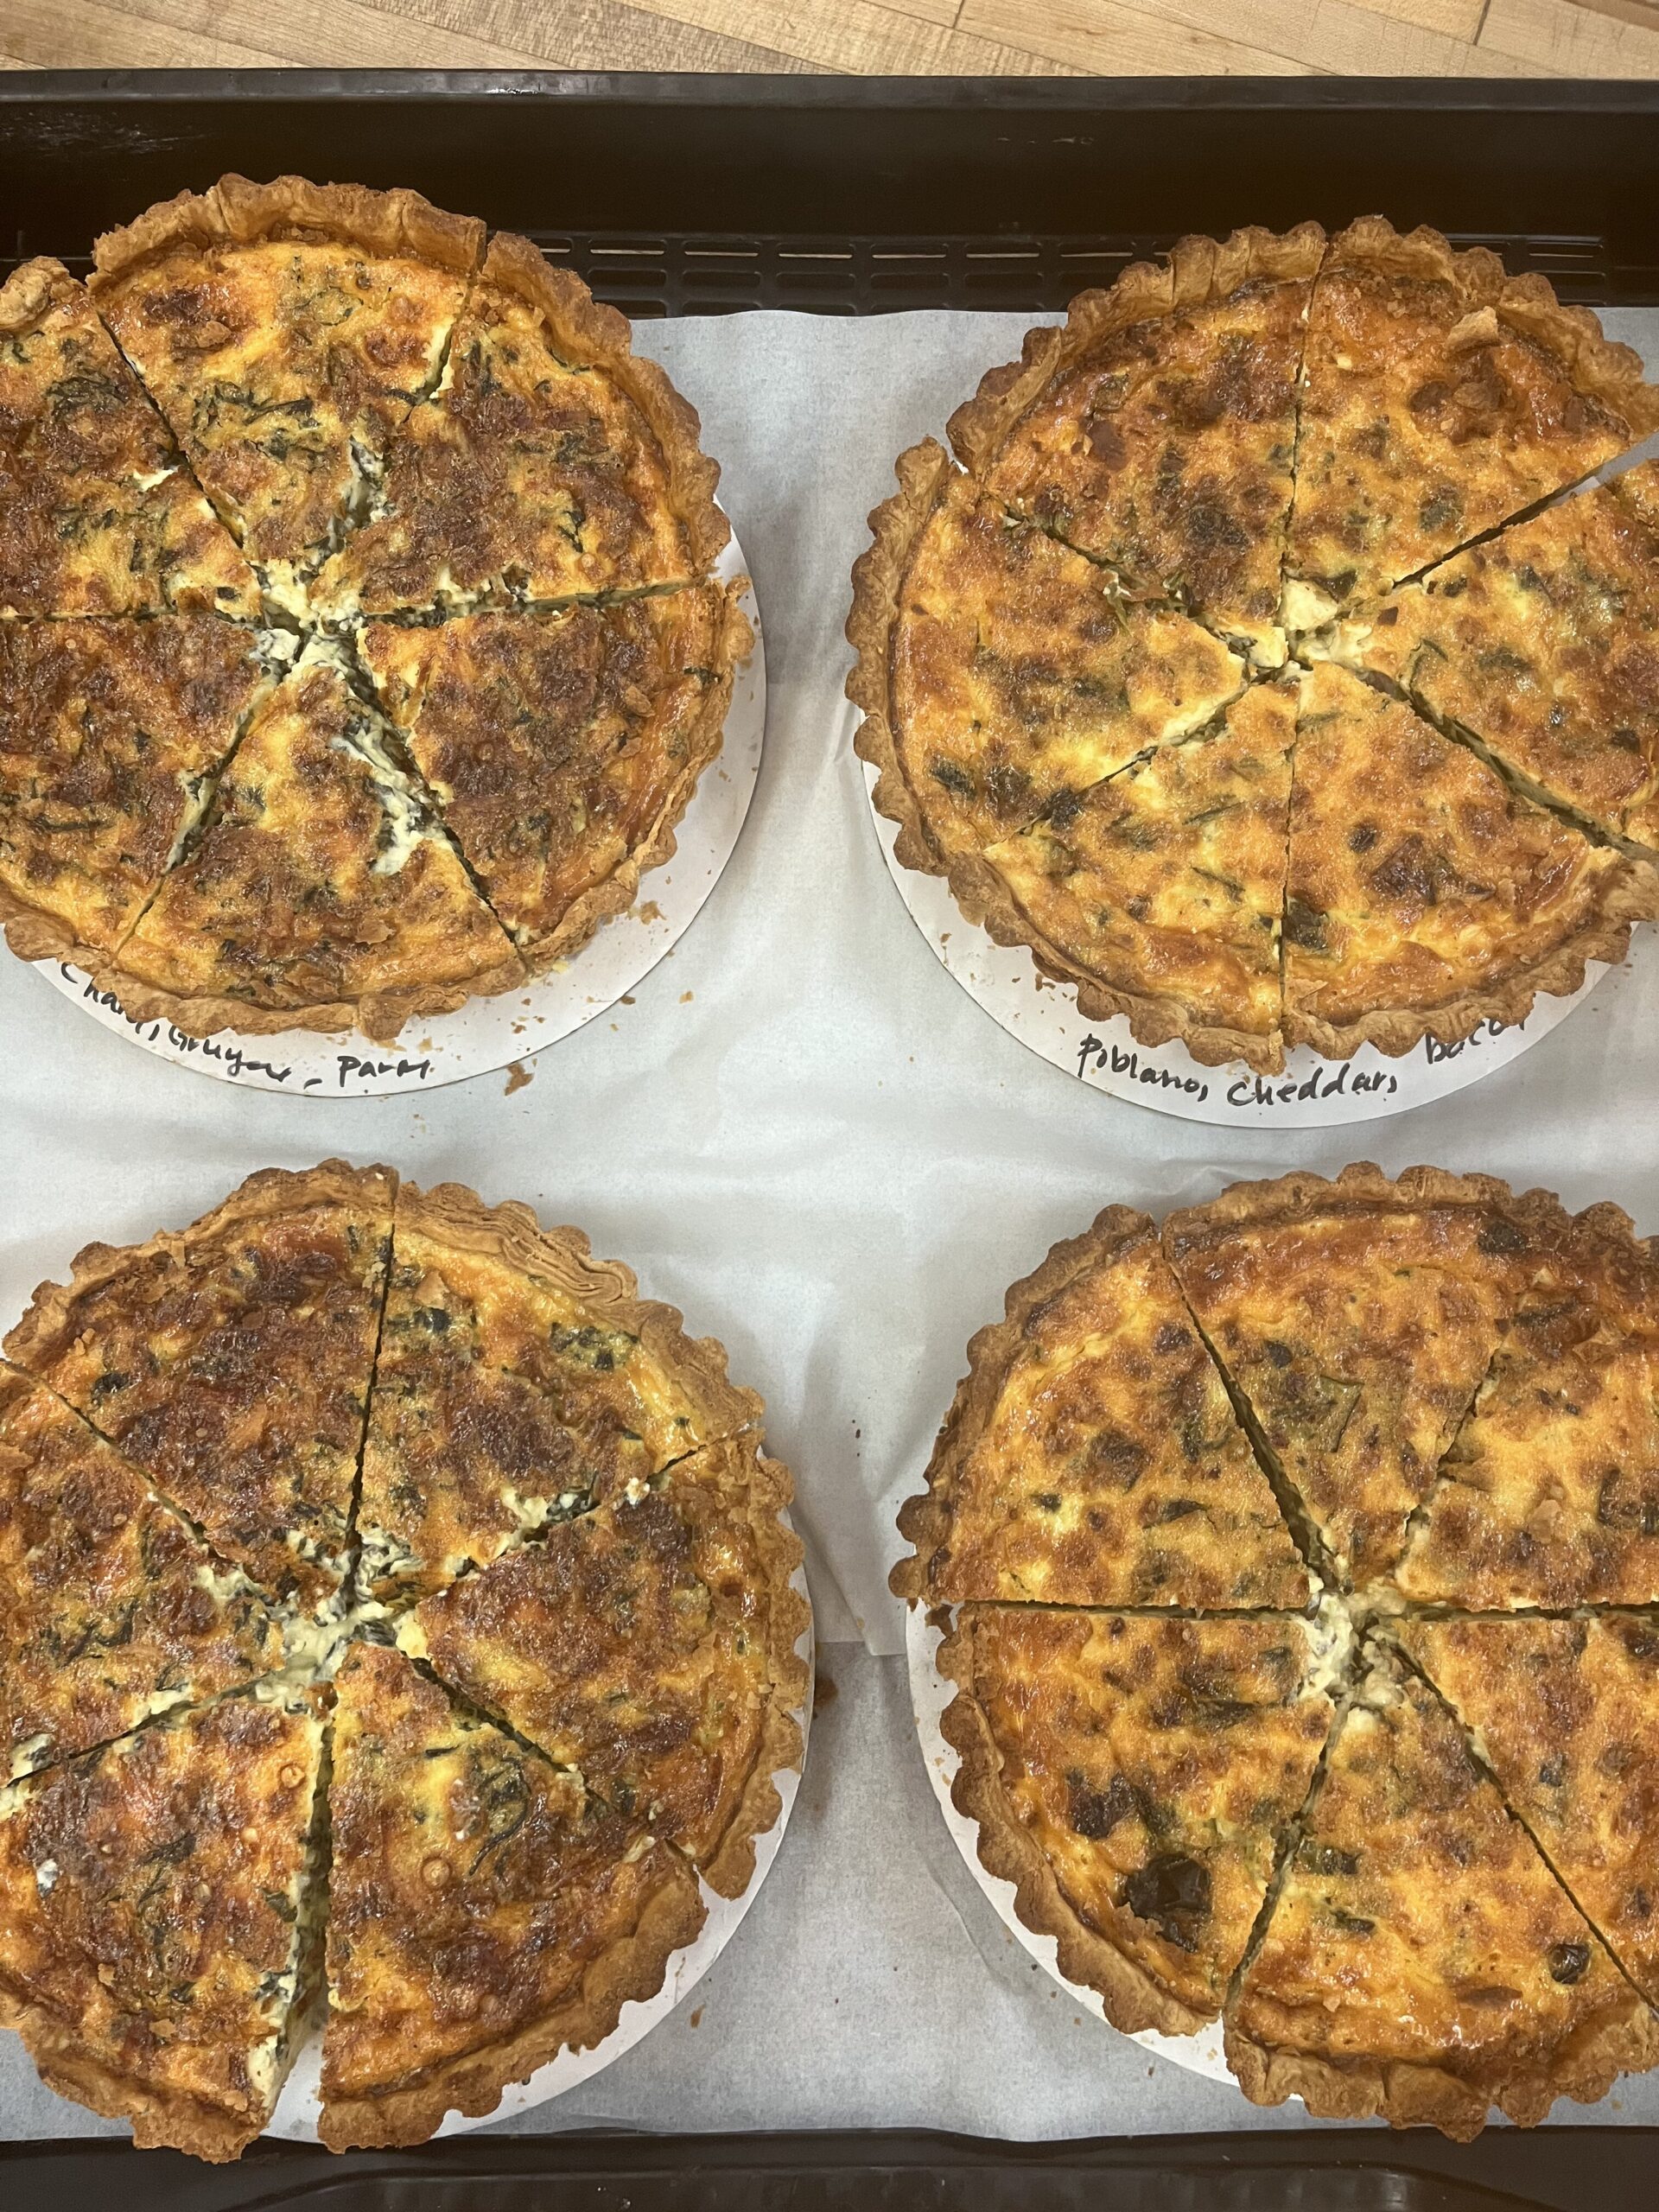
One of the biggest advantages of pie is how flexible it is.
Professional kitchens rarely make an entire pie from start to finish in one session.
Instead, production is spread across several stages.
Depending on your schedule, you can freeze:
- pie dough disks
- rolled-out dough
- shaped pie shells
- fully baked pie shells
- fully baked pies
- fully assembled unbaked pies (depending on the recipe)
Each stage offers different advantages.
Freezing a dough disk gives you the most flexibility.
Freezing a shaped shell saves time when you're preparing several pies.
Freezing fully baked or unbaked pies is a huge timesaver.
Rather than asking, "How far ahead can I make this pie?" professional bakers often ask, "Which part of the pie can I finish today?"
That simple shift in thinking makes holiday baking far less stressful.
Related Guide
👉 Freeze Pie Dough Like a Pro: Smart Make-Ahead Methods for Perfect Crusts
Pie Making: Start Here
If you're new to pie making - or simply want more consistent results - these guides will walk you through the entire process.
Build Better Pie Dough
👉 Pie Dough Recipe for a Flaky Pie Crust
Troubleshoot Common Problems
👉 Why Is My Pie Dough Crumbly?
👉 Why Does My Pie Crust Shrink?
Work Ahead Like a Professional
Final Thoughts
Most pie dough recipes work.
In fact, many are built on variations of the same basic ratio of flour, fat, and water.
The difference between an average pie and a great one usually isn't the recipe.
It's understanding how the ingredients behave - and how each step in the process affects the next.
Once you understand those principles, almost every pie recipe becomes easier to execute.
Pocket Baker Perspective
As simple as pie dough is, it's one of the things I obsessed over more than almost anything else early in my career.
With only a handful of ingredients, there isn't much room to hide. Small changes in technique - how cold the butter is, how much the dough is handled, how long it rests, or how it's baked - can completely change the final result.
Over time, I realized that great pie crust isn't about chasing the perfect recipe.
It's about understanding what those ingredients are trying to do.
When you keep the fat cold, limit gluten development, allow the dough to rest, and manage heat throughout baking, you're creating the conditions for a tender, flaky crust that shatters with each bite.
That's what professional bakers are really doing.
Not following a secret recipe - just understanding the process.