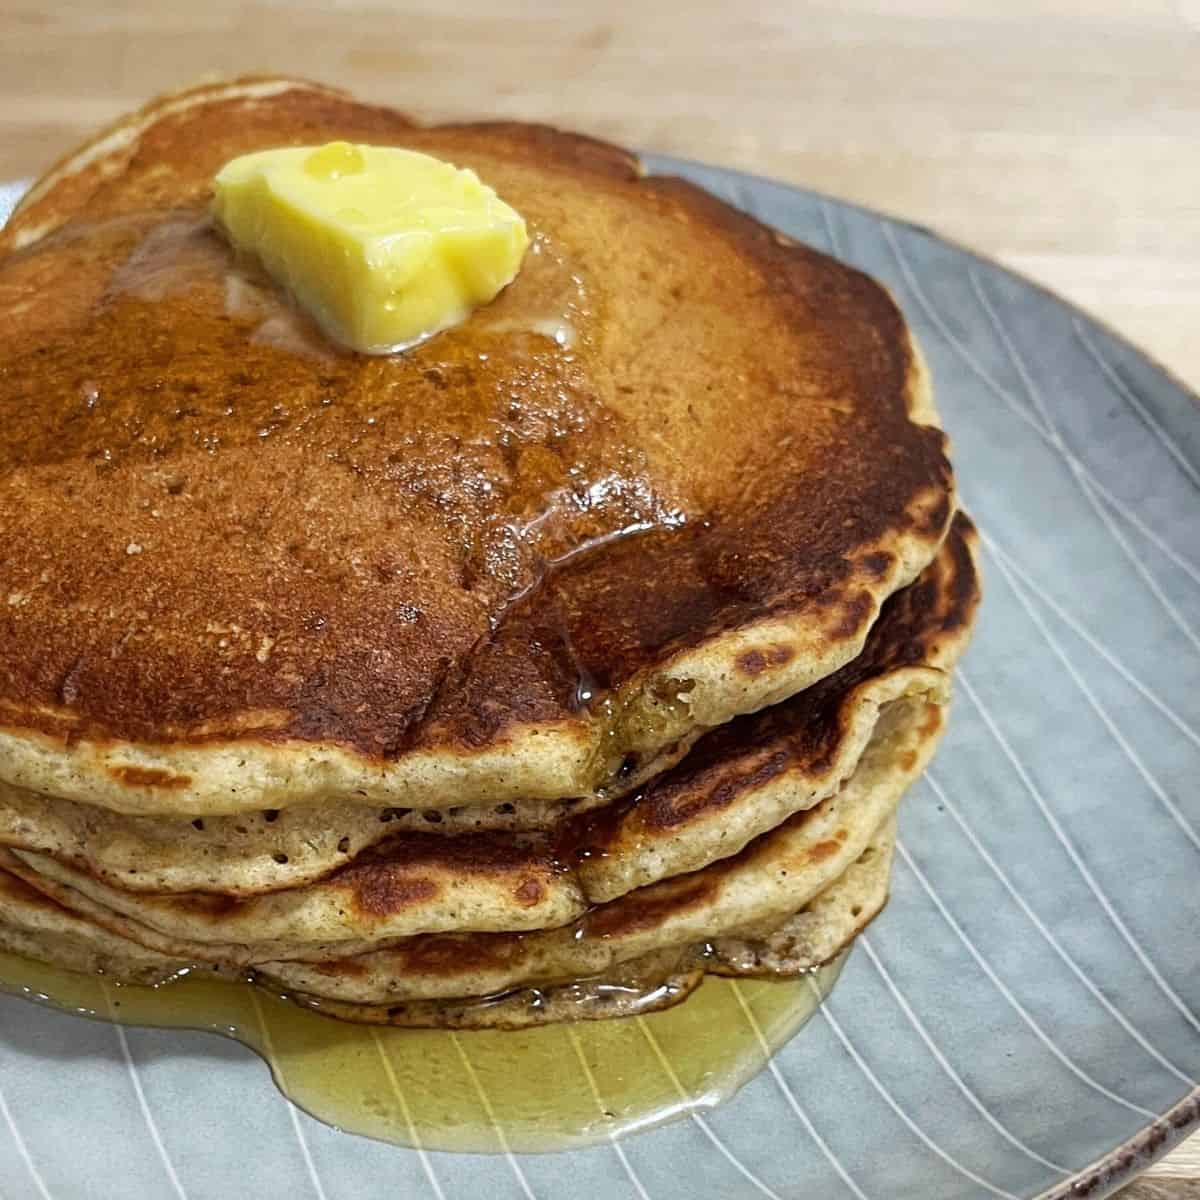
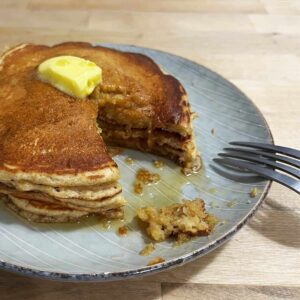
Made with 100% whole grain wheat flour and bananas, these are the pancakes you'll feel good about eating any (or every) day of the week. I highly recommend resting the batter overnight, as it makes these fiber-rich pancakes extra soft. Plus, pre-made pancake batter makes hectic mornings so much easier! They're so good that my 10-year-old cleans her plate without hesitation, and I think you’ll love them too!
Recipe overview
This recipe follows the general rules of pancake making—combine the wet and dry ingredients, and don’t over-mix. You can even substitute white flour for the whole wheat and still end up with a good stack of what I like to call "weekend pancakes."
But the goal here is to make pancakes that are more nutritious and fiber-rich while still maintaining that soft, tender texture that makes them such a joy to eat. So, how do we make that happen?
First, the secret ingredient—whole wheat pastry flour. It has a lower protein content than regular whole wheat flour, meaning it doesn’t form as much gluten, resulting in a more tender pancake. You can typically find it in the bulk section of your grocery store, or on Amazon.
Regular whole wheat flour, on the other hand, has a protein content similar to bread flour. So, just as you wouldn’t use bread flour to make pancakes, avoid using regular whole wheat flour in this recipe.
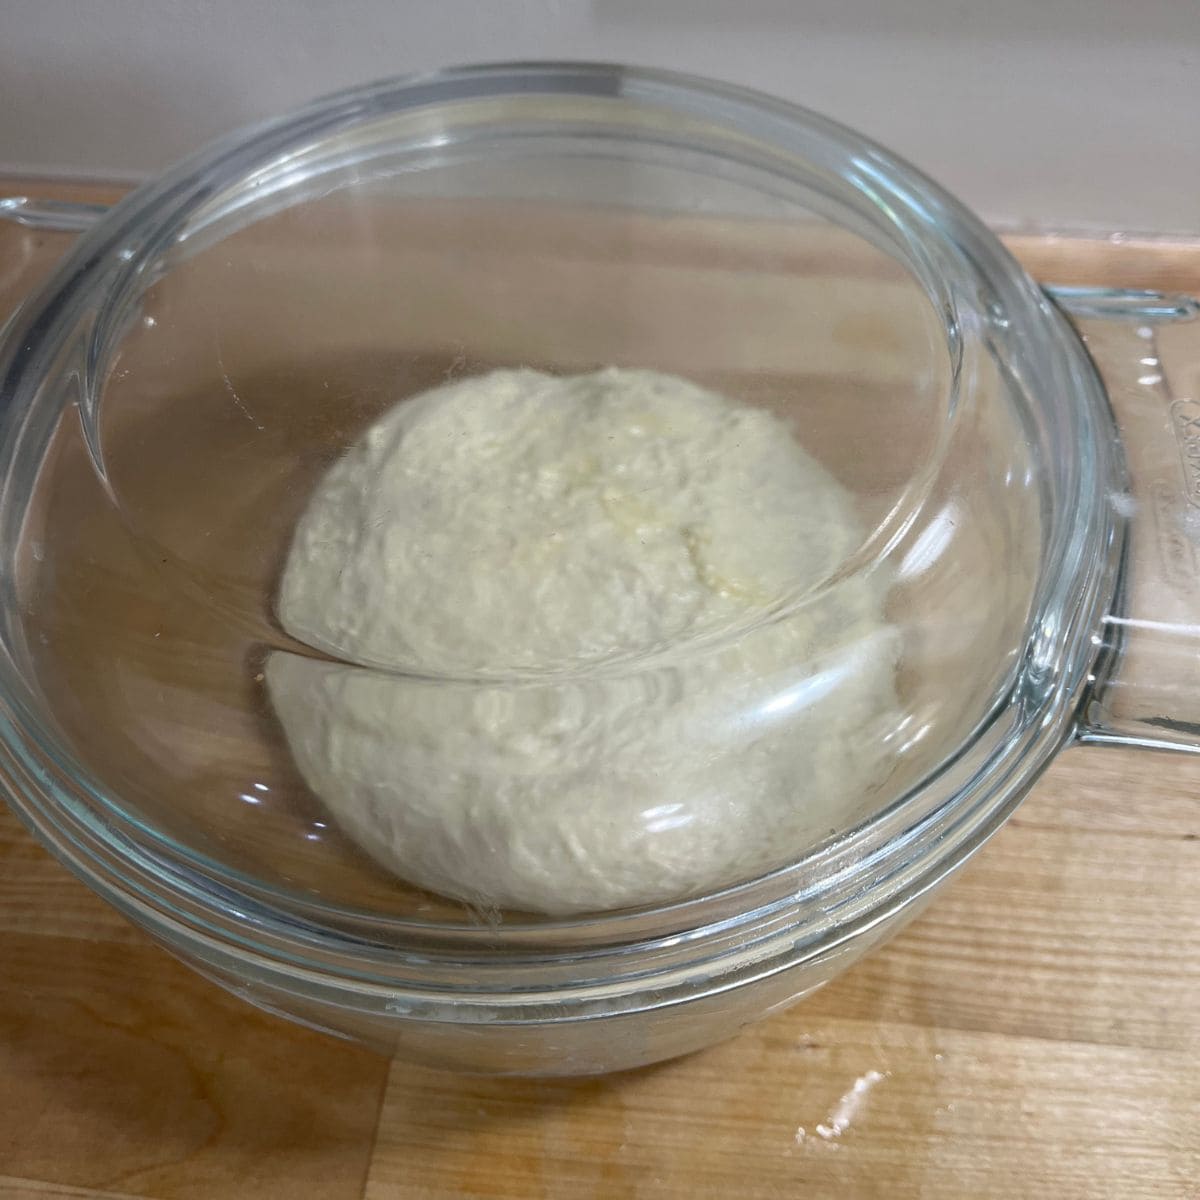
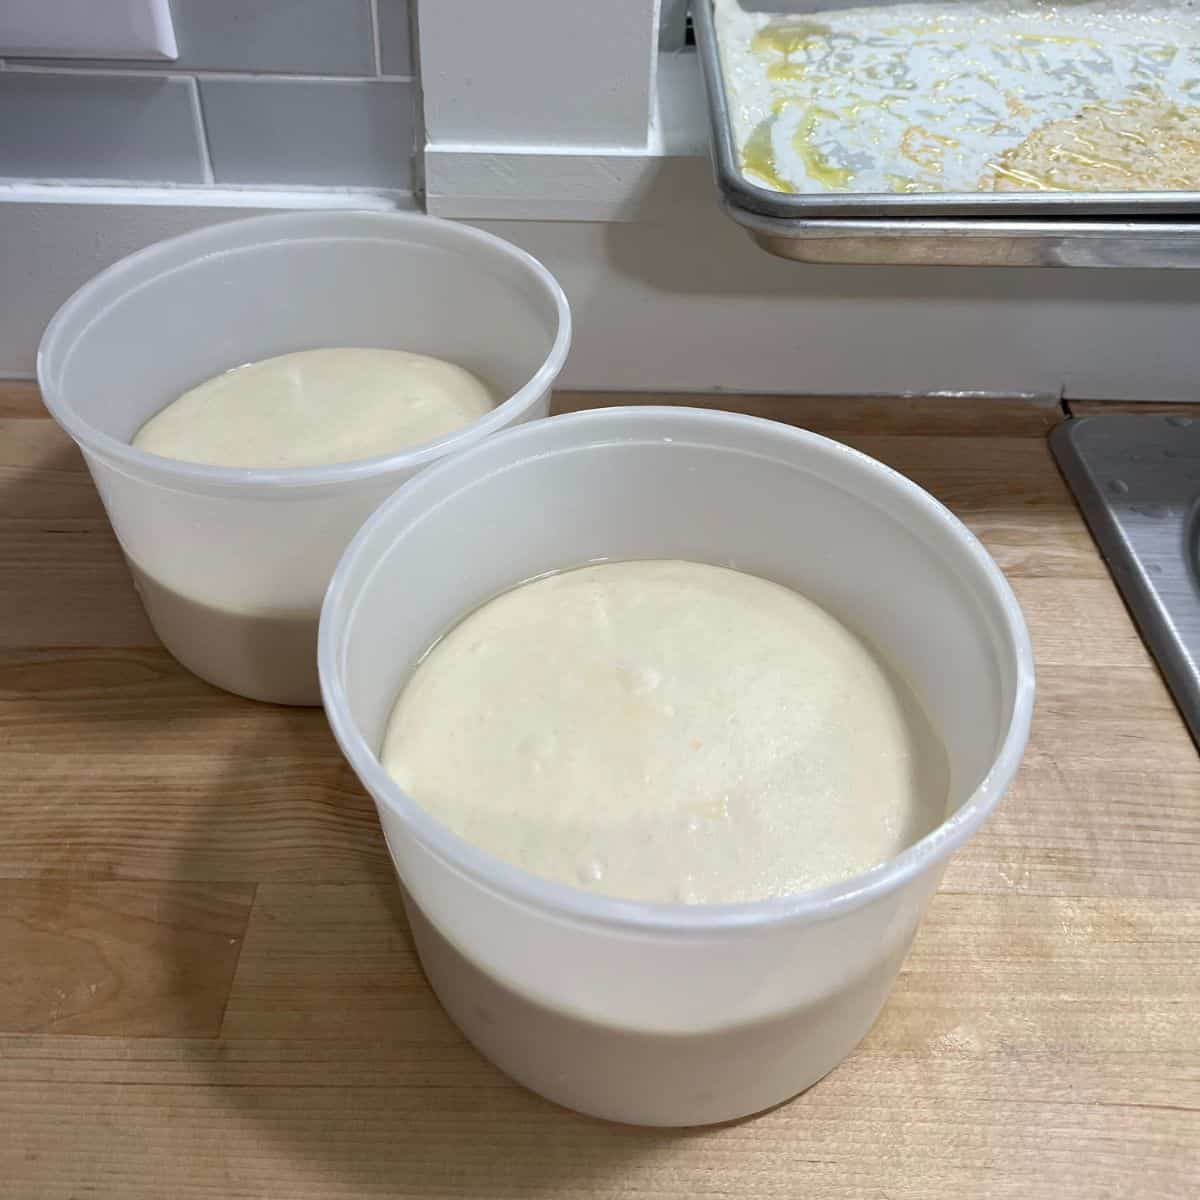
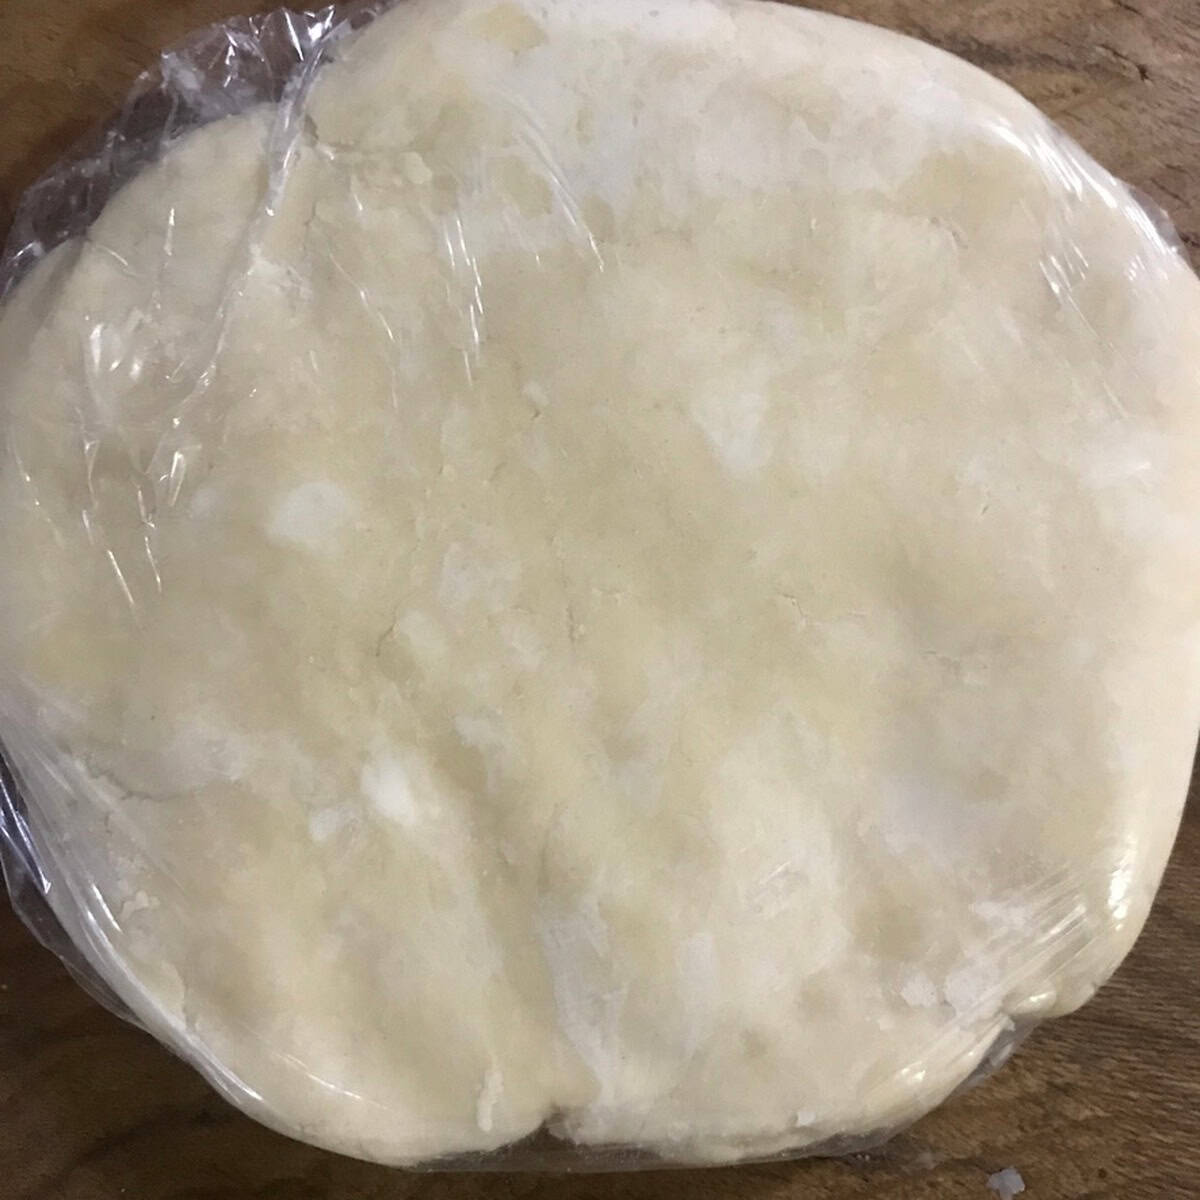
Next, it’s not critical, but it does make a noticeable difference: let the batter rest overnight. After mixing, store it in an airtight container and leave it in the fridge until morning. When you're ready to make pancakes, just pour the batter onto a hot griddle.
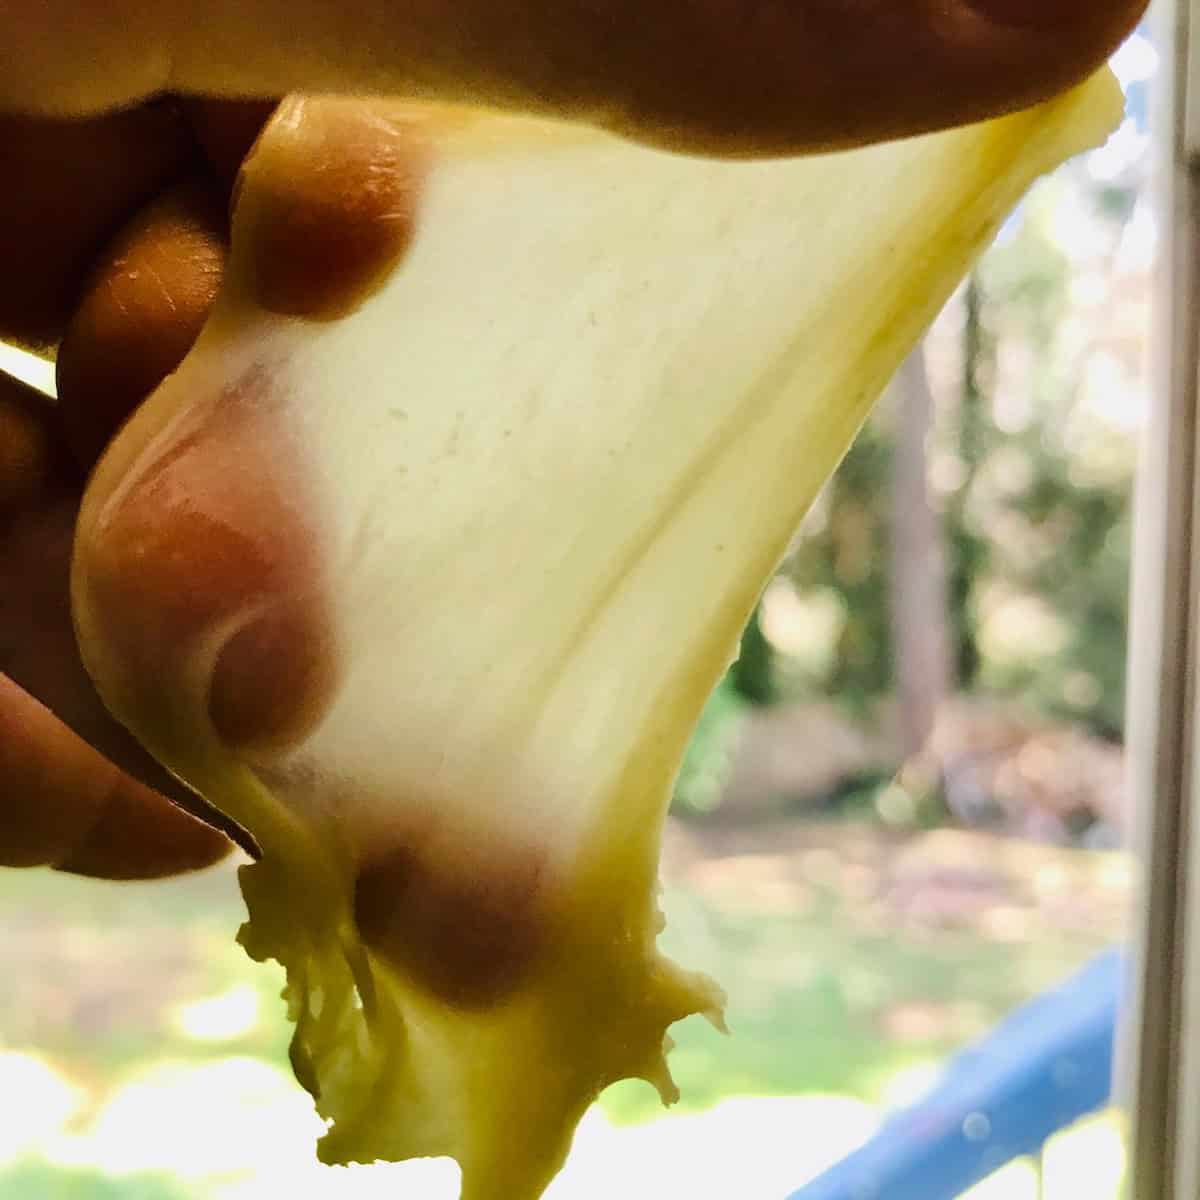
Resting the batter softens the bran and hydrates the flour (especially important for whole grain flours), resulting in a tender, moist, and flavorful crumb.
Bonus: When the alarm goes off in the morning, you can justify hitting the snooze button a few more times because your pancake batter is already ready to go.
Baker's Assistant: Resting doughs and batters overnight
There seems to be some confusion around resting batters and doughs in the fridge, but as someone who has worked in bakeries for years and developed many recipes, I can tell you: you can absolutely refrigerate (most) doughs and batters overnight, when the primary leavening agent is a chemical leavener. In fact, the result is almost always better when baked the next day. You can also freeze these batters and doughs with no negative effects.
Cake batters, such as genoise and angel food cake, that primarily depend on mechanical leavening need to be baked right away.
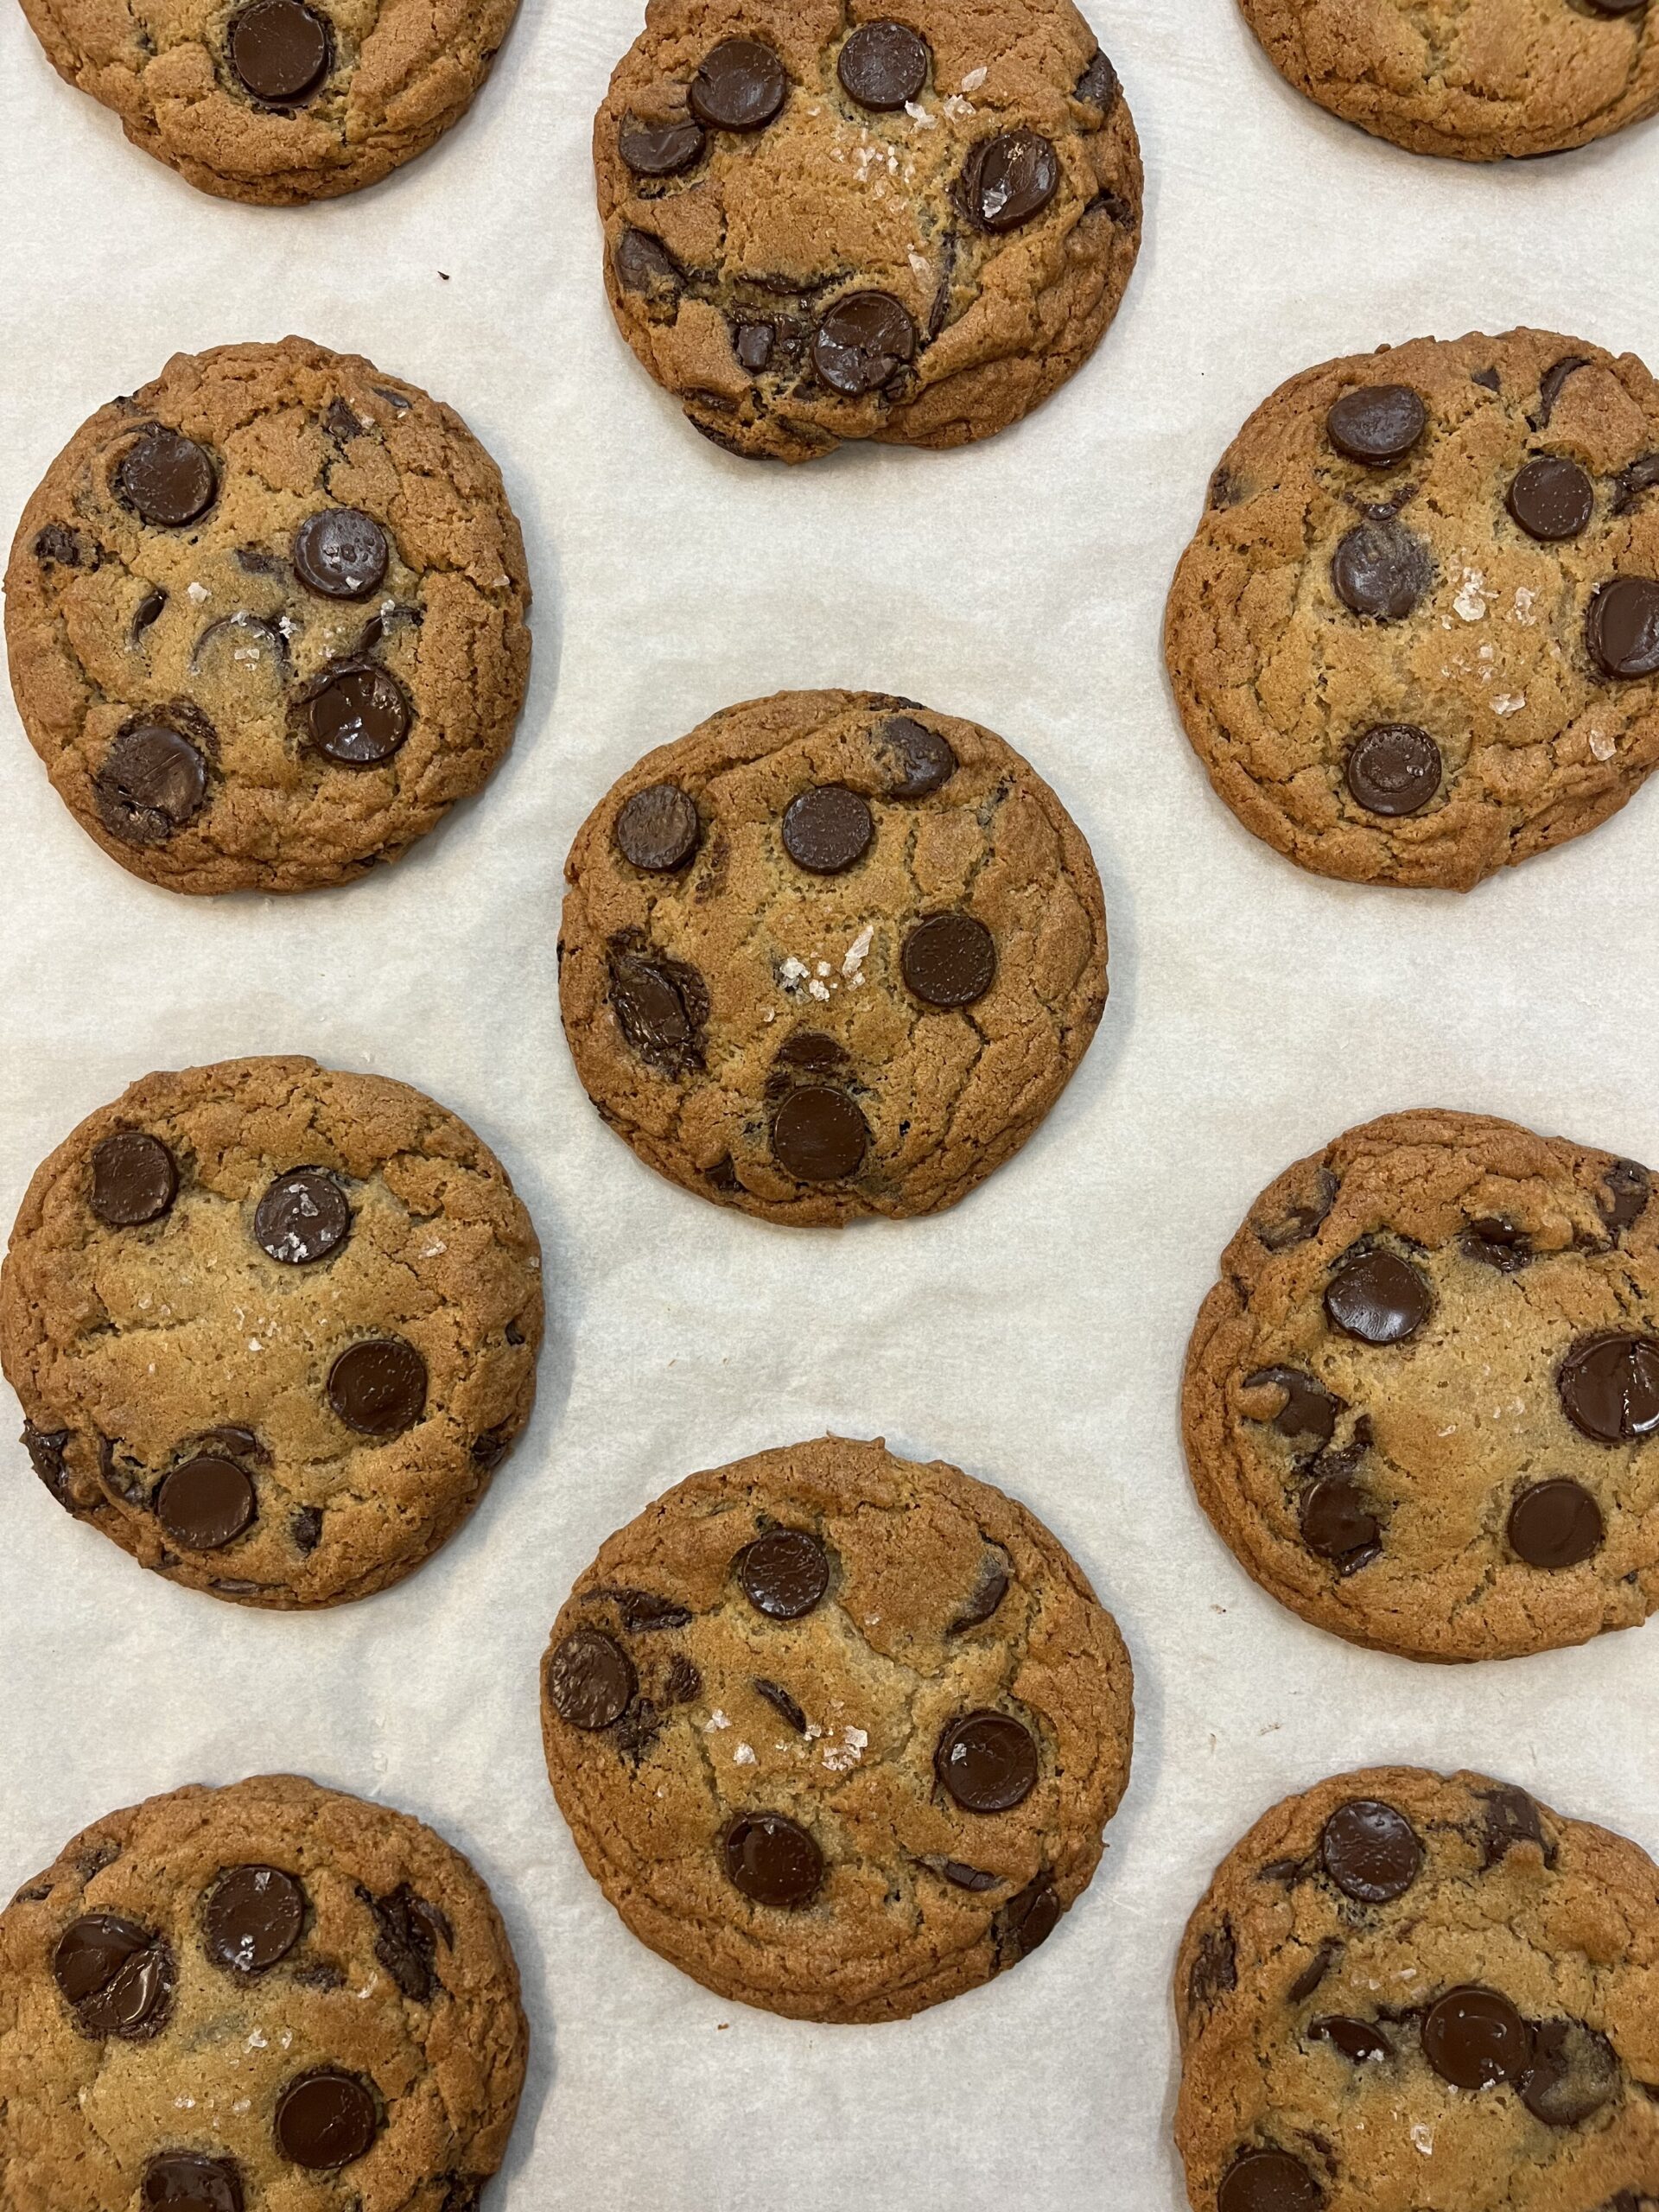
Next time you make chocolate chip cookies, try letting the dough rest for two or three days in the fridge and take note of the difference in flavor and texture.
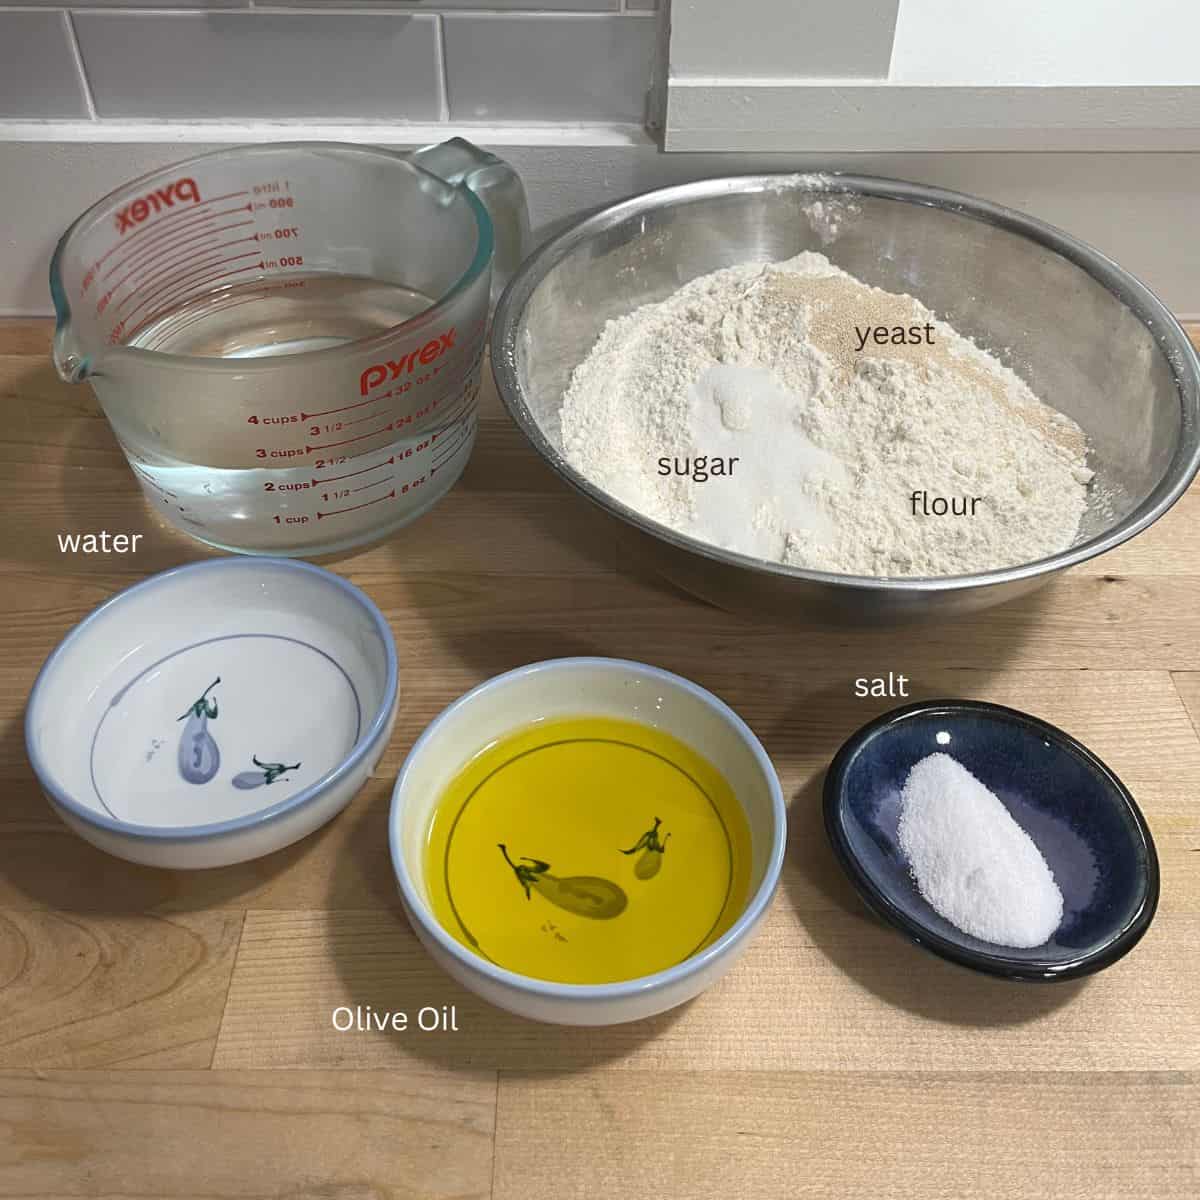
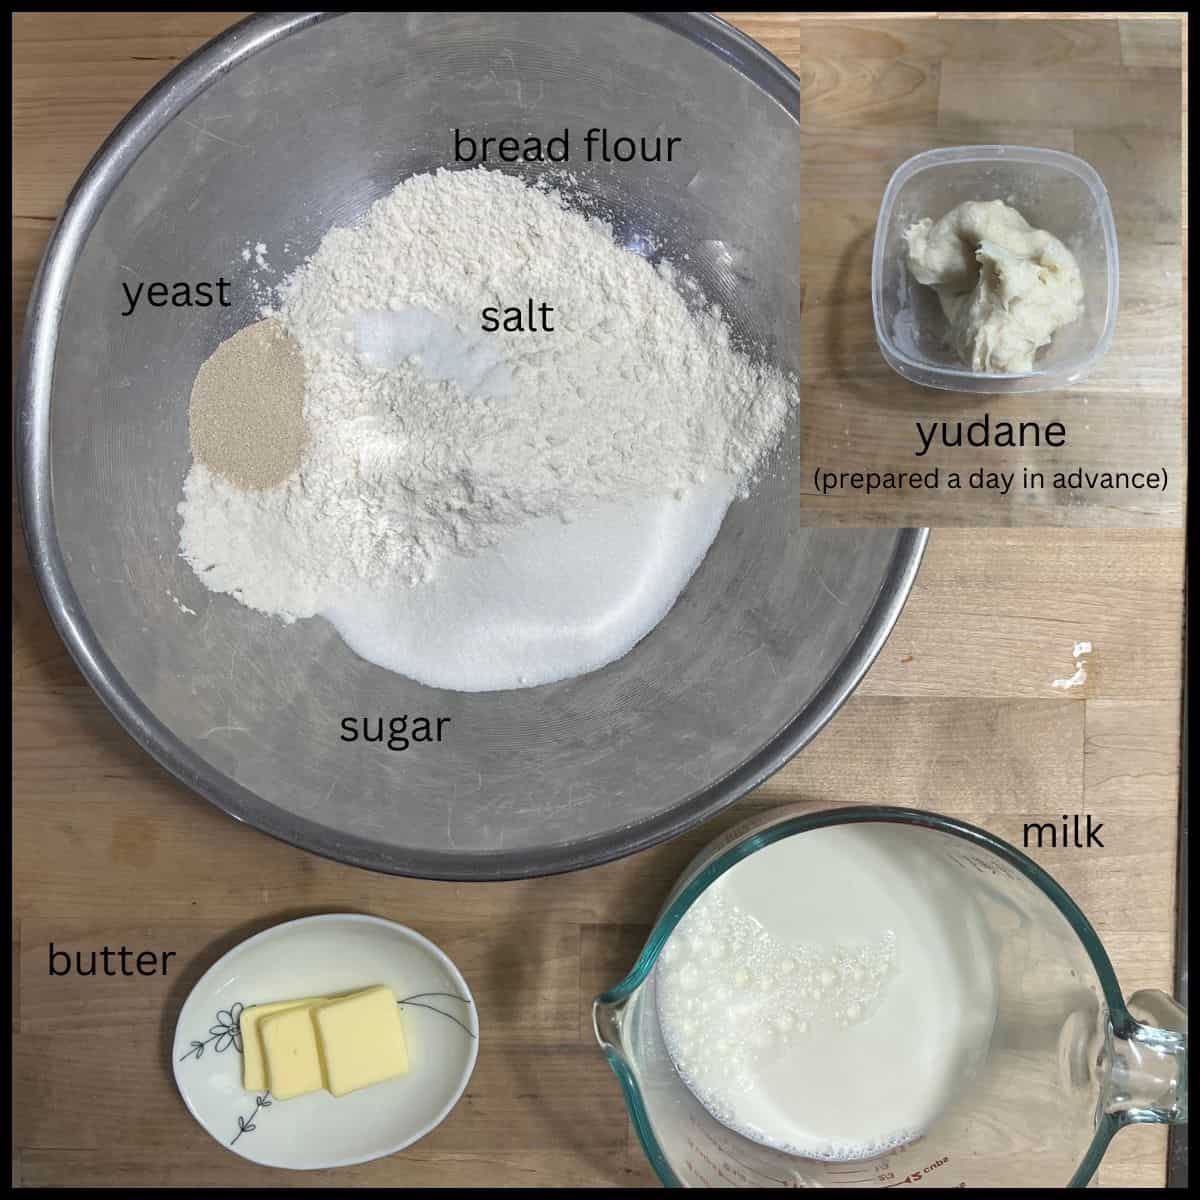
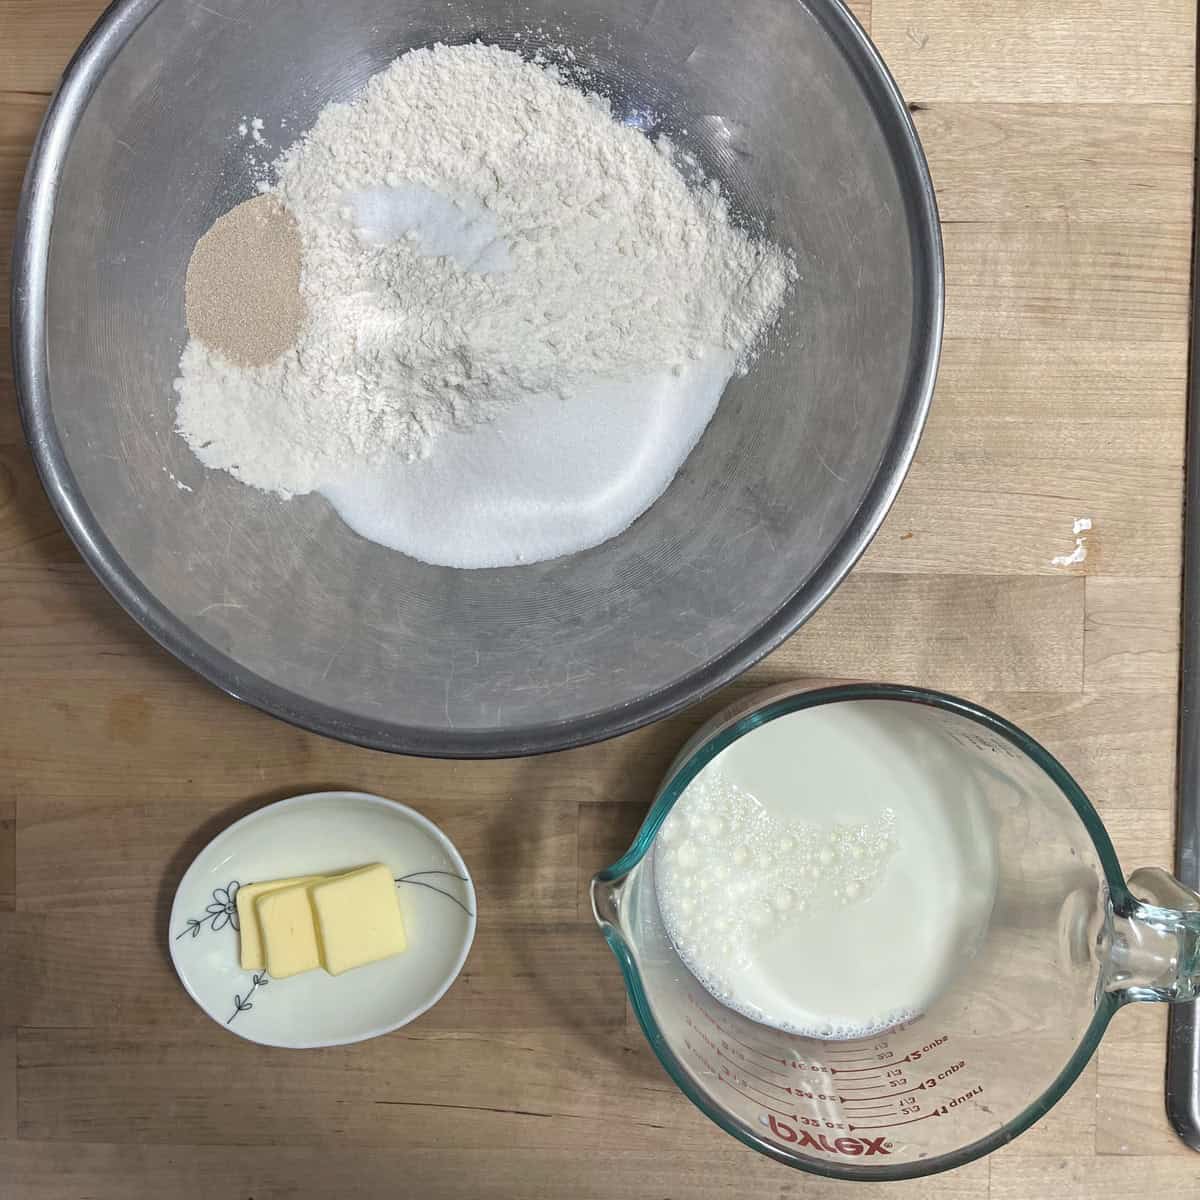
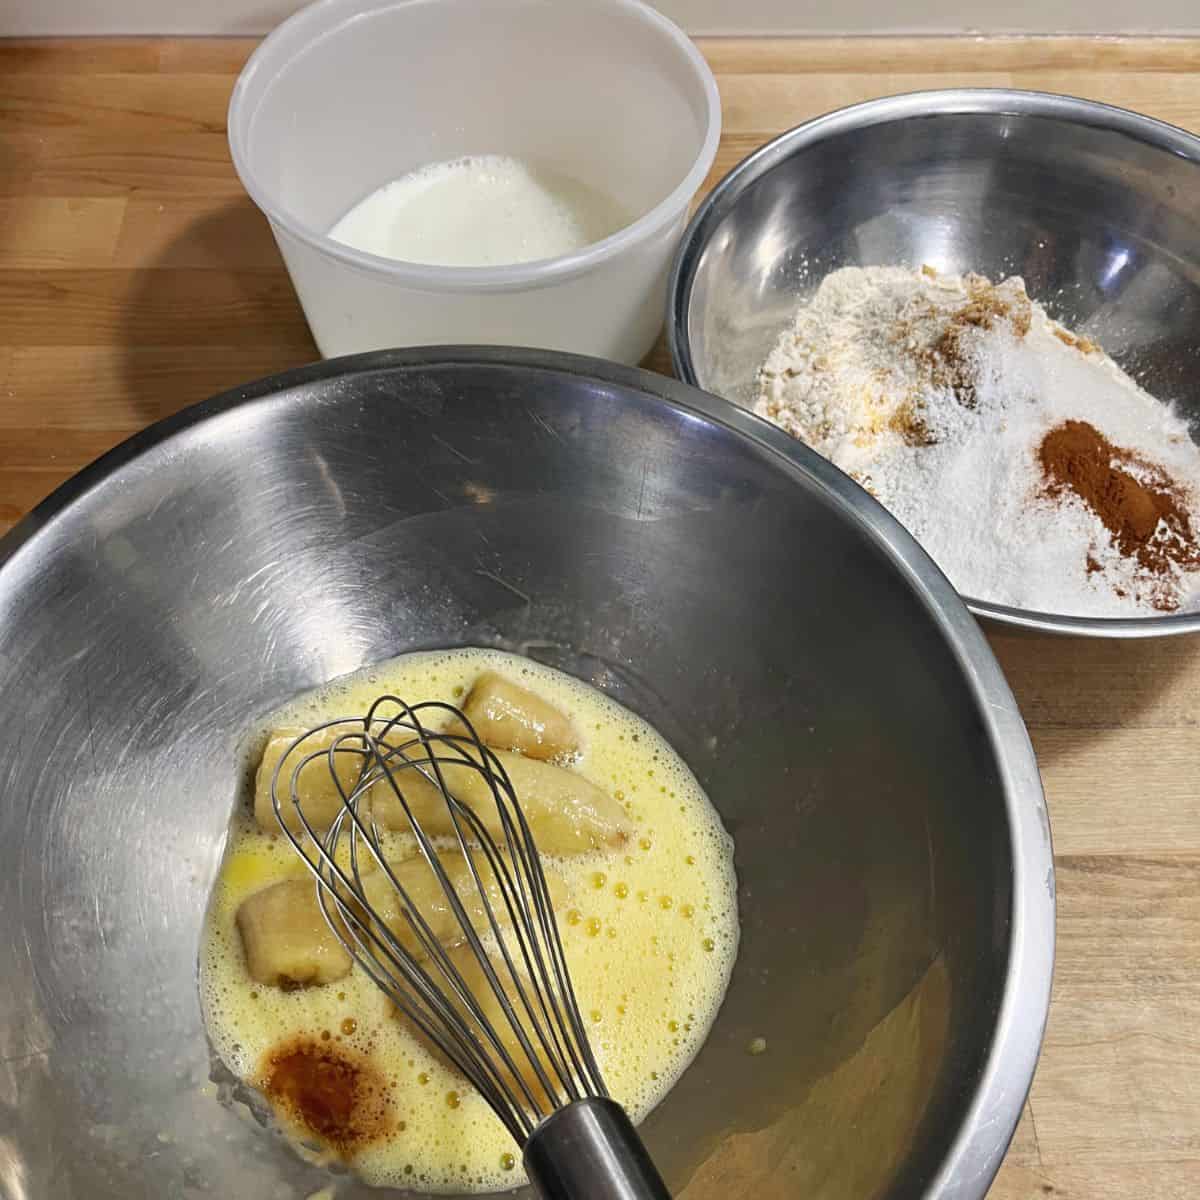
Mise en place for Whole Wheat Banana Pancakes
Have ready in advance:
- Melted butter, warm but not hot
- Combine milk and vinegar to make "buttermilk"
- Thaw bananas (if frozen)
Ingredient Properties & Substitutions
Substituting ingredients in a recipe can affect the flavor and texture of the final product. To ensure accuracy, I strongly recommend weighing your ingredients and following the recipe as written.
Here’s a breakdown of the key ingredients and how substitutions might work:
- Whole Wheat Pastry Flour – Whole wheat pastry flour is low in protein, making for soft, tender pancakes. You can also use white pastry flour, all-purpose flour, or a blend of flours. If you only have regular whole wheat flour, I suggest blending it with all-purpose or pastry flour in a 50/50 ratio.
- Brown Sugar – Brown sugar has a rich flavor that pairs well with bananas and the nuttiness of whole wheat flour. This recipe is a little on the sweeter side because I don't generally top my pancakes with maple syrup. You can decrease the amount of sugar, but I don’t recommend omitting it entirely. White sugar or honey can be substituted.
- Baking Powder – Double-acting baking powder acts as a leavening agent and carbon dioxide is released when mixed with a liquid and again when heated.
- Baking Soda – Baking soda acts as a leavening agent and carbon dioxide is released when mixed with an acid (like the vinegar or brown sugar in the recipe).
- Salt – For flavor. You can decrease the salt by up to half if preferred.
- Cinnamon – Cinnamon complements bananas and enhances the nuttiness of the whole wheat flour. Substitute or omit as desired.
- Egg – Binds the ingredients together and adds richness and structure to the pancakes.
- Vanilla – For flavor. Substitute or omit as desired.
- Butter – Adds richness and flavor. You can brown the butter for an extra layer of flavor, or substitute with oil if needed.
- Milk + Acid – I use whole milk + vinegar. You can also use lemon juice + milk, or just buttermilk. Baking soda reacts with the acid in the vinegar (or buttermilk) to produce carbon dioxide, so I don’t recommend using plain milk. Plant-based milk alternatives + lemon juice or vinegar should work fine as a substitute.
- Bananas – The riper, the better. You can decrease the quantity or omit them entirely if desired.
Baker's Assistant: Freeze your brown bananas
I actively seek out discounted brown bananas. Overripe bananas are naturally sweeter, and using them in baked goods and smoothies allows me to reduce the total amount of added sugar. When I find them, I buy as many as will fit in my freezer because they’re perfect for pancakes, muffins, and smoothies.
I’ve found the best way to freeze them is to peel the bananas and lay them out on a sheet tray with parchment paper or plastic wrap underneath. Once the bananas are frozen, remove them from the tray, place them in a ziplock bag, and return them to the freezer. To use them in pancakes, thaw them first in the microwave for 30 seconds to 1 minute, or leave them on the counter for about an hour.
Method
For soft, delicate pancakes follow these three key points:
- Don't over-mix
- Use whole wheat pastry flour
- Rest the batter overnight
Baker's Assistant: Griddle Temperature
When it comes to pancakes, heating your pan to the right temperature is a bit of an art. You want the batter to set and firm up just as the bottom turns a nice golden color. If the temperature is too high, the bottom will burn before the pancake is ready to flip. If the temperature is too low, the pancake won't puff up as well, and it will lose moisture due to the longer cooking time.
For non-stick pans, I find these pancakes cook best at a medium heat (if you're looking at the temperature knob like an analog clock, think somewhere between 6 and 7 o'clock). In a cast iron skillet, medium-low heat seems to work best (around 7 to 9 o'clock).
To test if your pan is properly preheated, add a few of drops of water onto the surface. If the droplets skitter across the pan and quickly evaporate, the pan is too hot. If the water just sits there, looking like it’s about to boil, the pan is too cold. The right temperature will make a nice sizzle, and the water should evaporate within a couple of seconds.

Equipment
This recipe doesn't require any special equipment. You'll just need a scale, two bowls, a whisk and a frying pan (also, a spatula wouldn't hurt).
Baker's Assistant: Leftover Pancakes?
If you've seen it in the freezer section of the grocery store, then chances are you can freeze it—and yes, you can freeze pancakes too! Frozen pancakes are super convenient when you're running short on time in the morning. Simply pop one in the microwave, give it a swipe of Nutella, and you're good to go.
To freeze pancakes, lay them out on a sheet tray with a piece of parchment paper or plastic wrap underneath. Once the pancakes are frozen, remove them from the tray, place them in a ziplock bag, and toss them back in the freezer.
Overnight Whole Wheat Banana Pancakes
Equipment
- 2 Medium-Sized Bowls
- 1 Well-seasoned cast iron or non-stick frying Pan
Ingredients
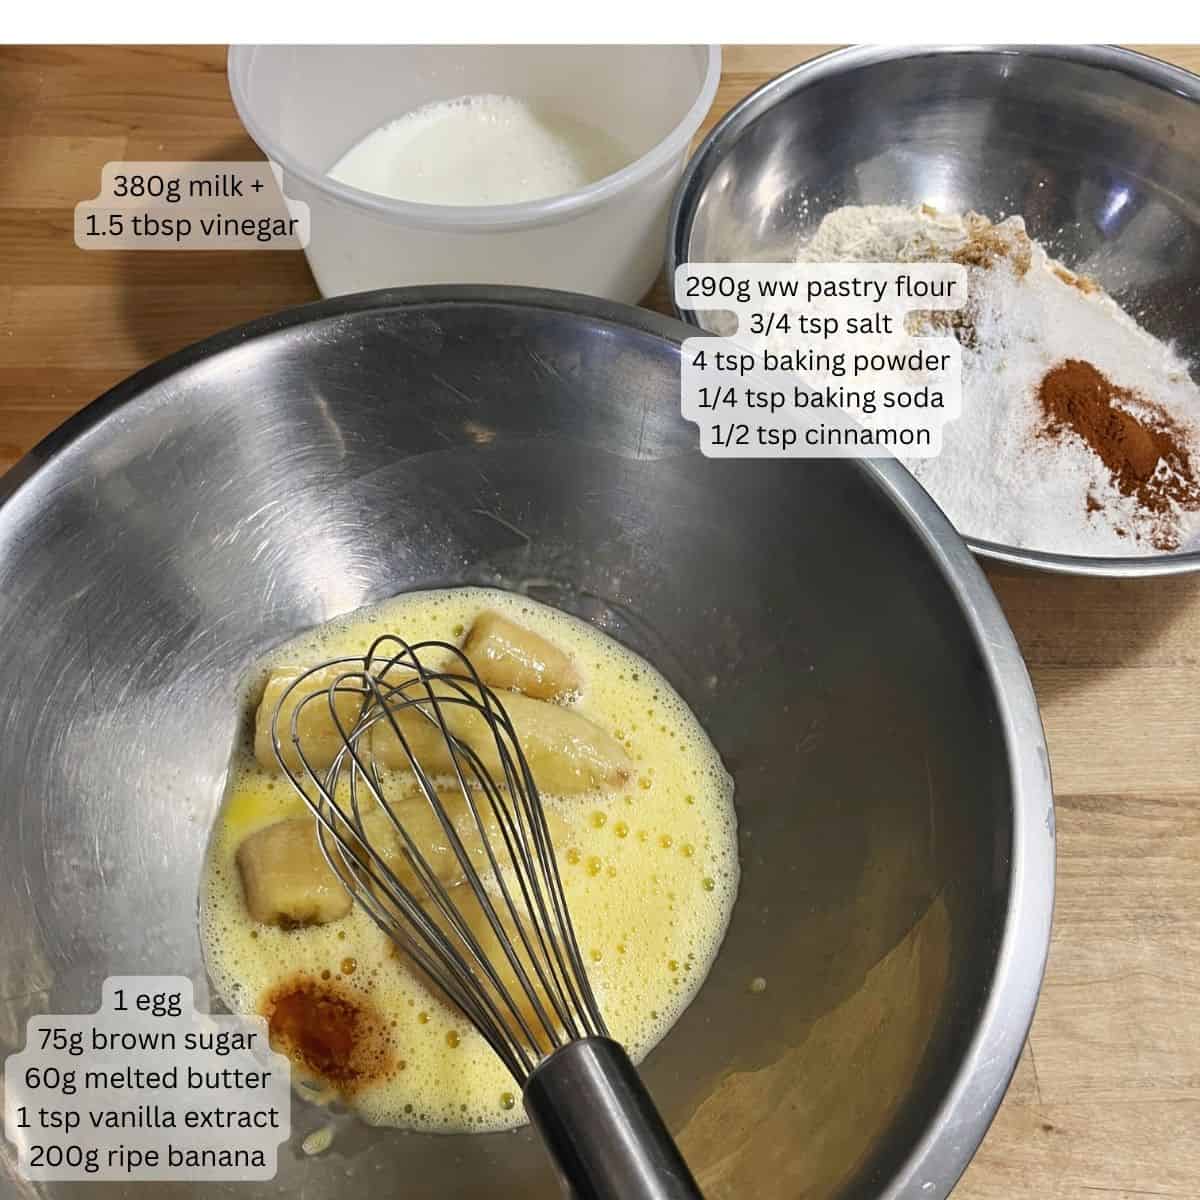
Wet Ingredients
- 380 g Whole Milk
- 1½ tablespoon Vinegar
- 1 ea Egg
- 75 g Brown Sugar
- 60 g Butter Melted, but not hot
- 1 teaspoon Vanilla Extract
- 200 g Ripe Banana, Mashed About 2 bananas
Dry Ingredients
- 290 g Whole Wheat Pastry Flour
- ¾ teaspoon Salt
- 4 teaspoon Baking Powder Double acting
- ¼ teaspoon Baking Soda
- ½ teaspoon Cinnamon
For Cooking
- 1 teaspoon Neutral Oil Canola, vegetable, avocado
Instructions
Make "buttermilk" and melt butter
- Combine the milk and vinegar and set aside for 10 minutes to create your "buttermilk".
- Melt butter and set aside to cool.
Combine wet ingredients
- Whisk egg and brown sugar together.
- Add mashed banana, vanilla, and melted butter. Mix well.
- Add the "buttermilk" and whisk to combine
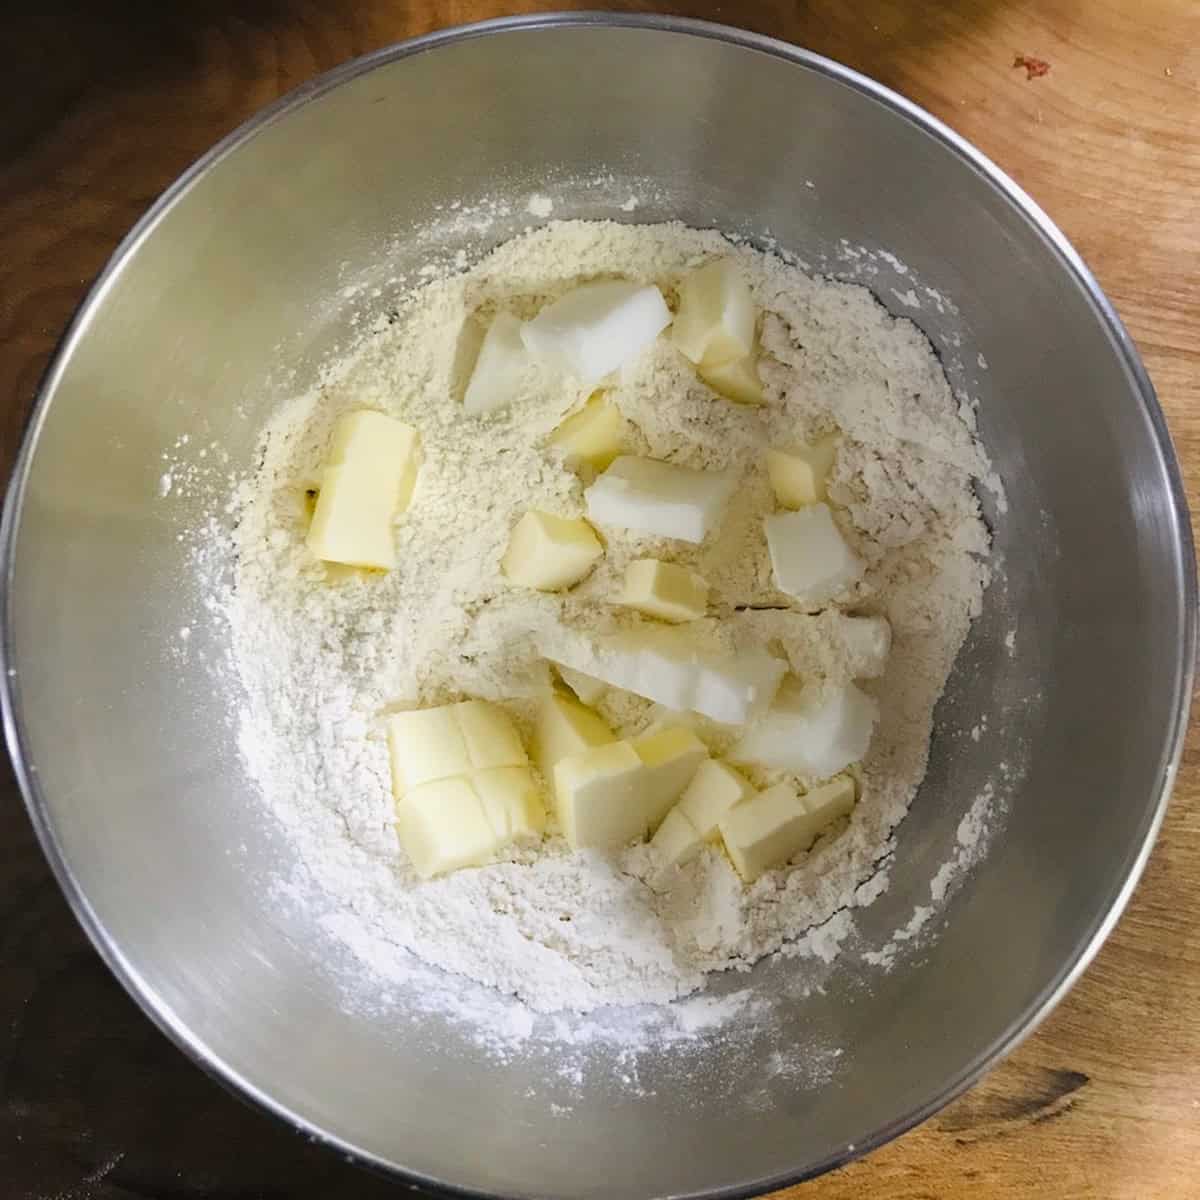
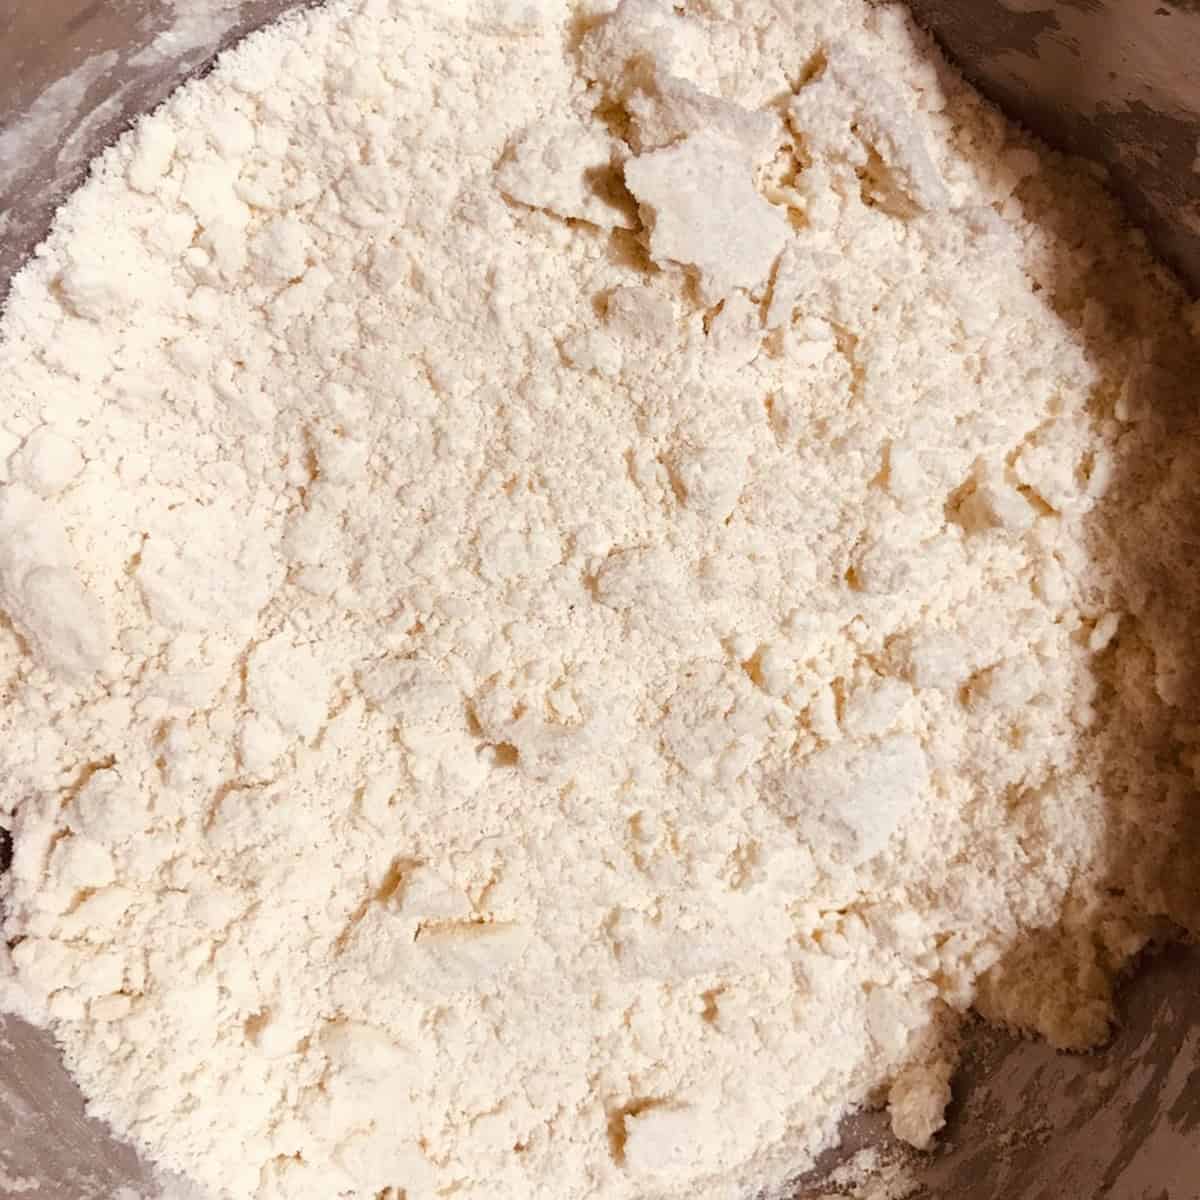
Combine dry ingredients
- In a separate bowl, combine the flour, salt, baking powder, baking soda and cinnamon.
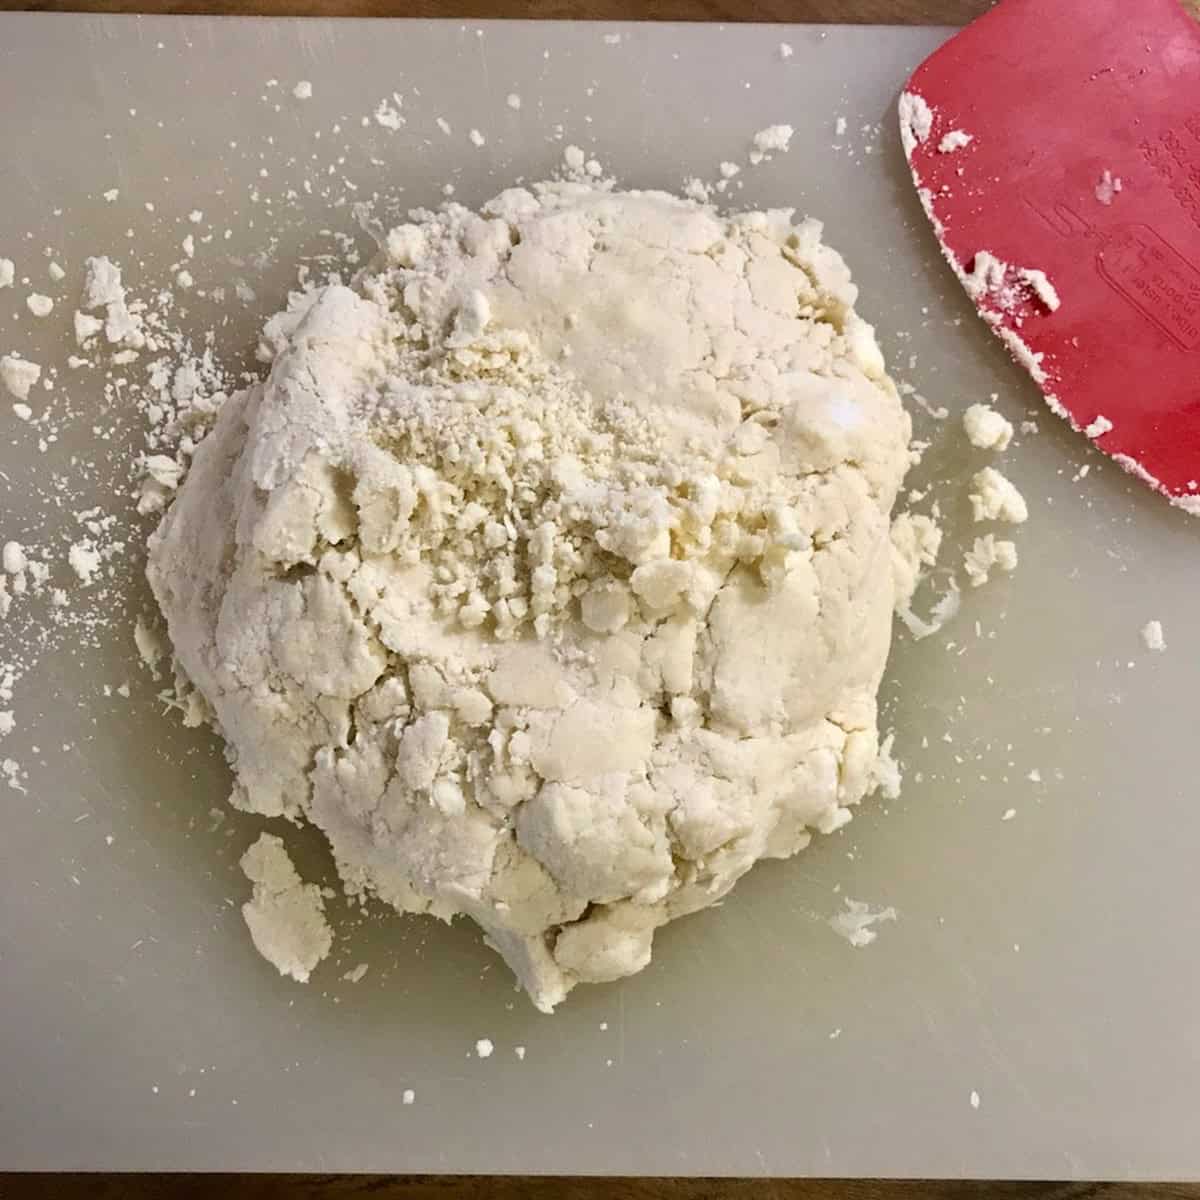
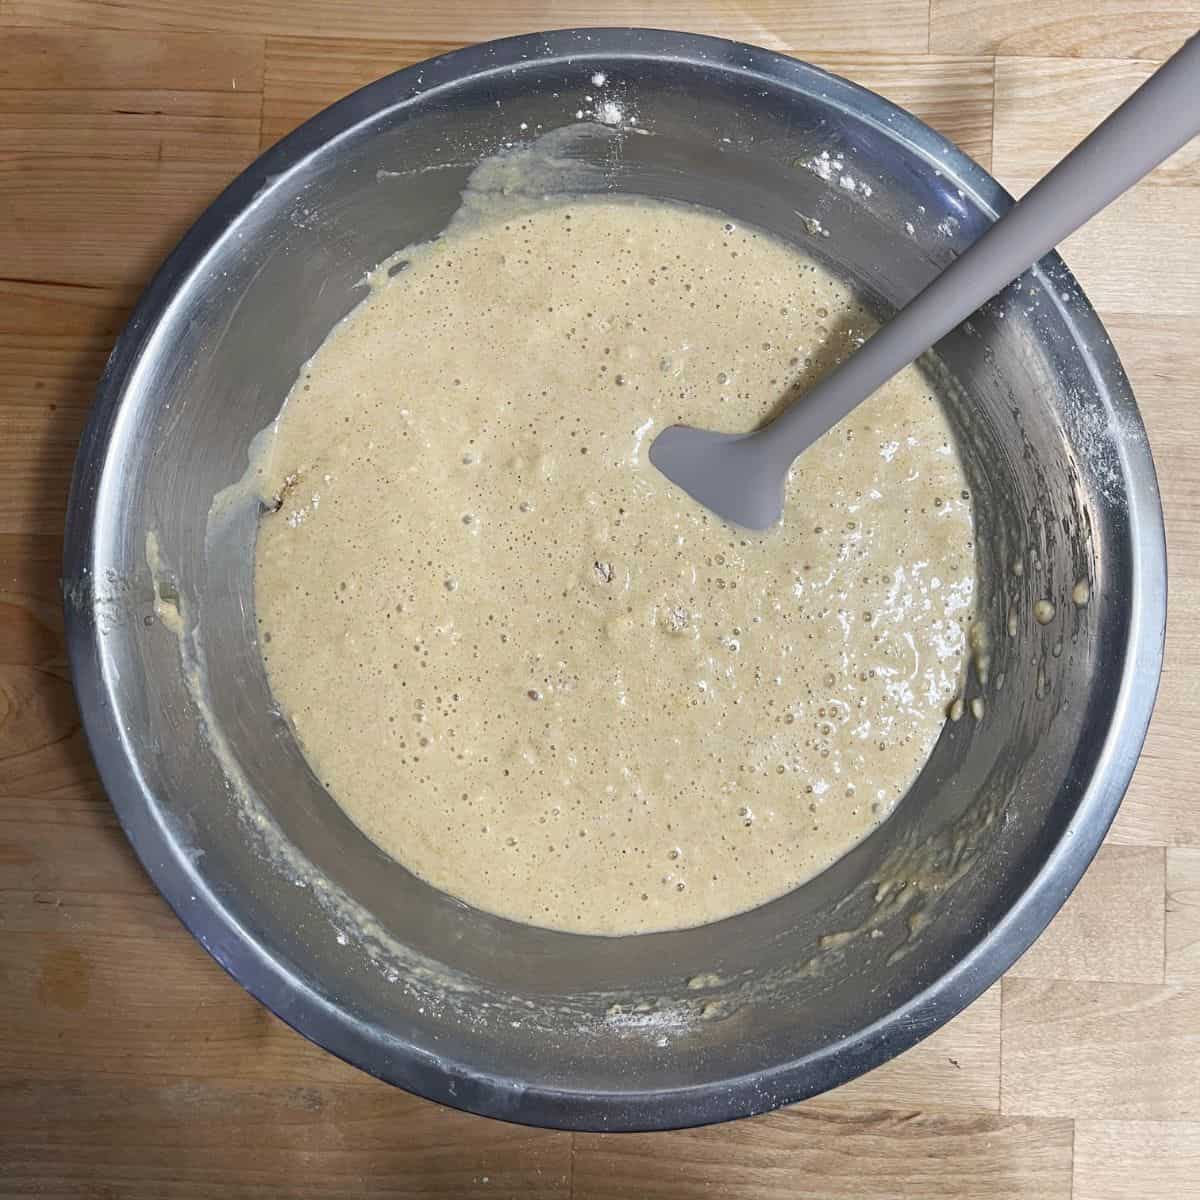
Pour dry into wet
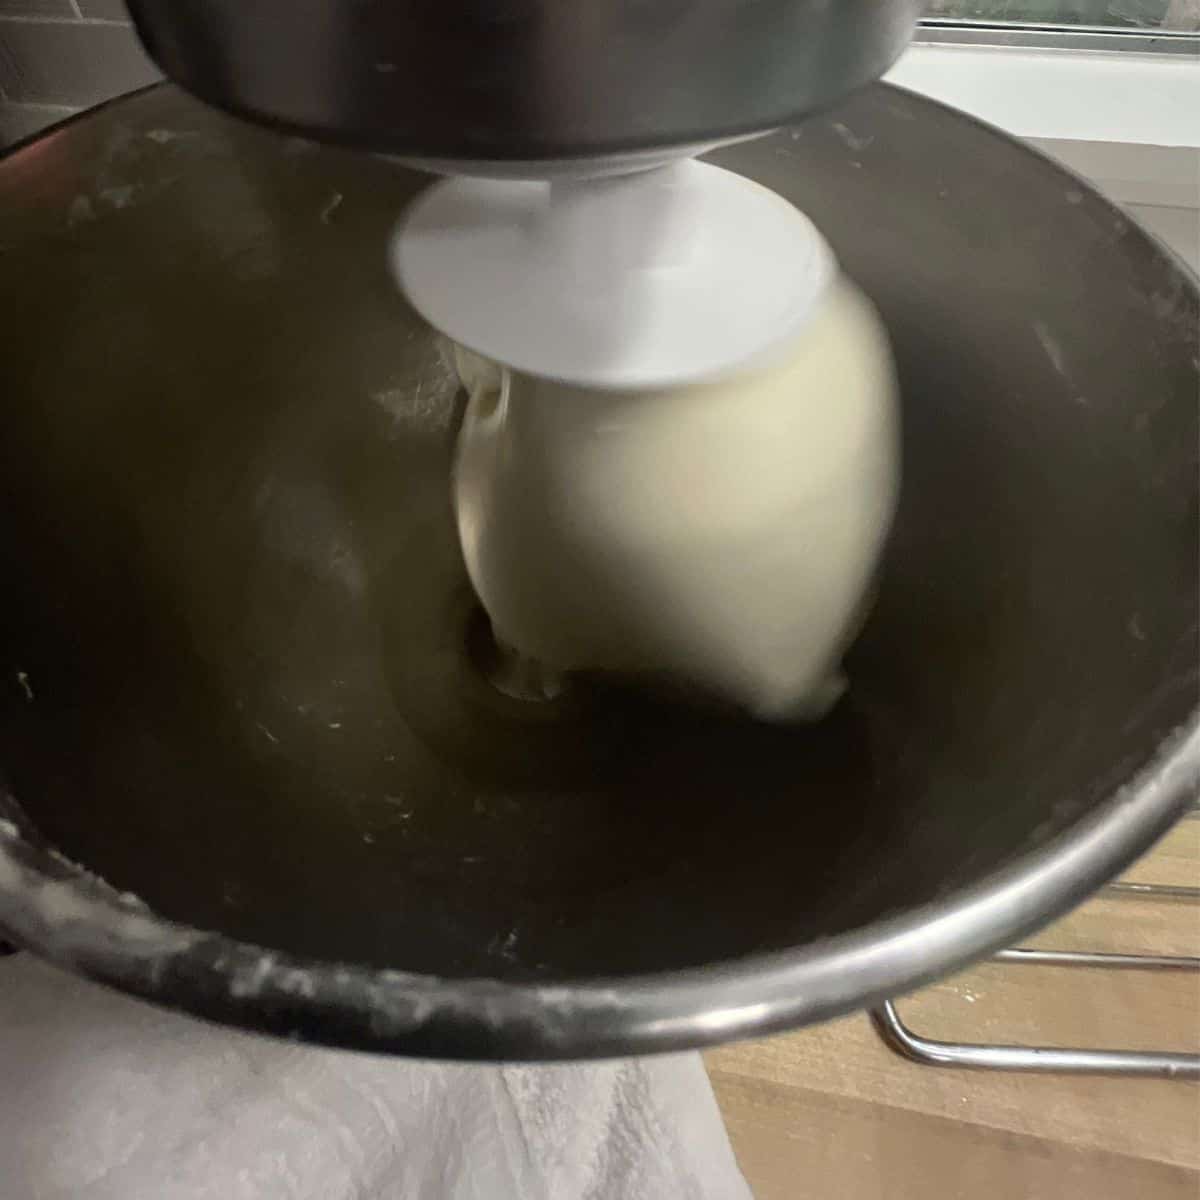
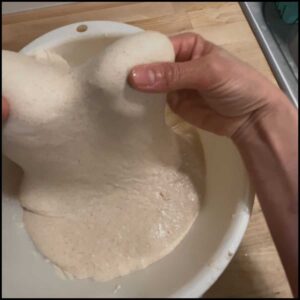
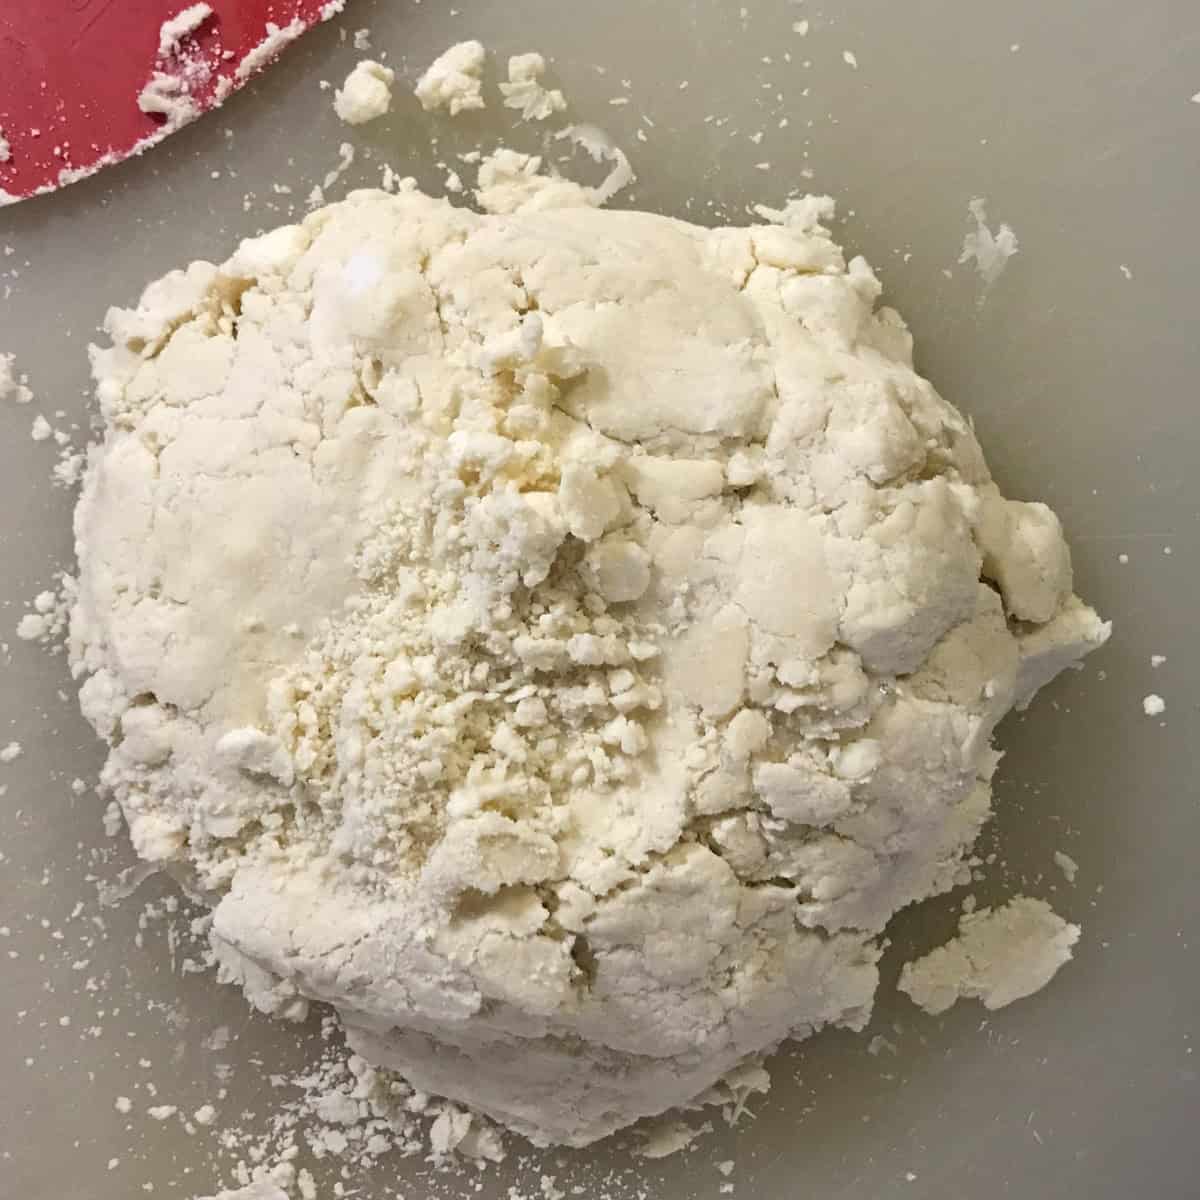
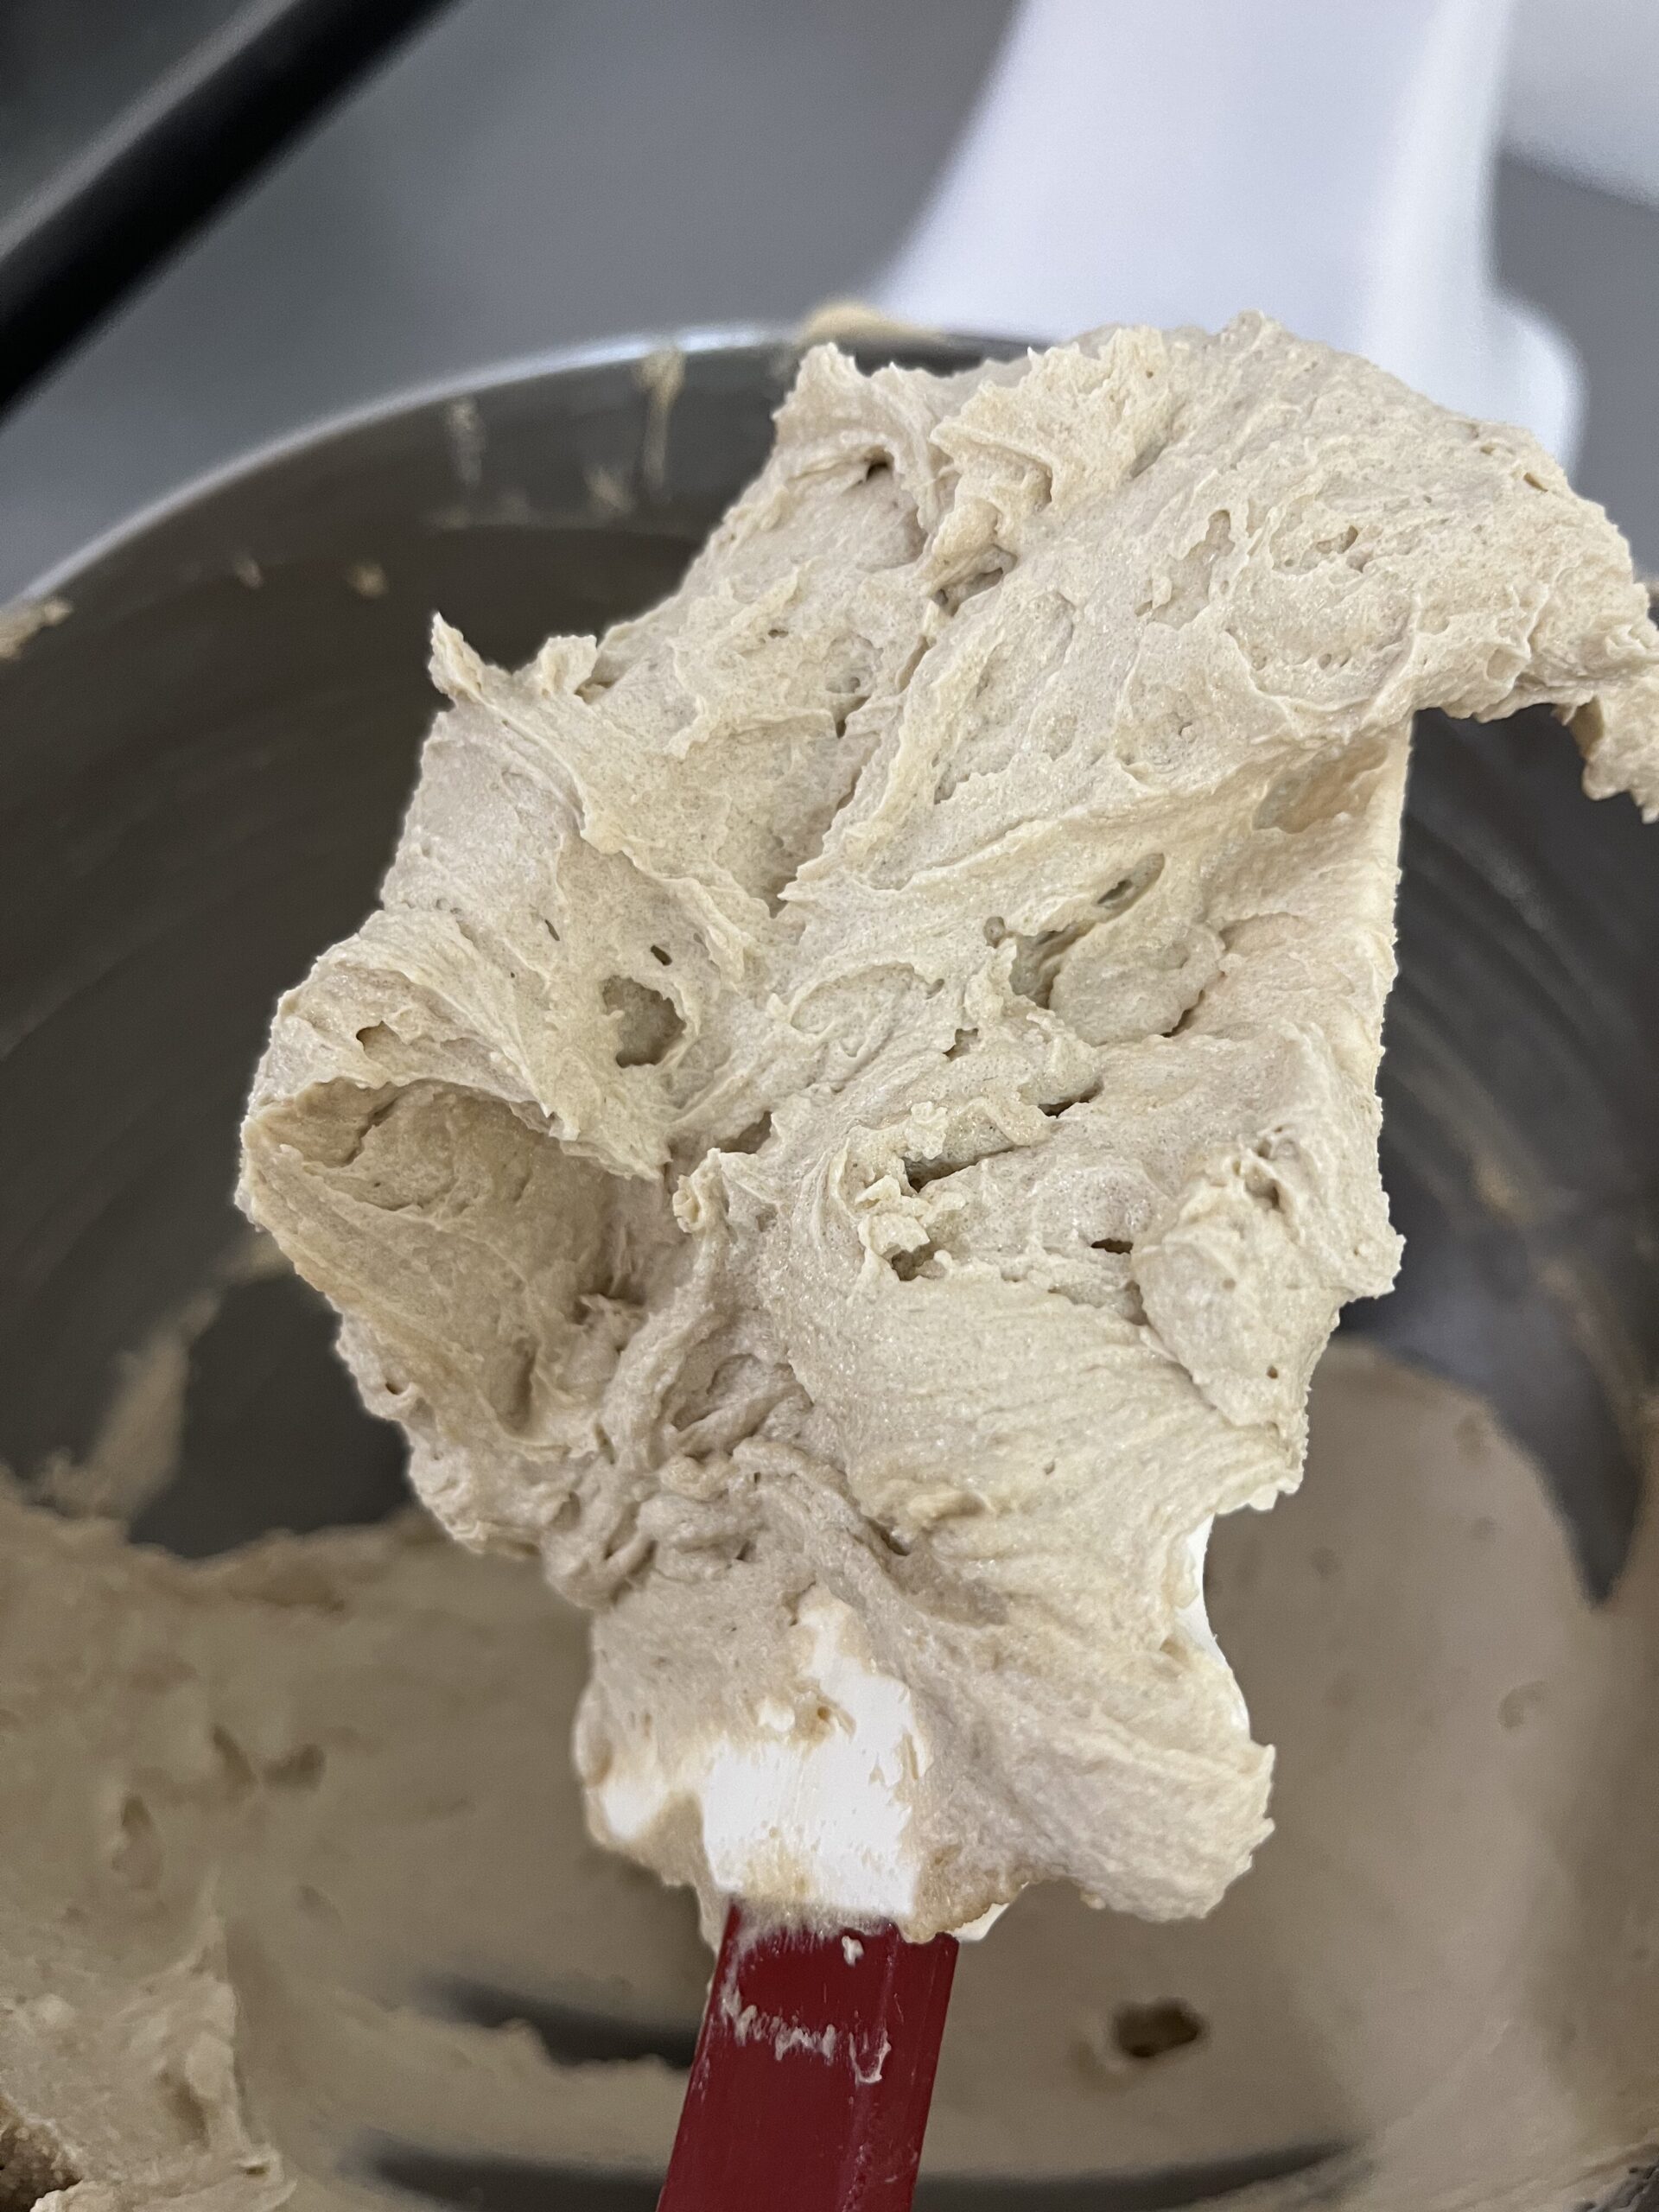
- Add the bowl of dry ingredients to the wet, all at once. Fold the flour into the wet ingredients, being careful not to over mix. Stop mixing when the flour is mostly incorporated. There will be lumps, and that’s perfectly fine.
- Cover the bowl and store the batter in the fridge overnight.
Cooking pancakes the next day
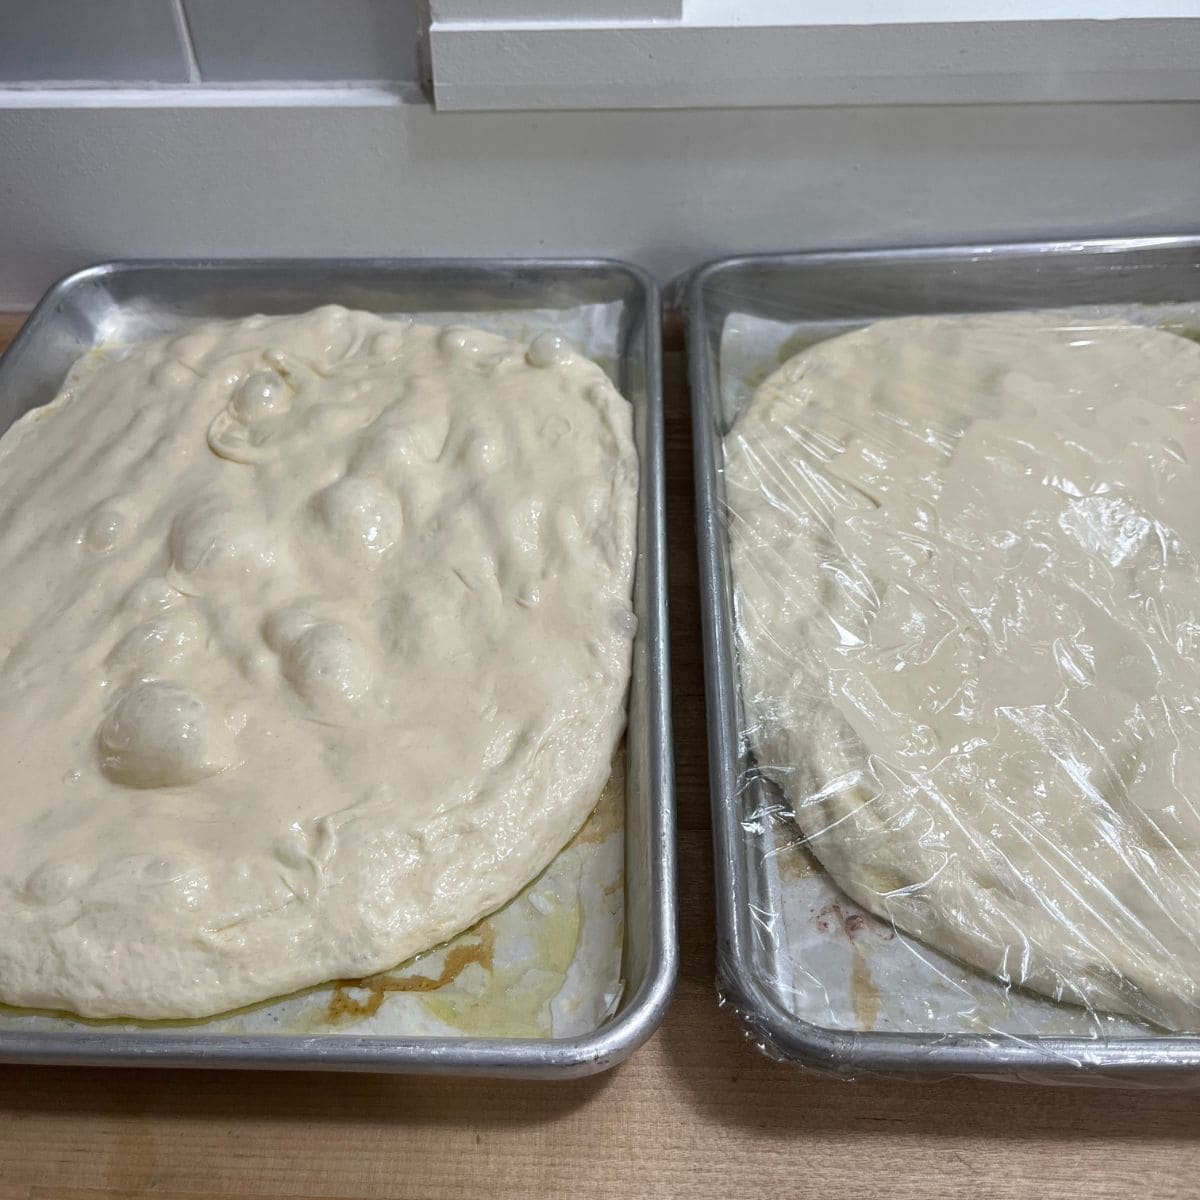
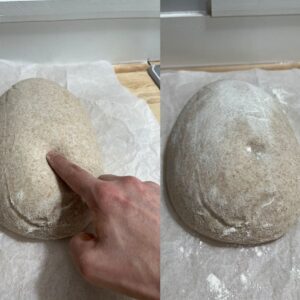
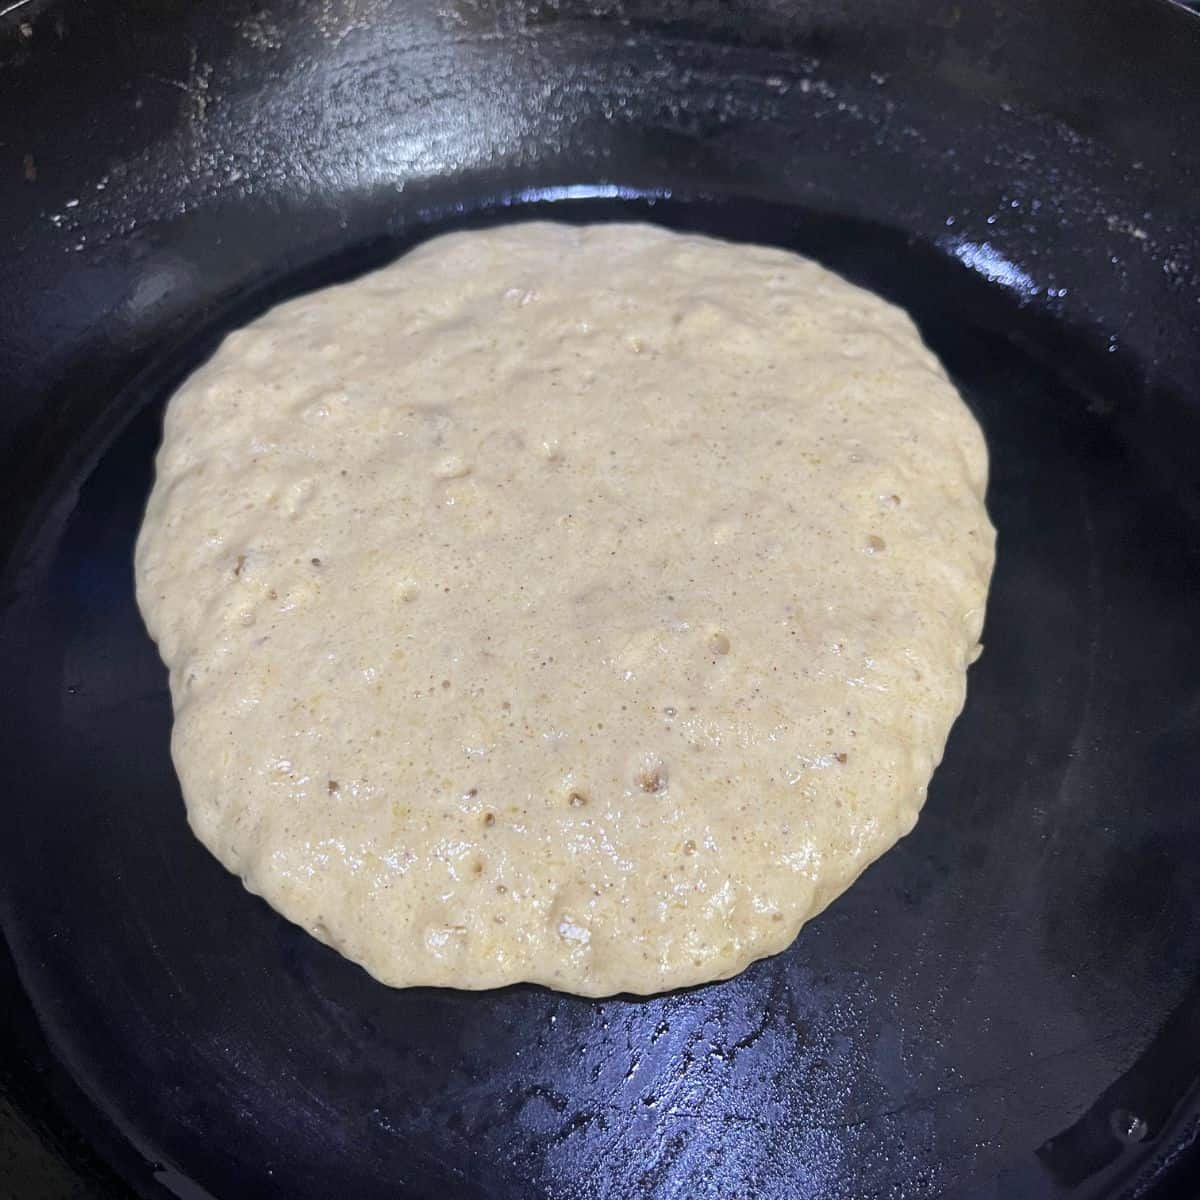
- The next day, remove the batter from the fridge. Do not stir.
- Preheat a griddle or frying pan over medium-low heat. The pan is ready when you sprinkle a few drops of water on it and they sizzle gently.
- Pour a small amount of oil onto the pan, wipe of excess with a paper towel.
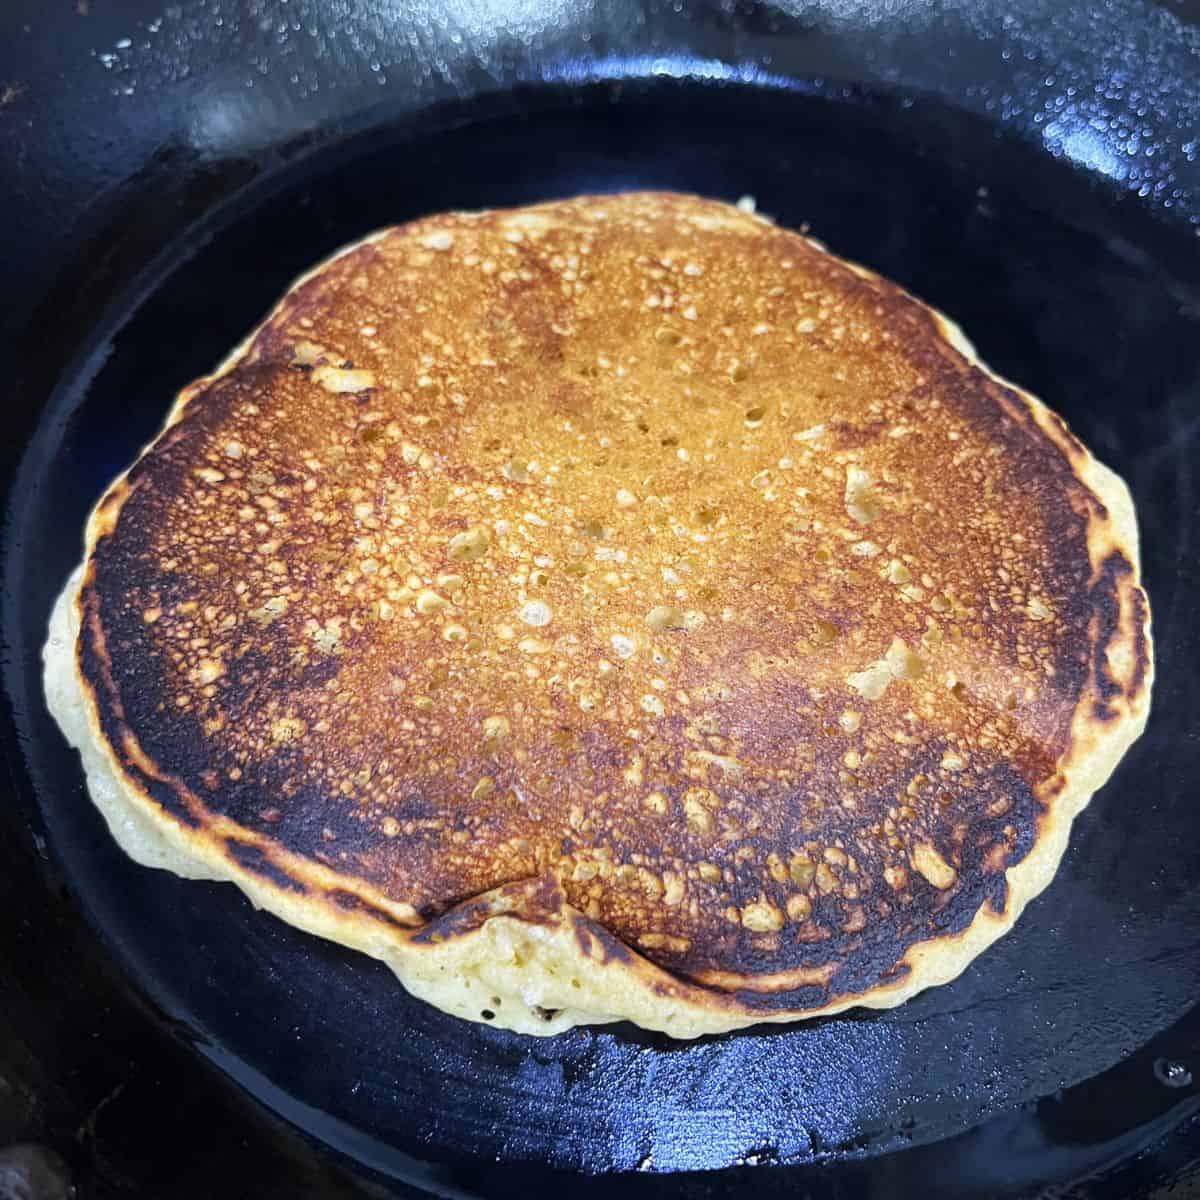
- Pour a ladle of batter onto the griddle or pan. Cook until bubbles form on the surface of the pancake and the bottom is golden brown. Flip the pancake and cook until the other side is golden and the pancake is cooked through.
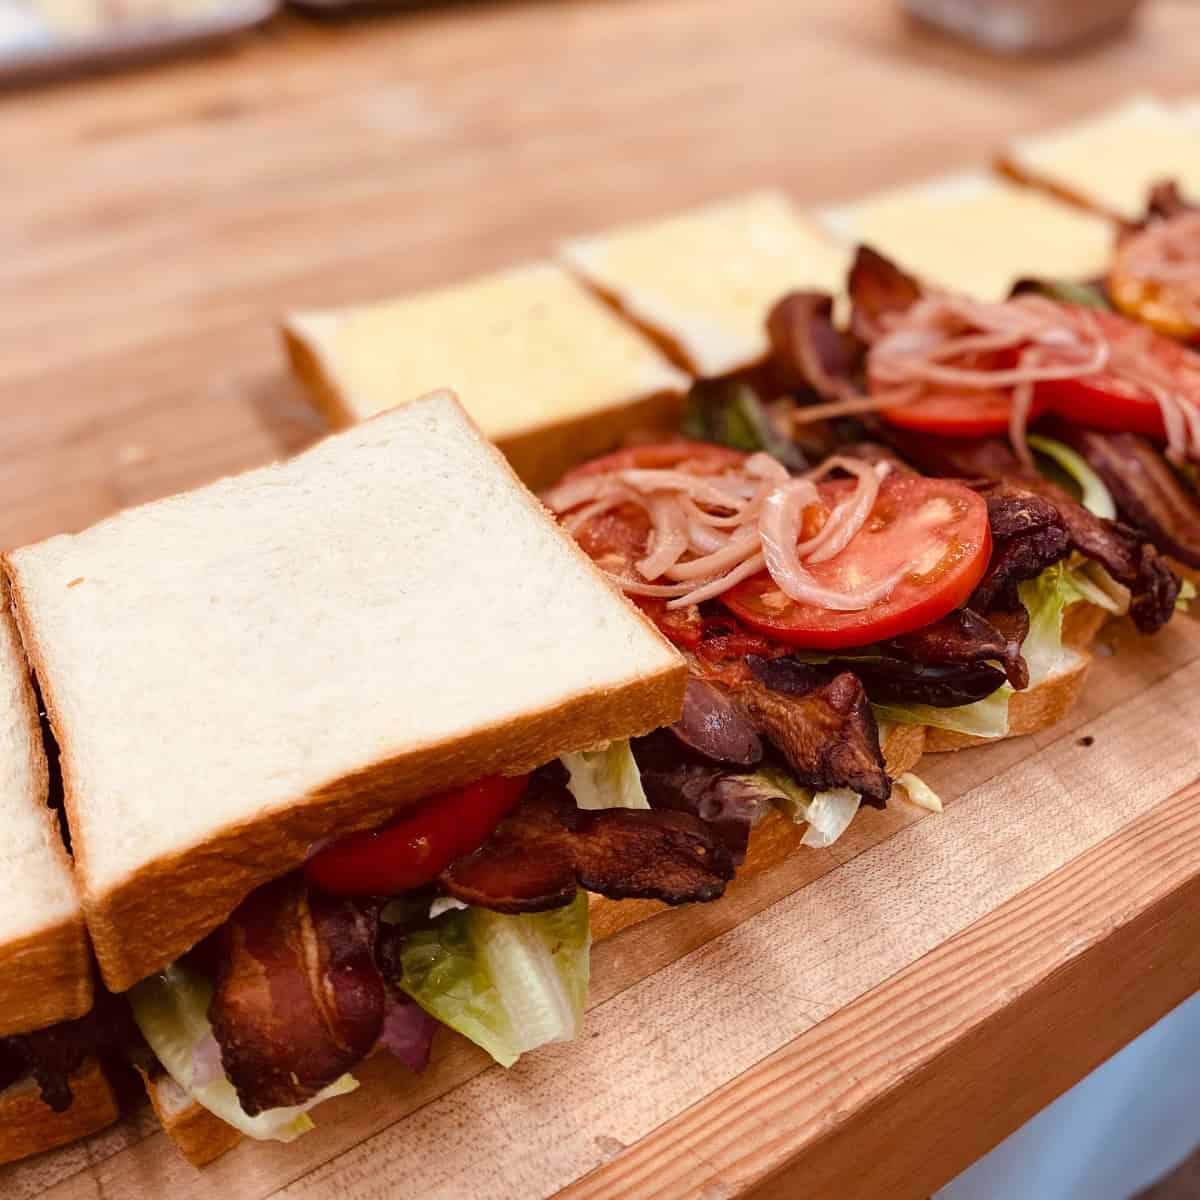
- Serve immediately with butter and maple syrup, or a swipe of Nutella and banana slices.
Nutrition
Credit, sources, shout outs (& sometimes ramblings)
Very few recipes are true originals. Here is where I share my inspiration and cite my sources.
The best pancake recipe I’ve tried so far is Café Delites Best Fluffy Pancakes. Apparently, everyone else loves it too, since it’s one of the highest-rated pancake recipes on Google. I’ve been making different variations of it for years, tweaking it to suit my own tastes, and this recipe for whole wheat banana pancakes is now my go-to for everyday breakfasts. If you’re looking for a solid non-whole wheat pancake recipe, be sure to check hers out.
This pancake recipe was inspired by Cafe Delites Best Fluffy Pancake Recipe.
Why should you trust my recipes? You can read about me here.